Nick Dunhill's 7mm W (A6) or Whitby Tank Workbench

Nick Dunhill

Western Thunderer
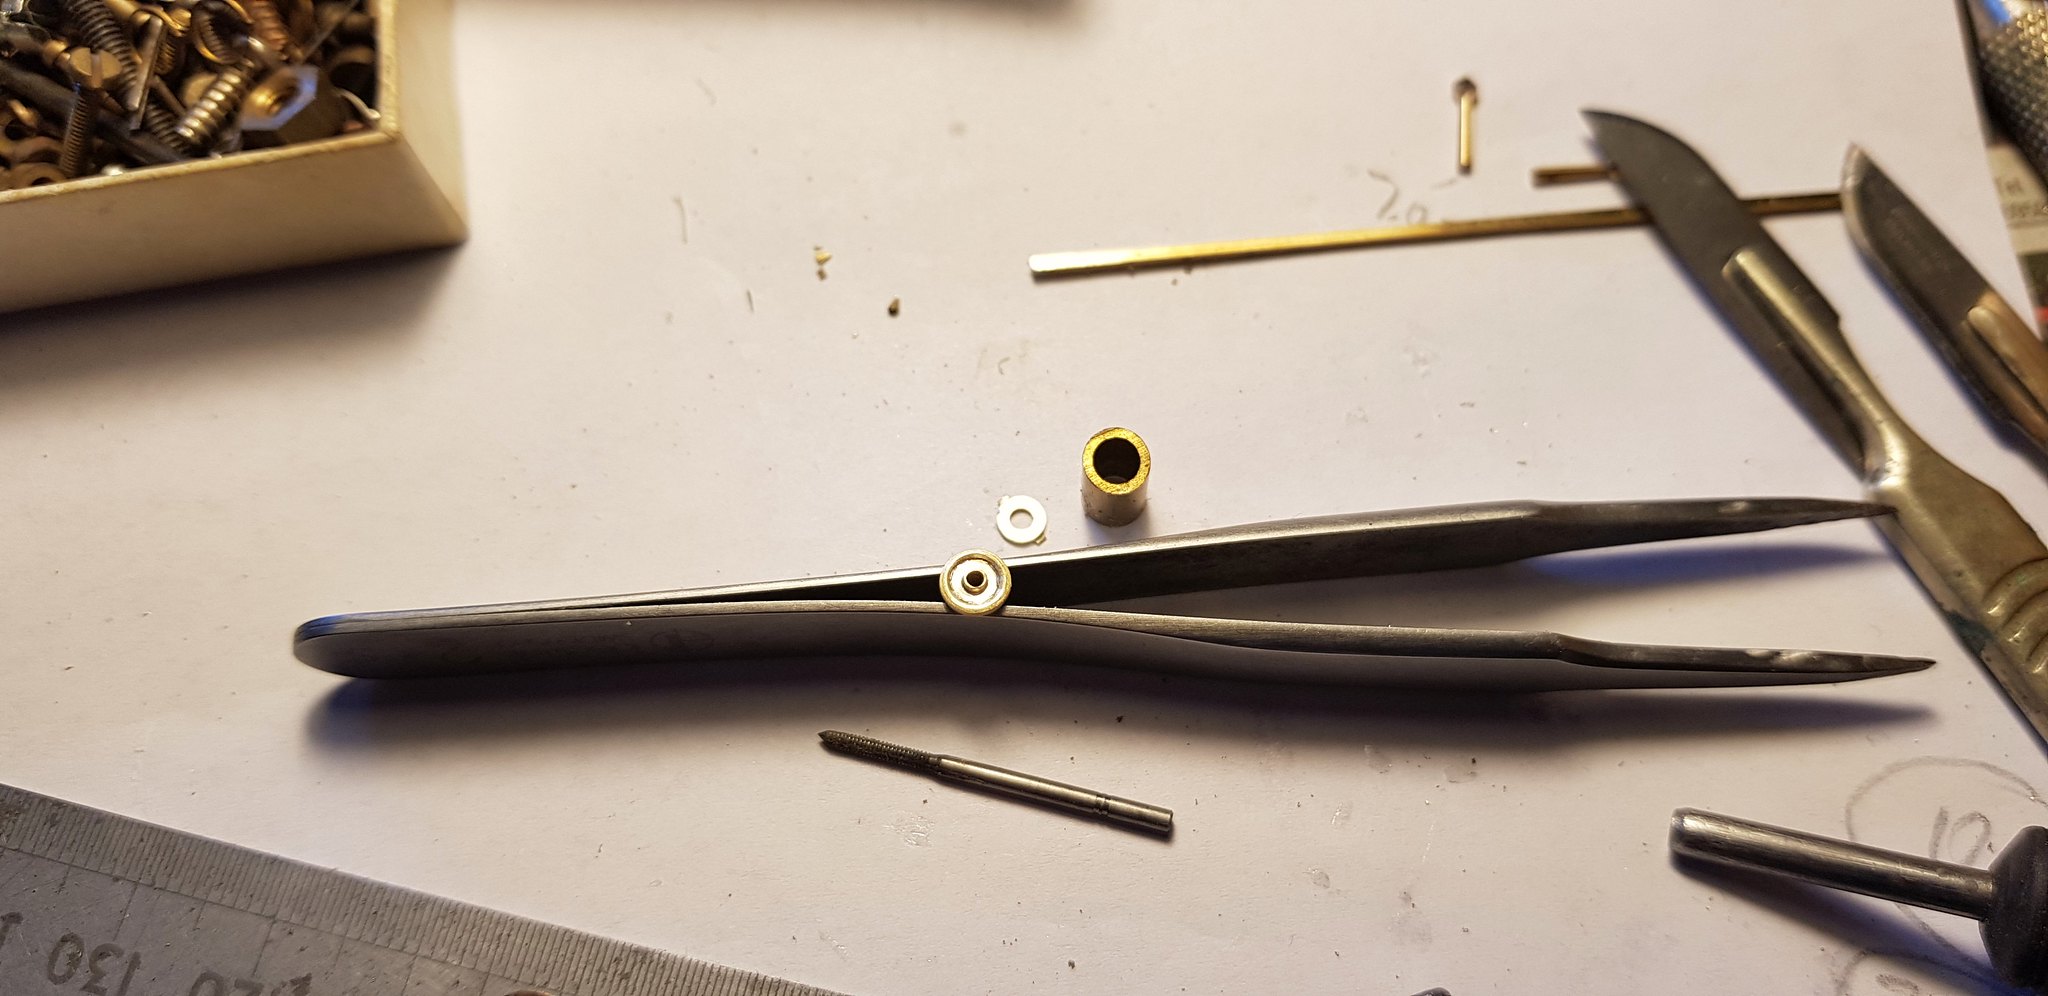
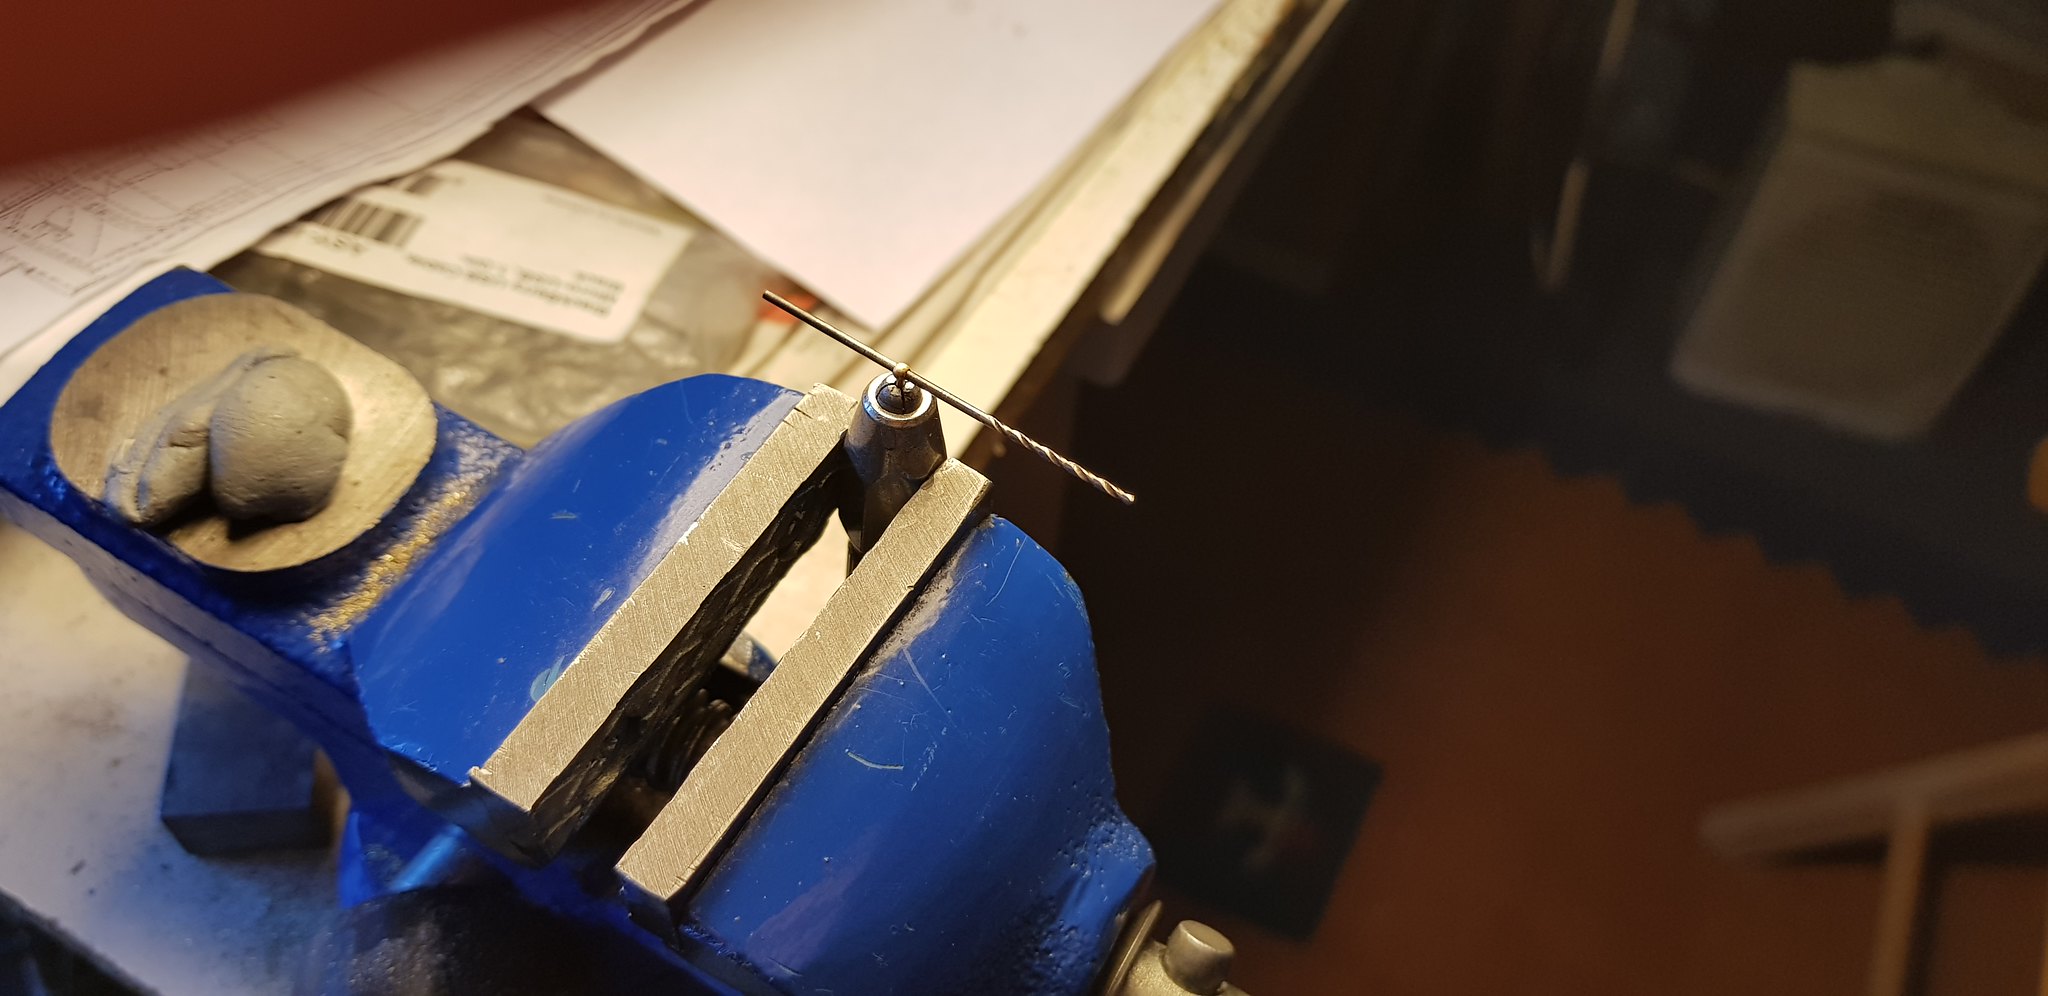
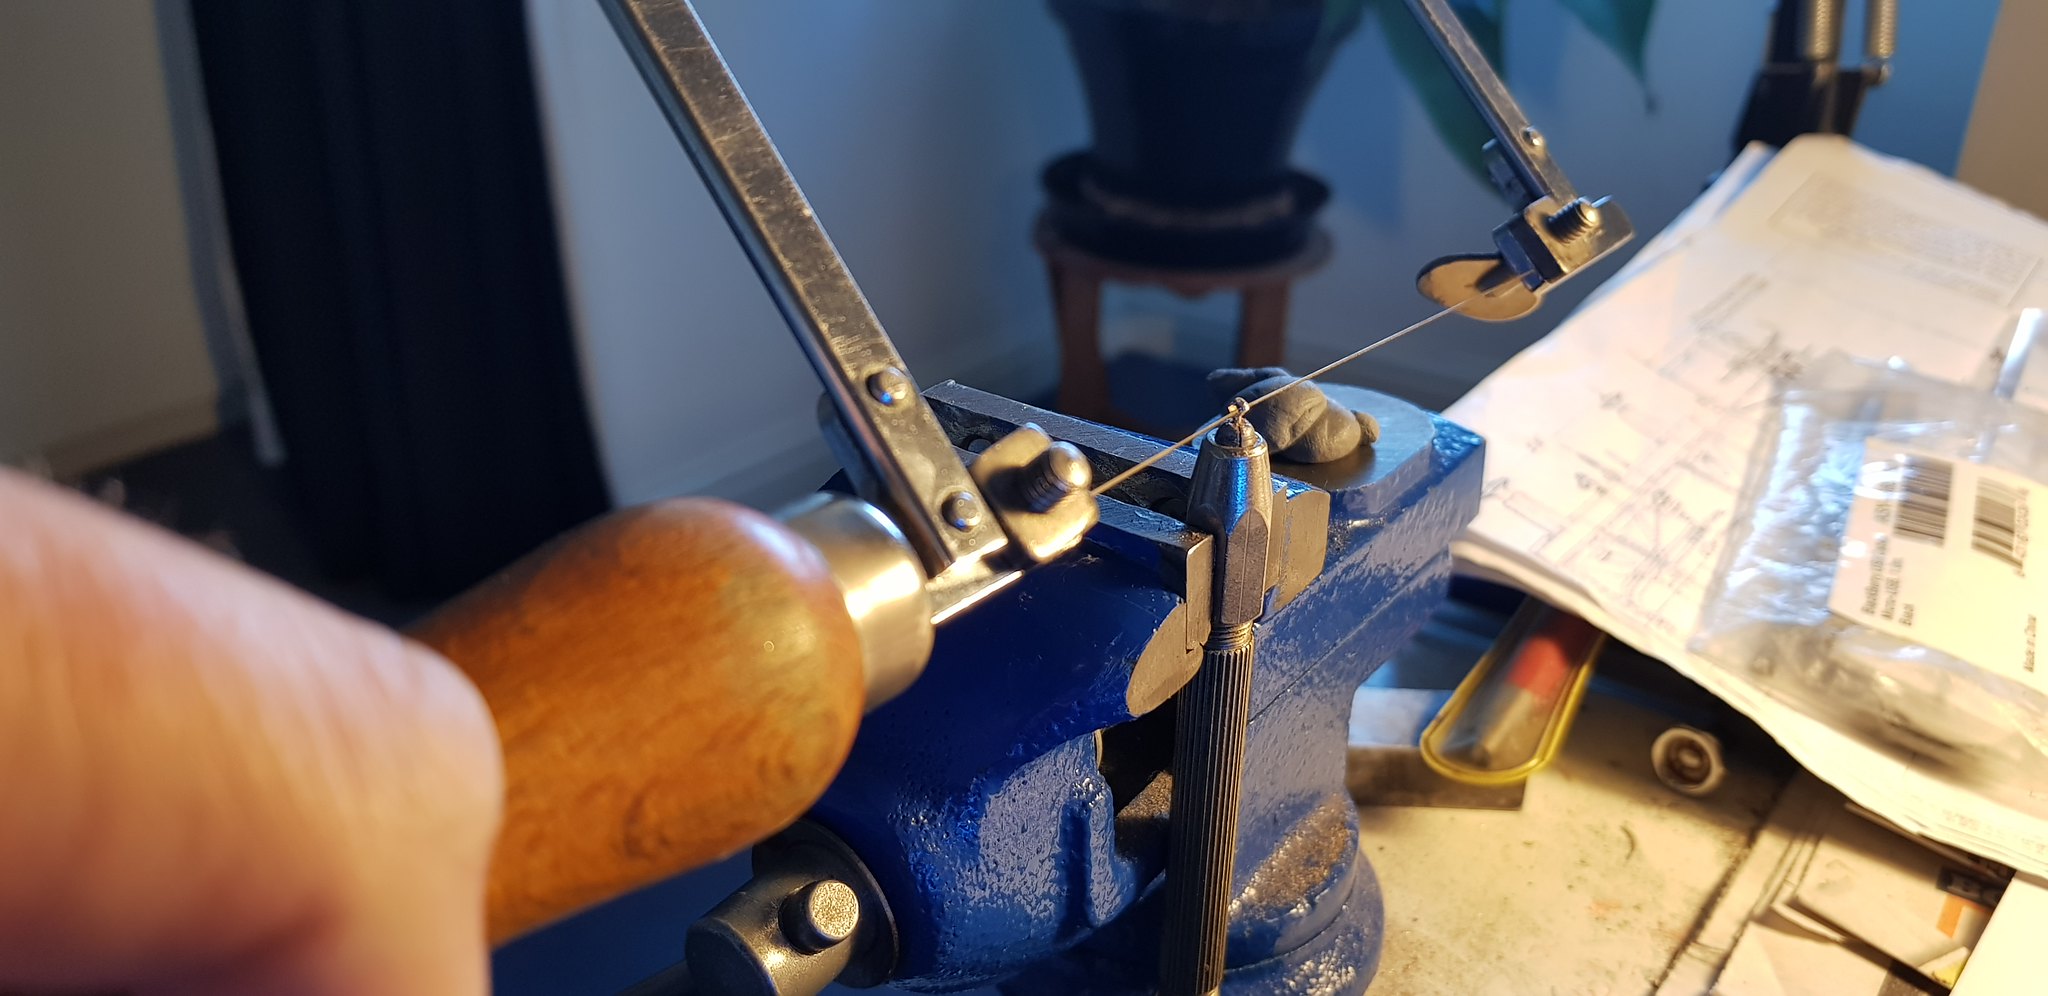
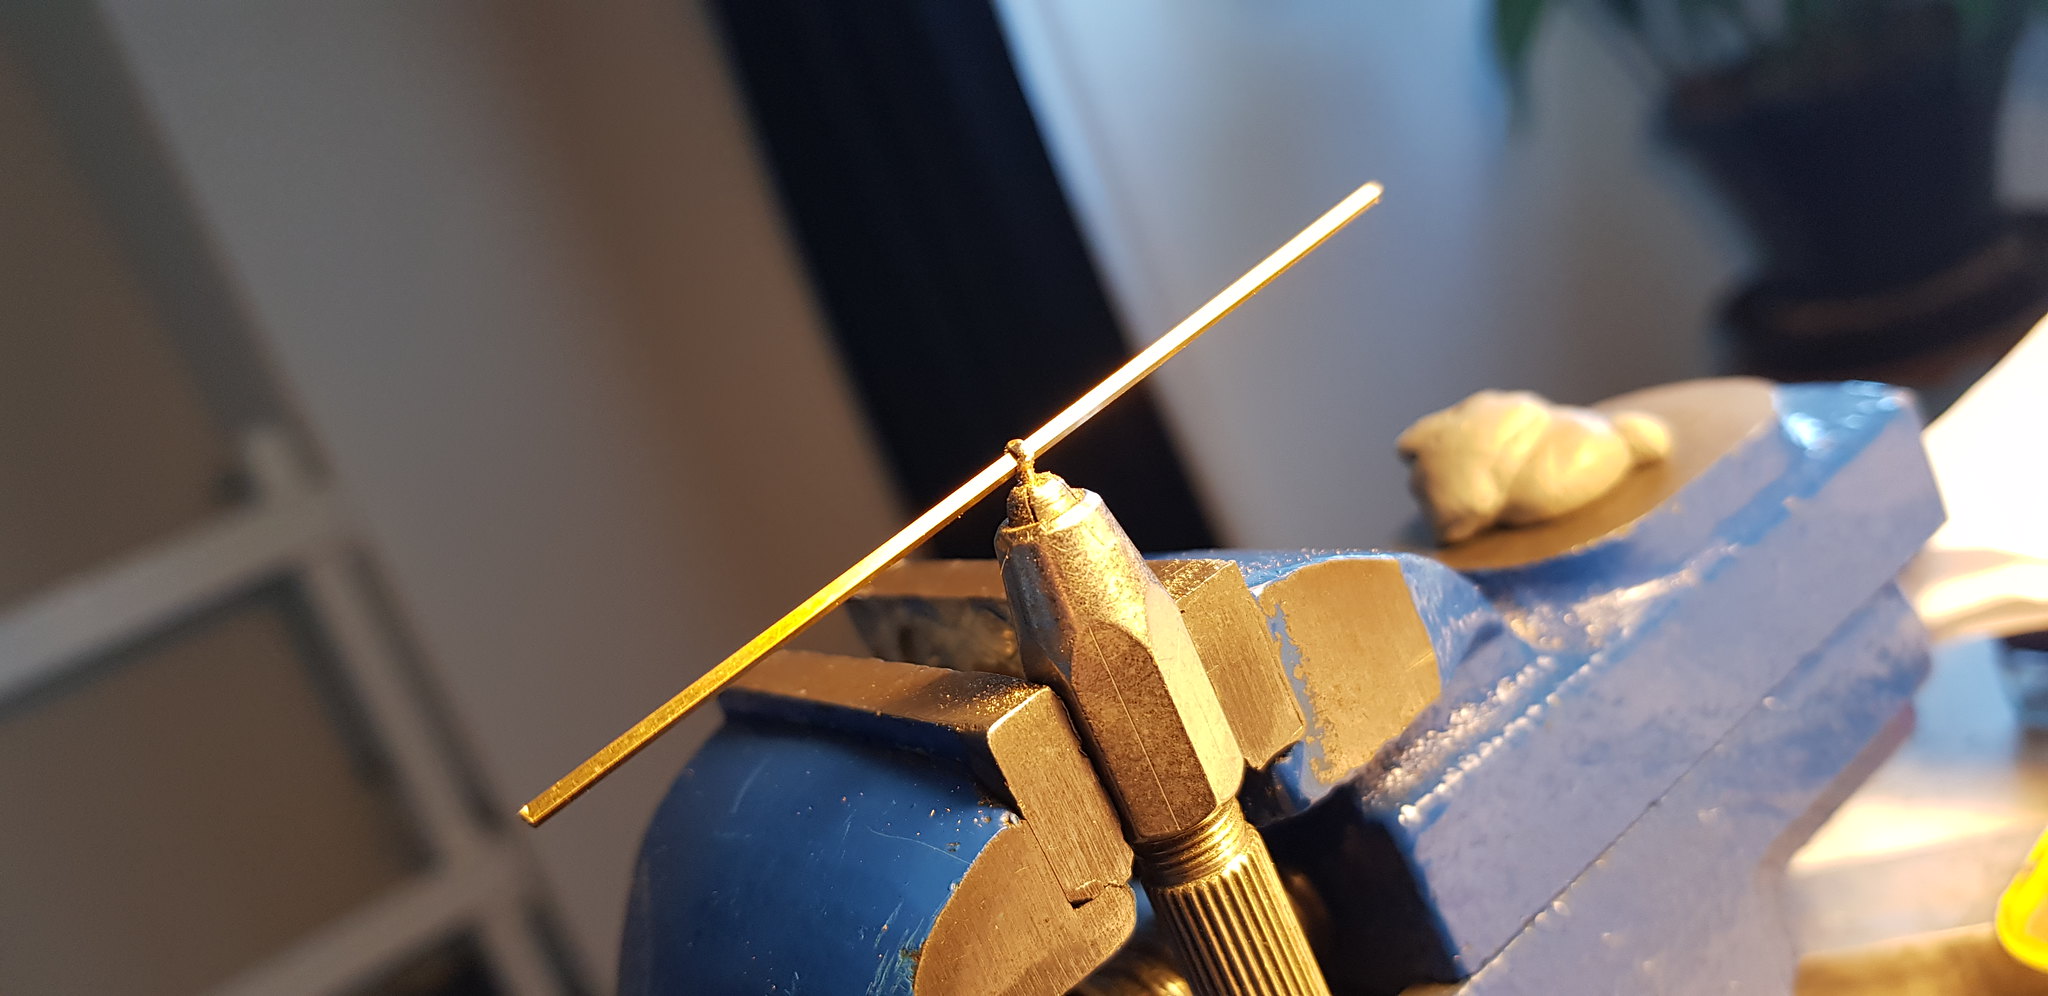
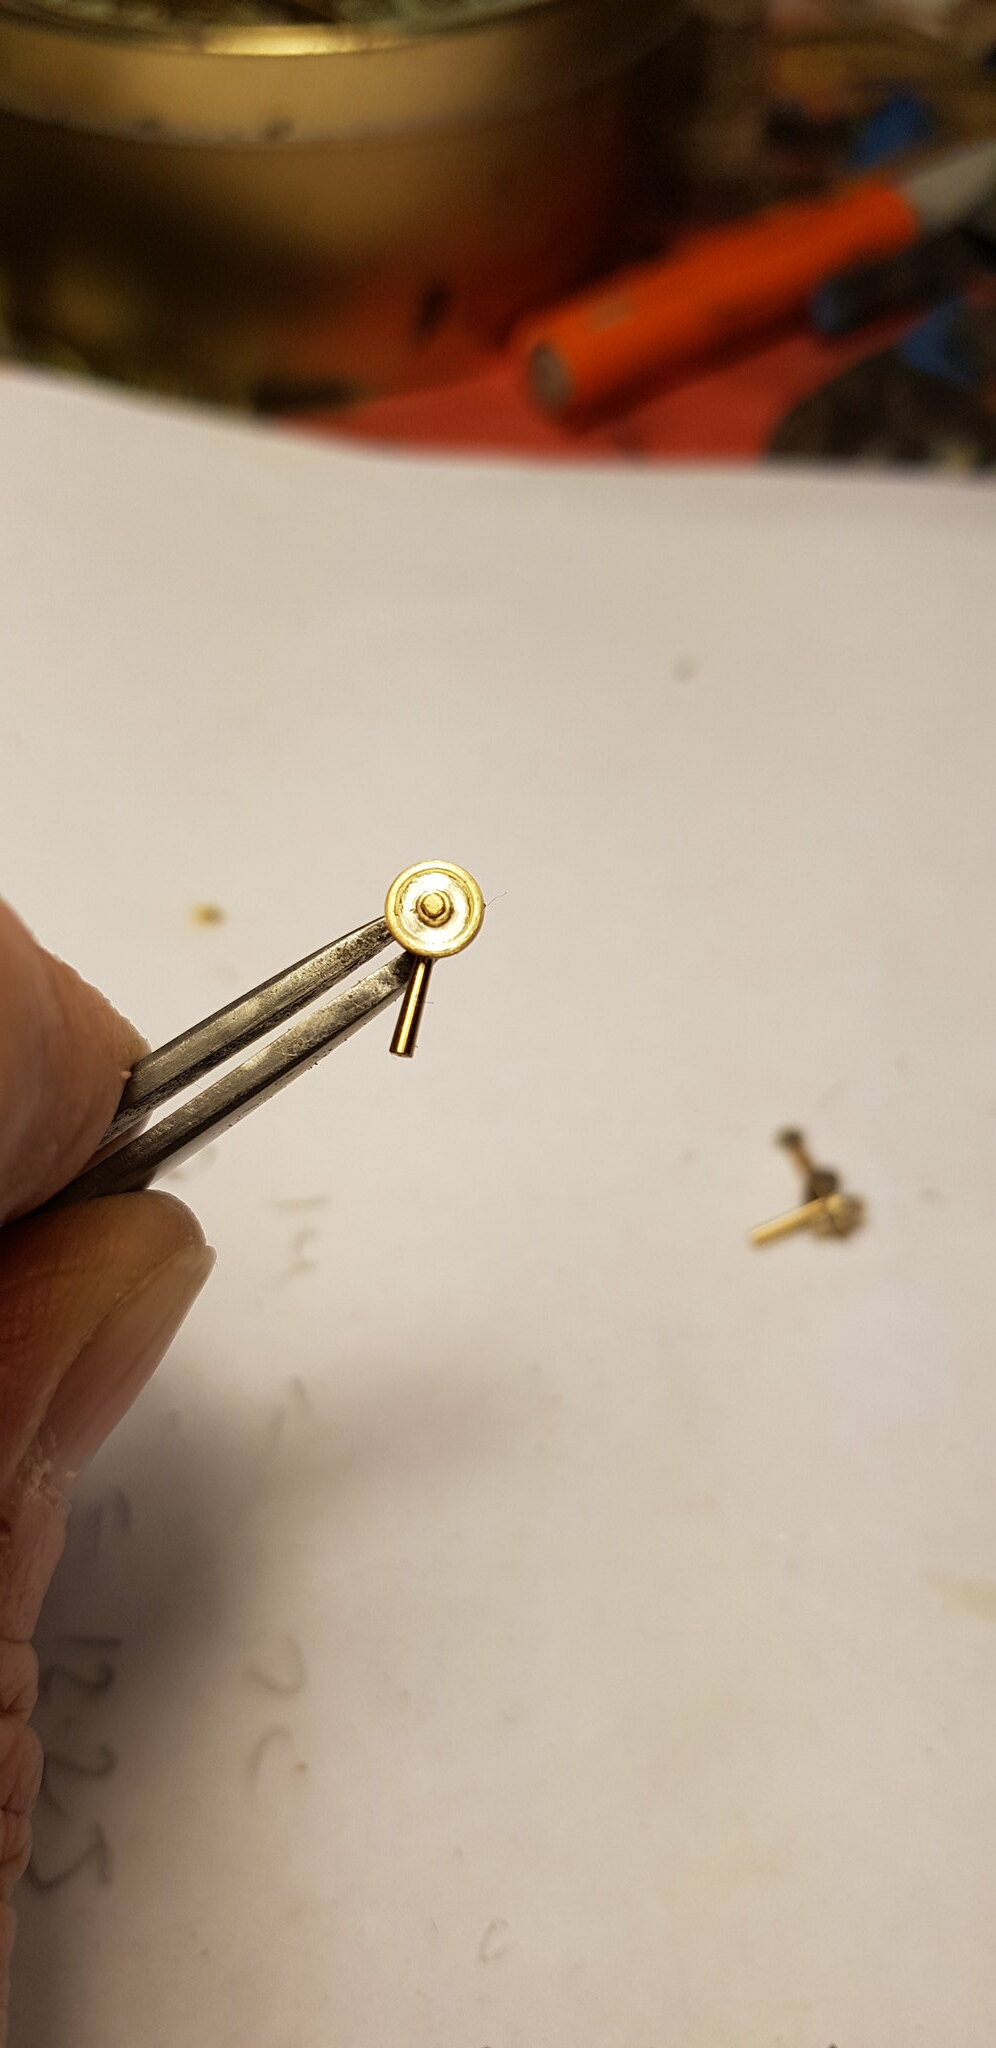
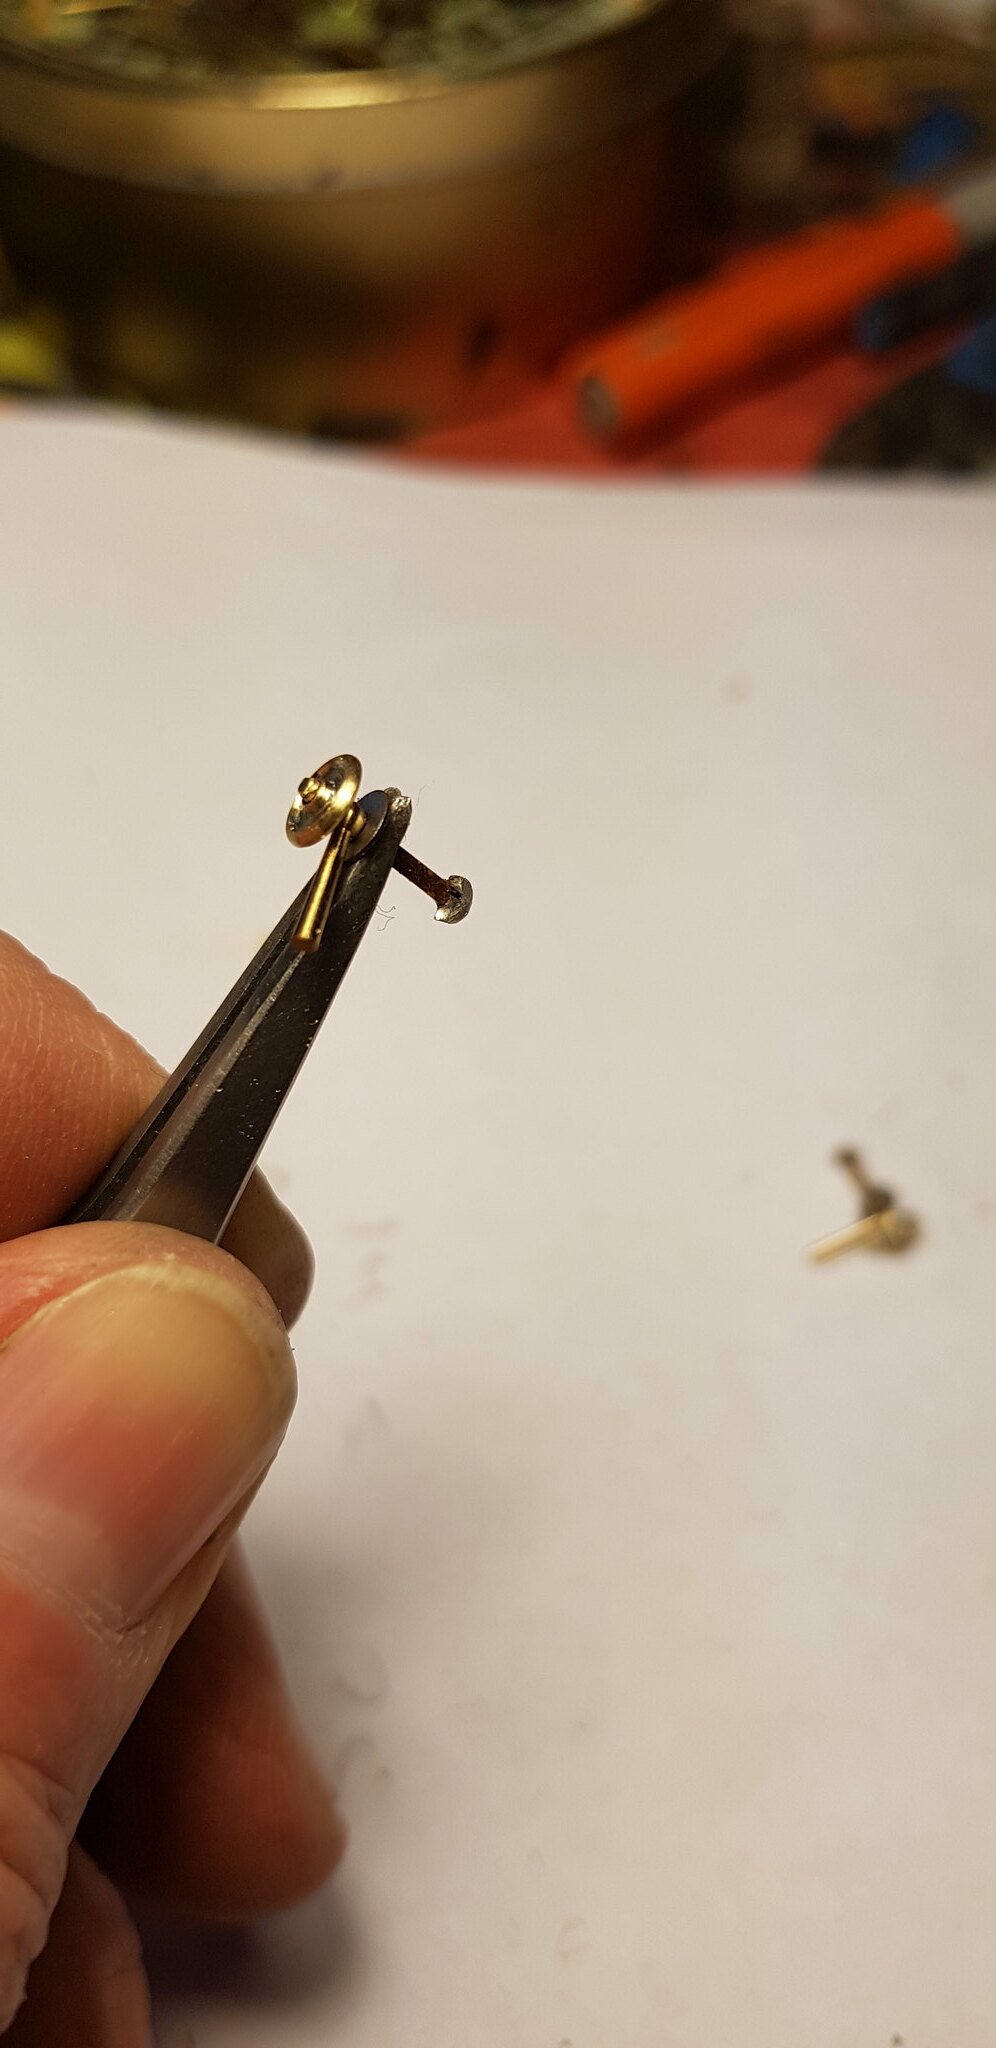
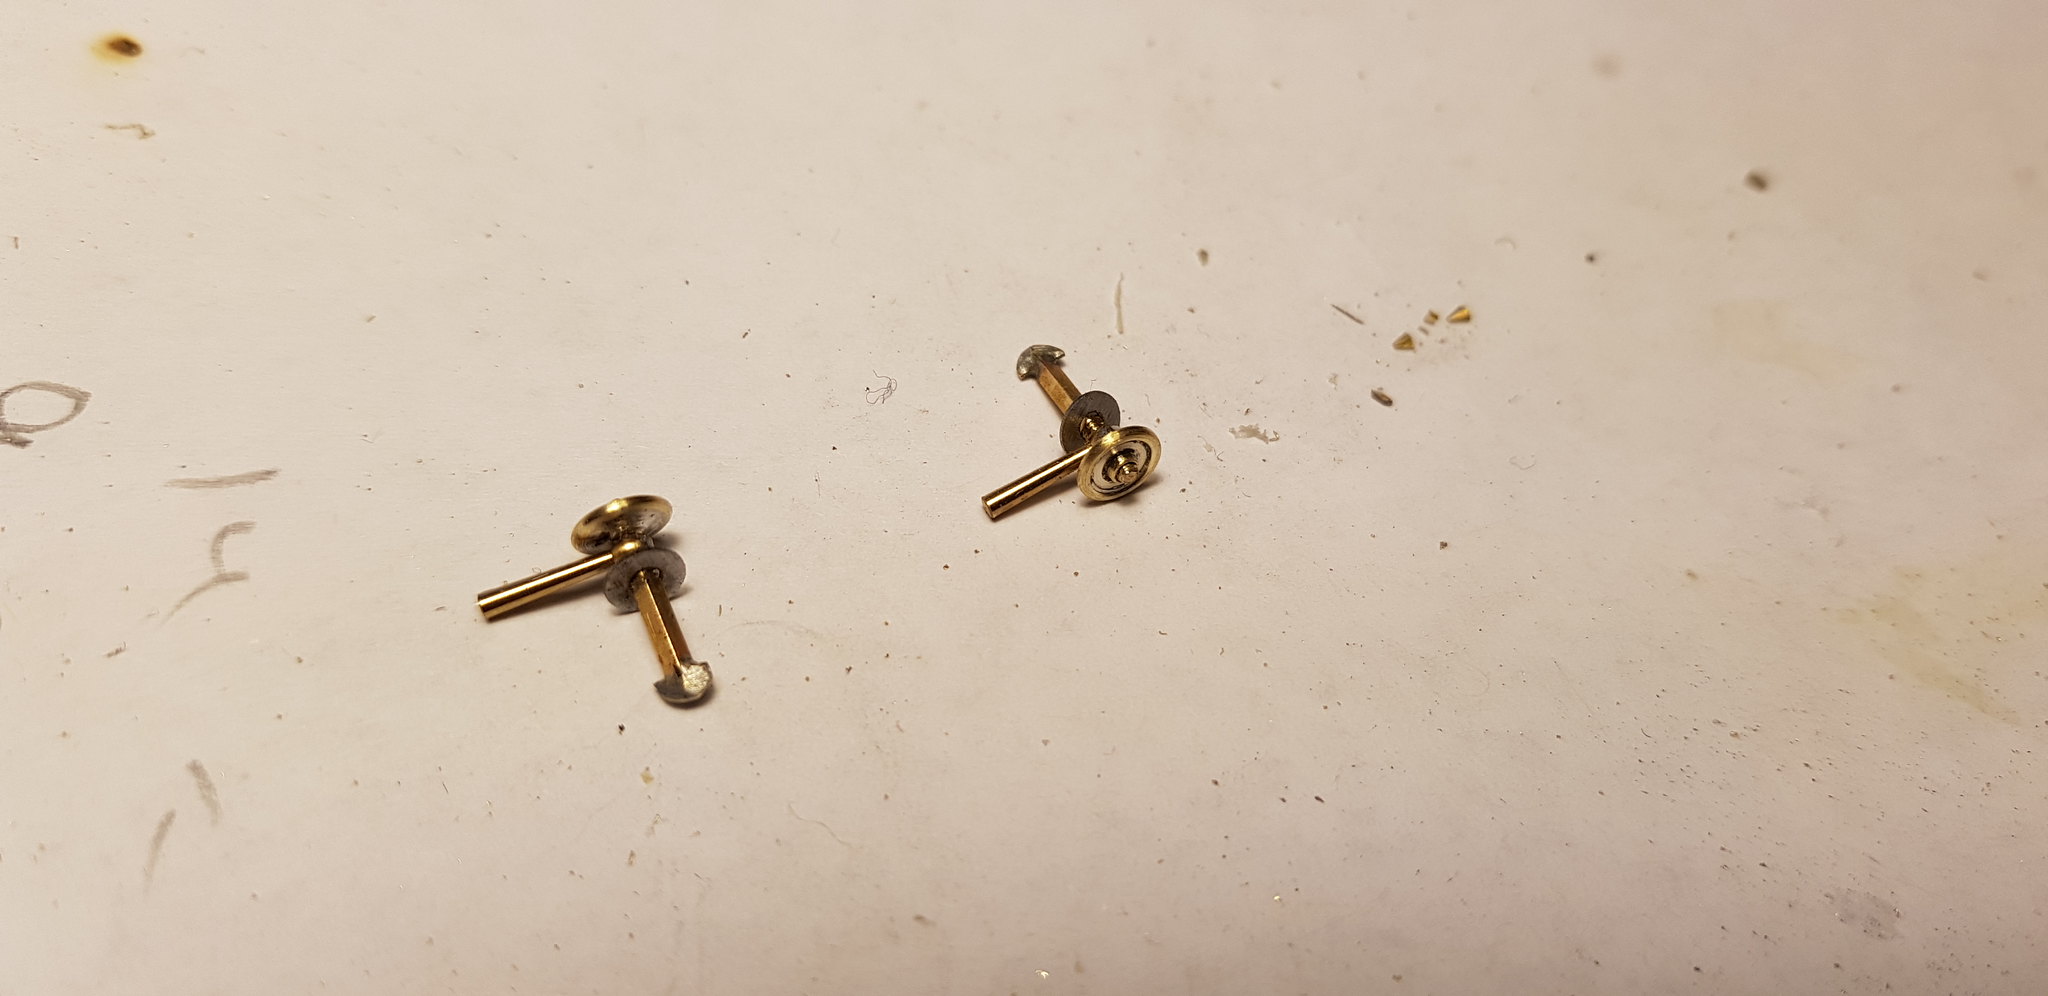
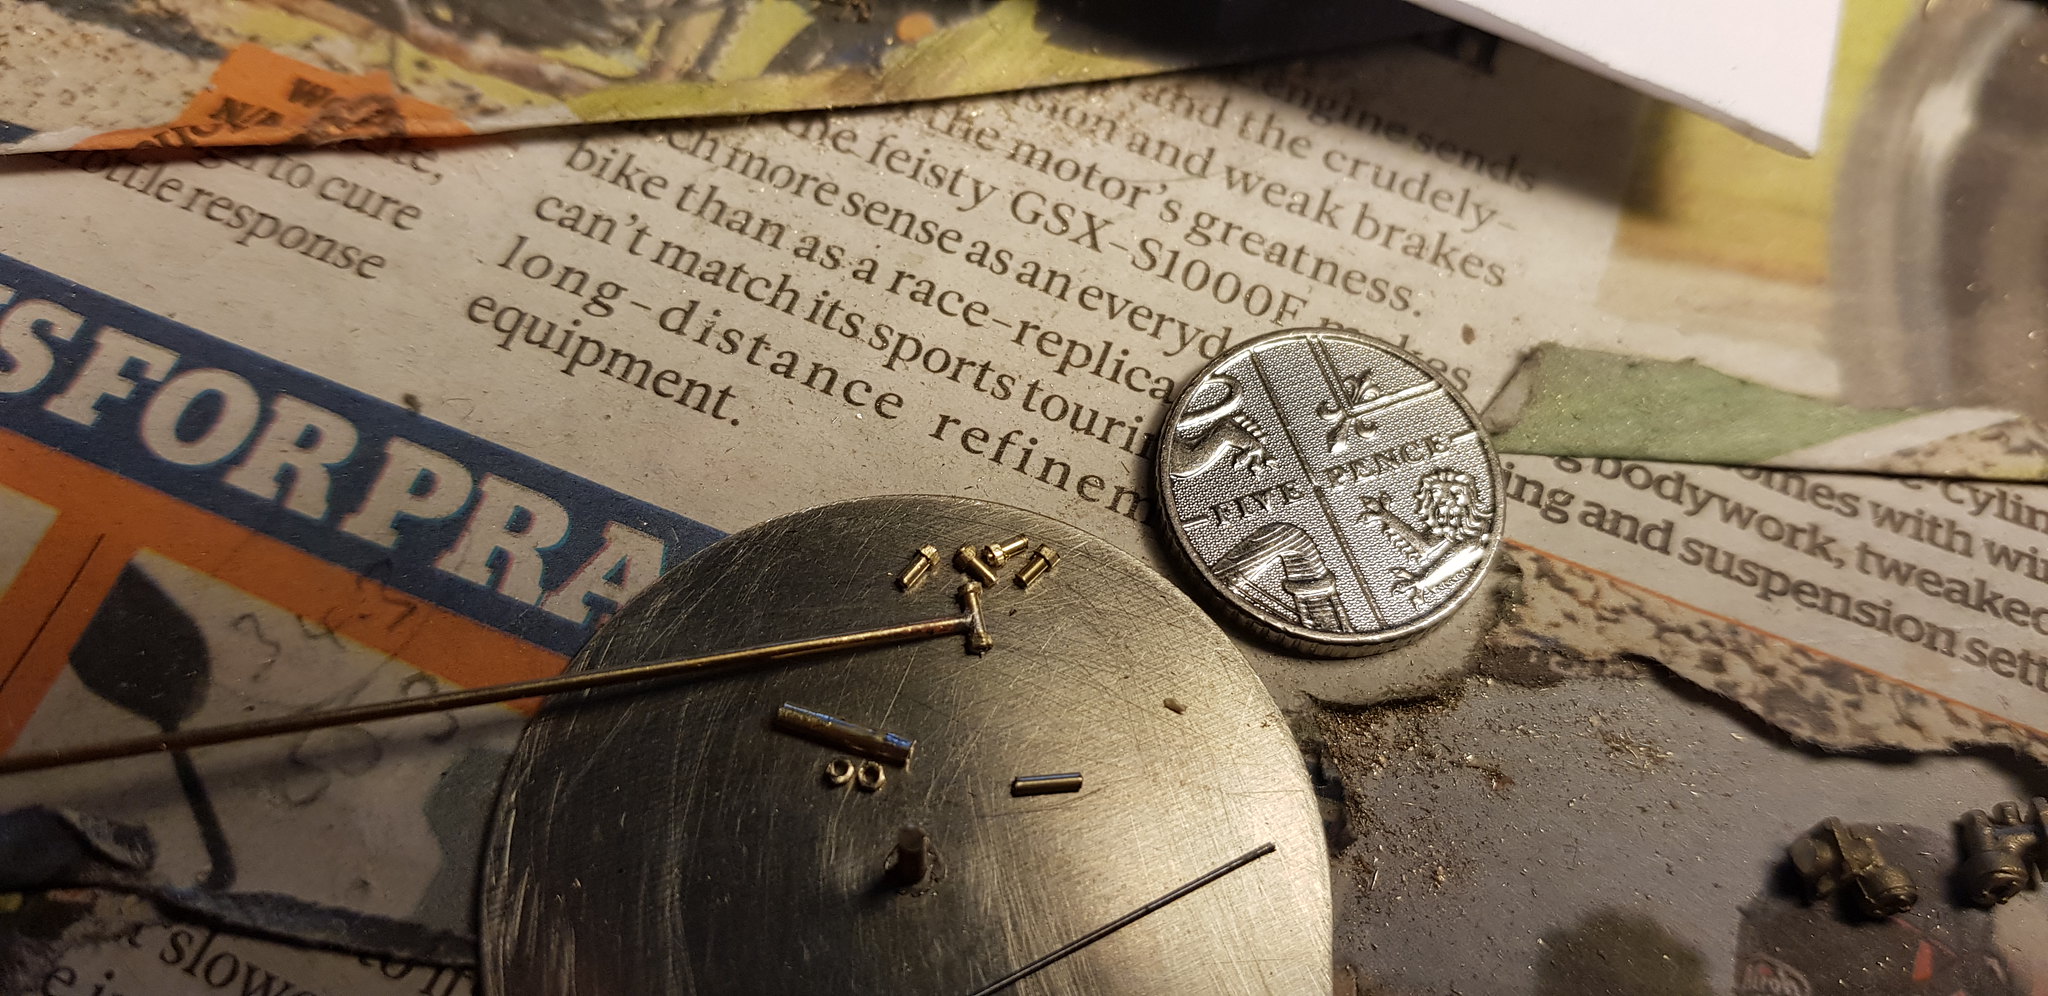
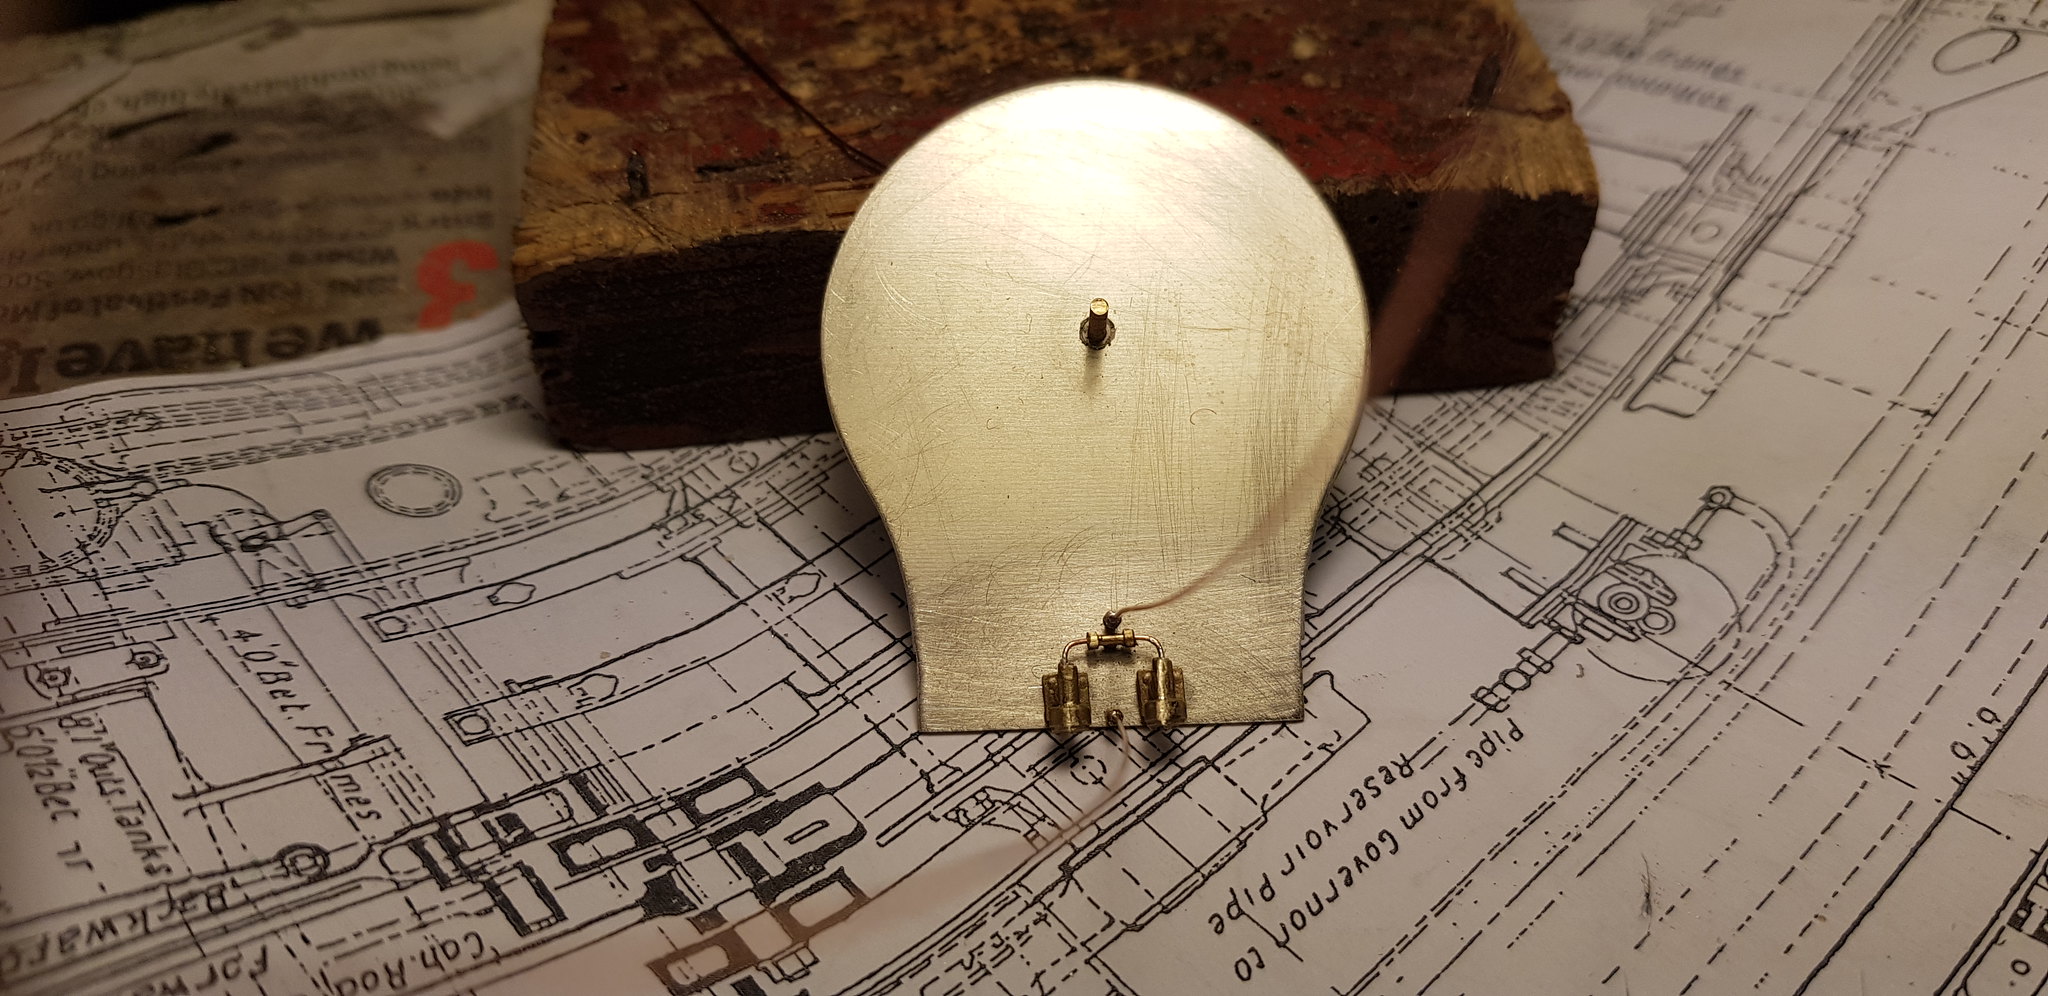
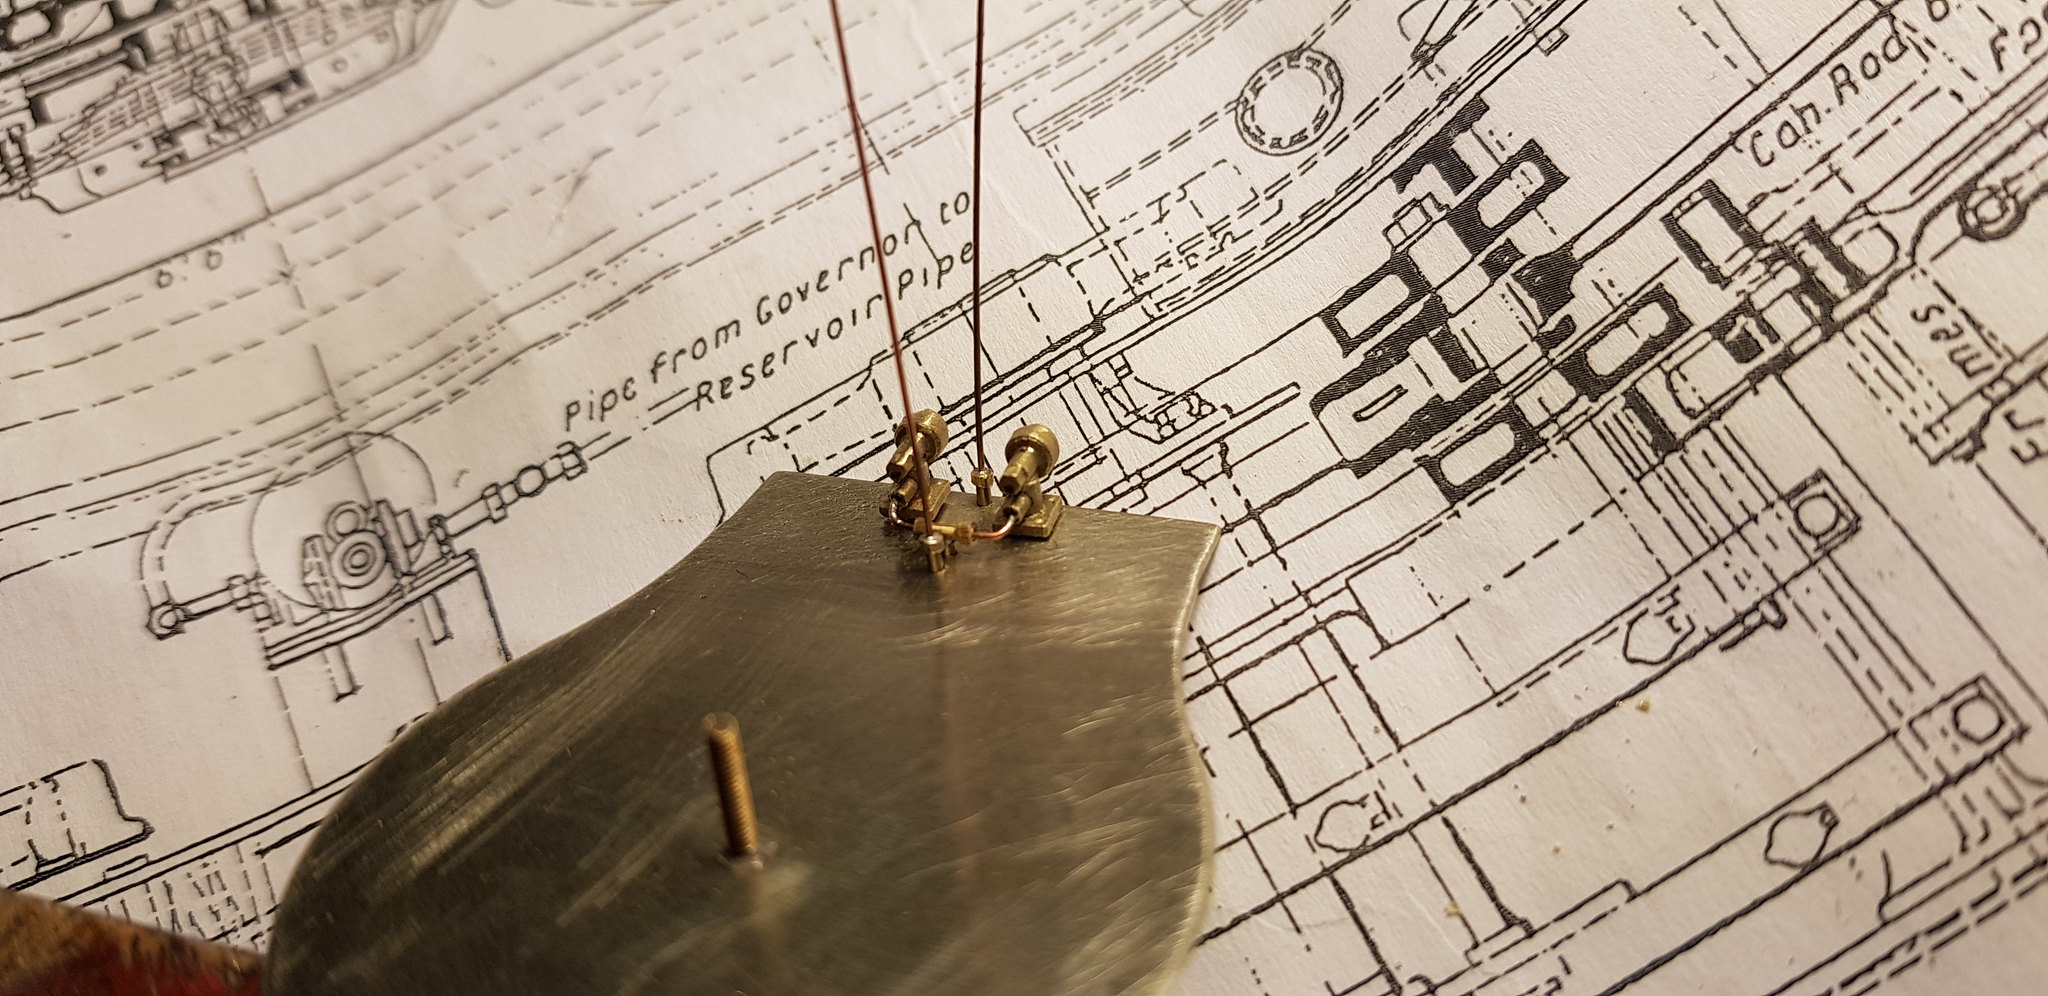
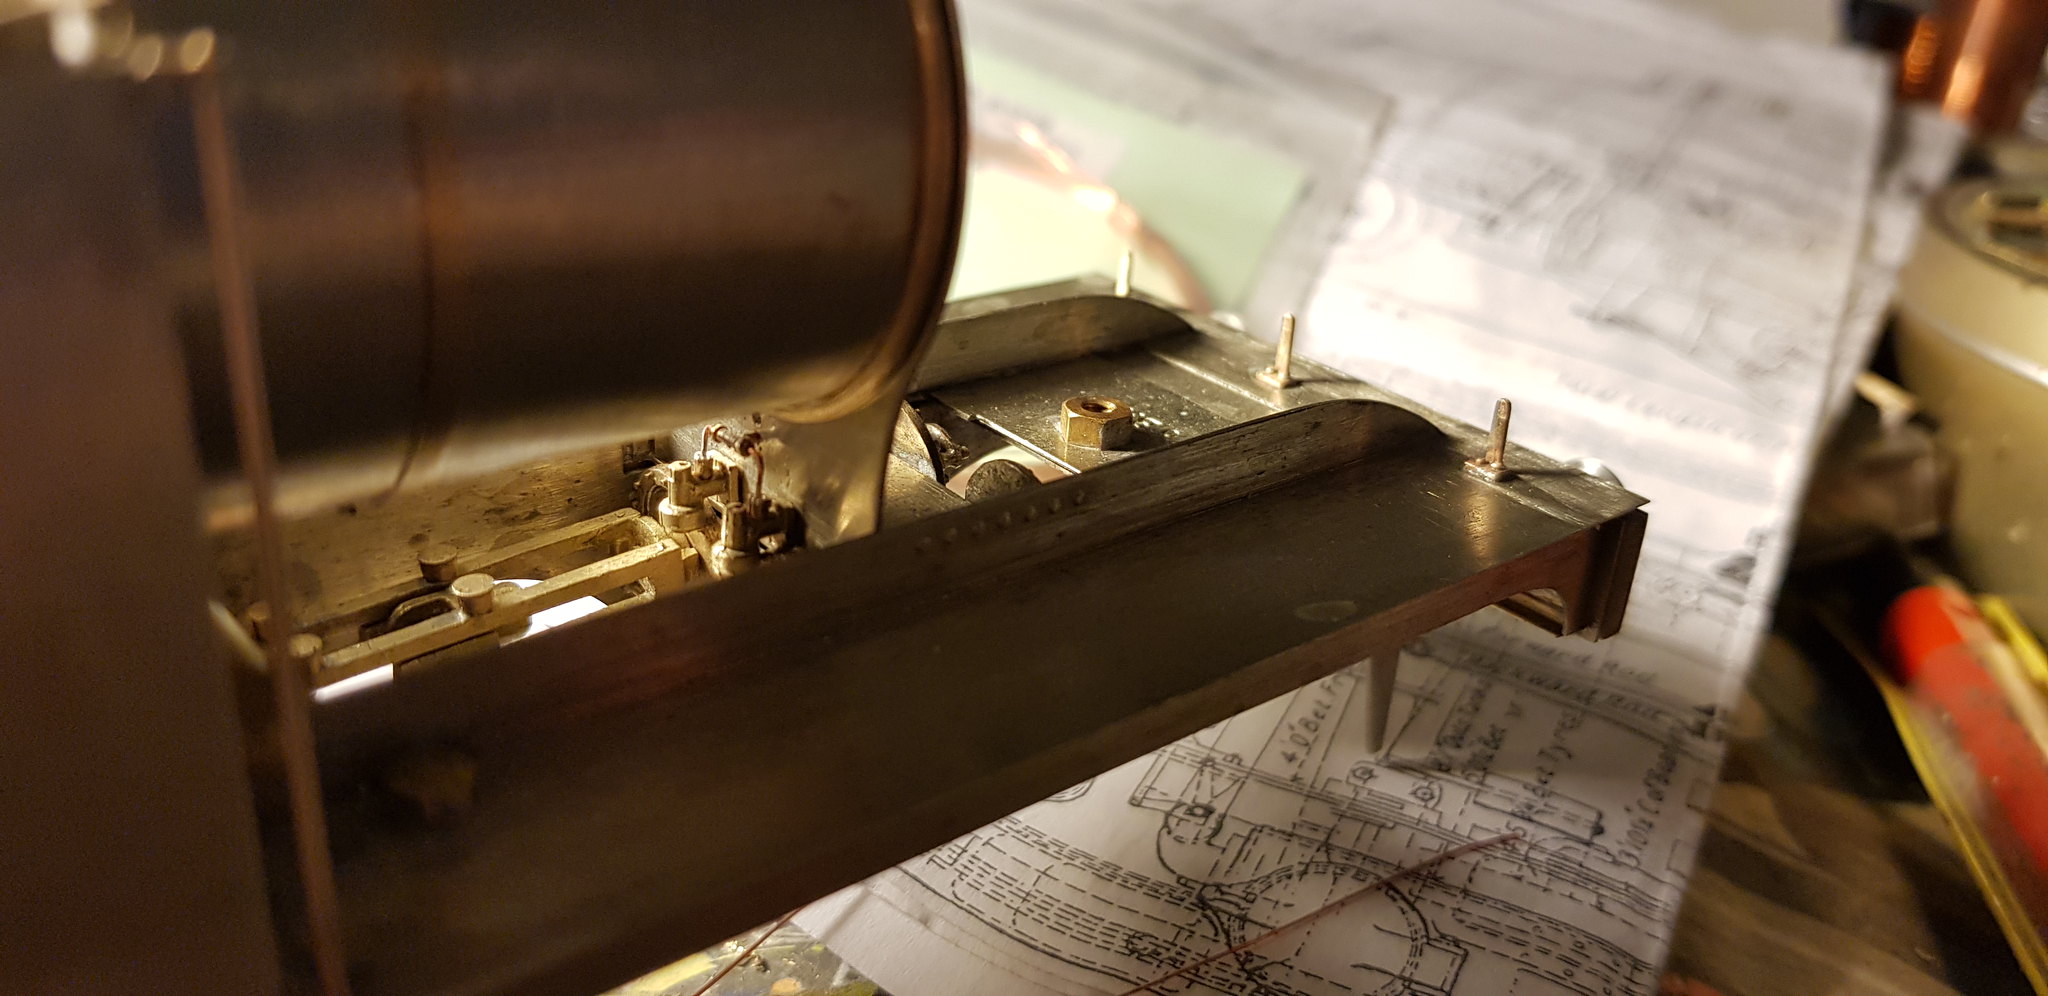
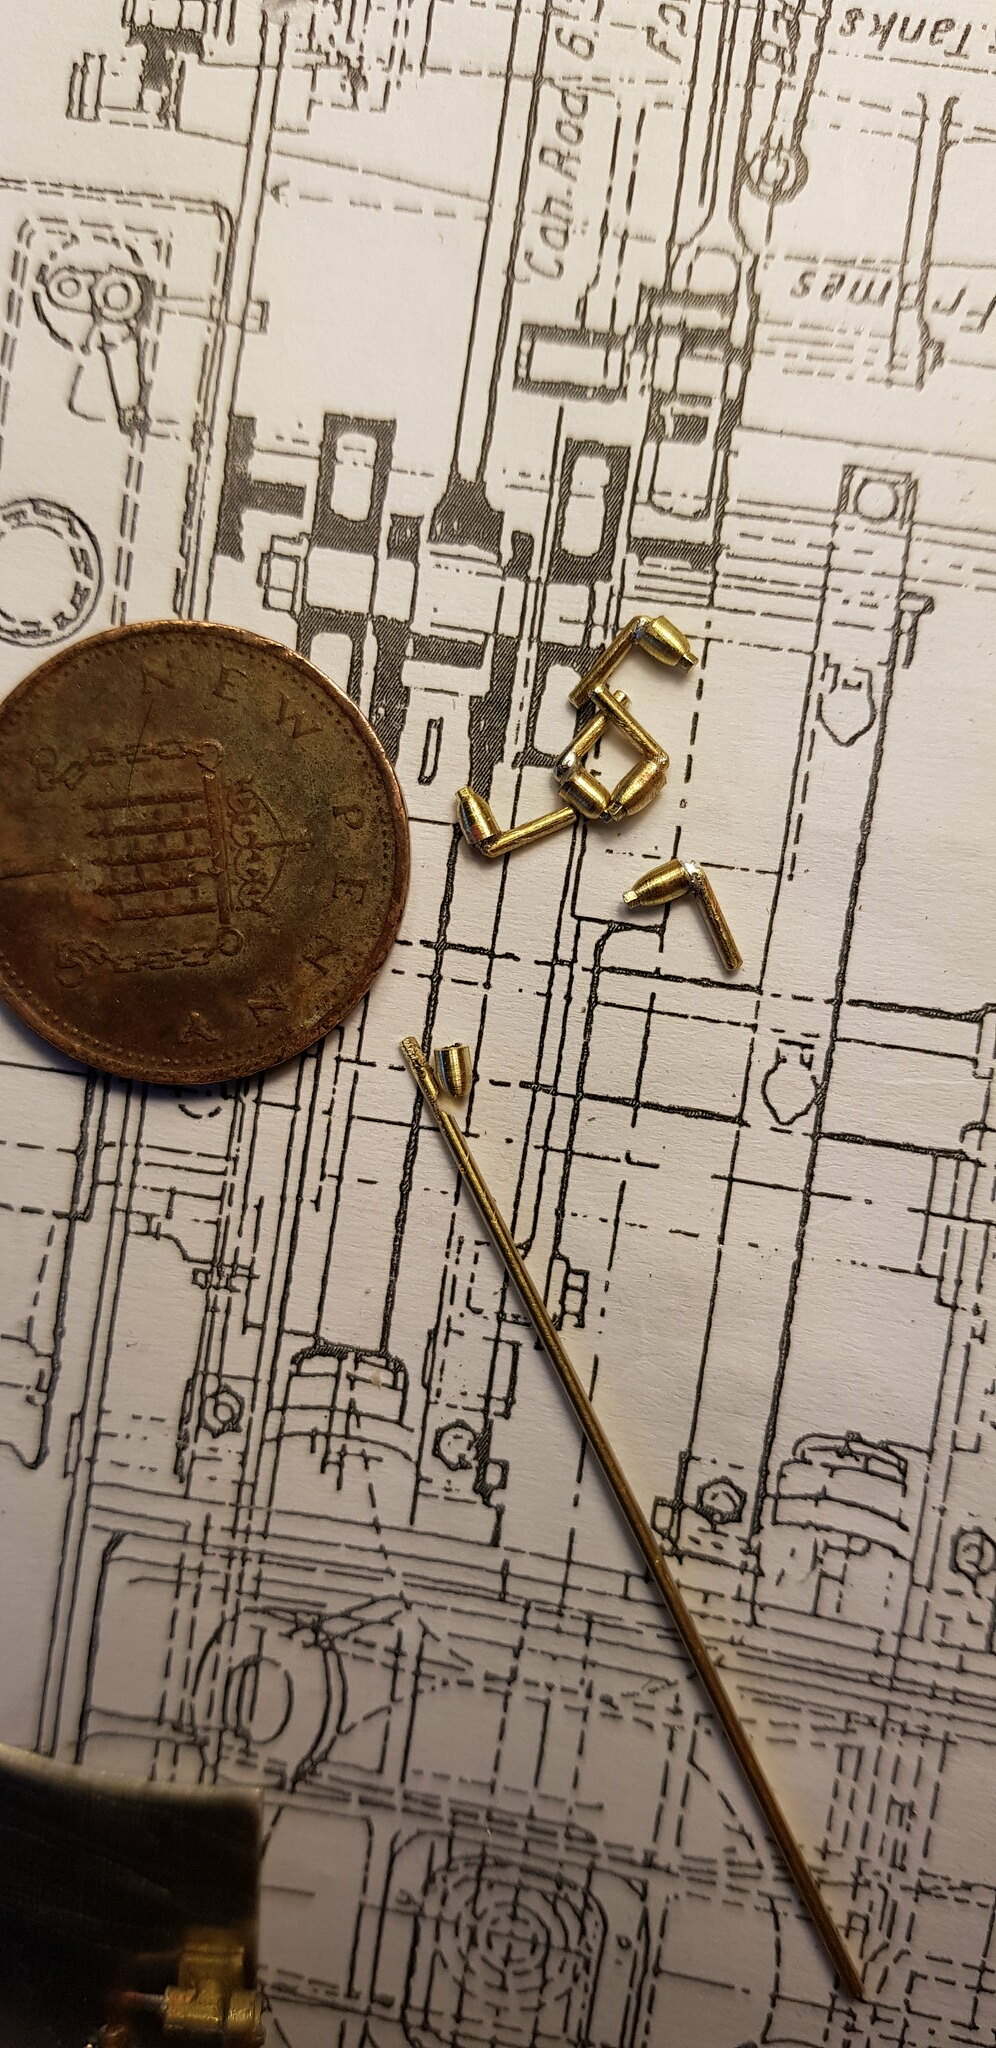
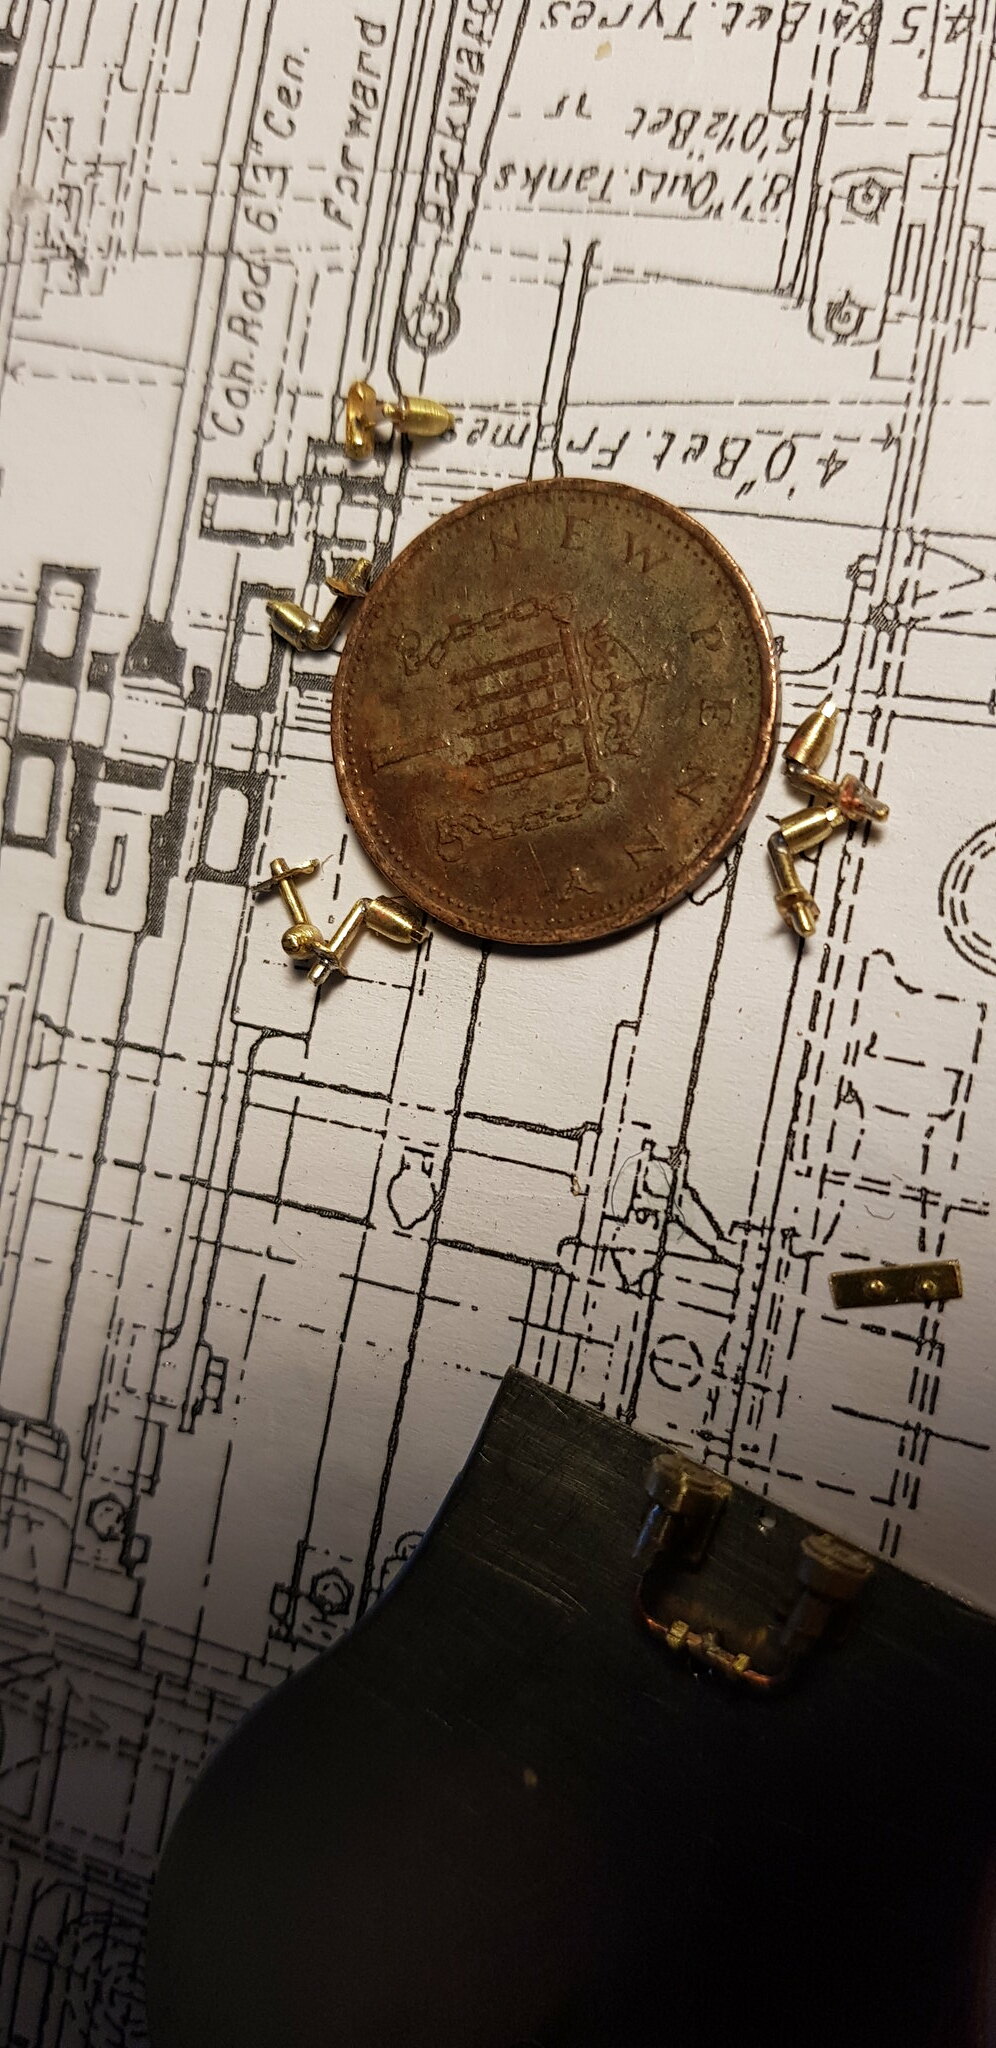
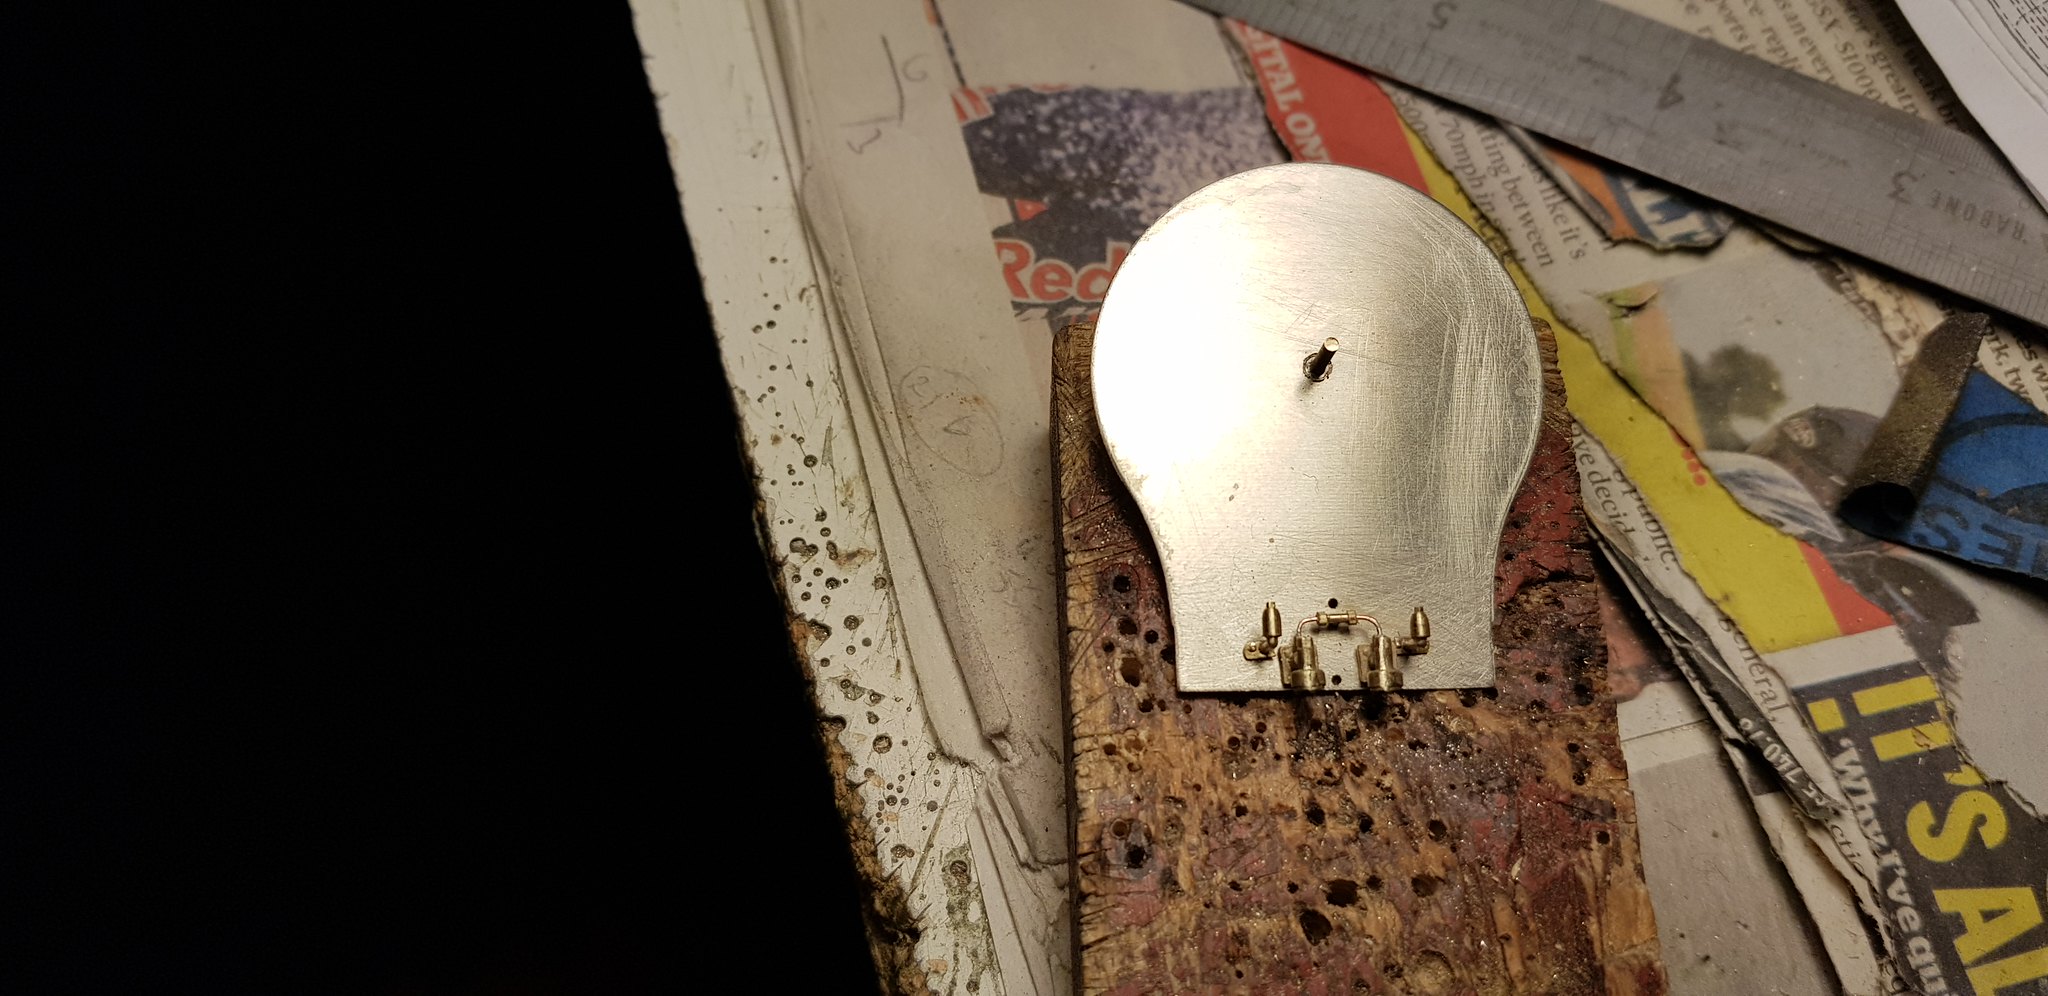
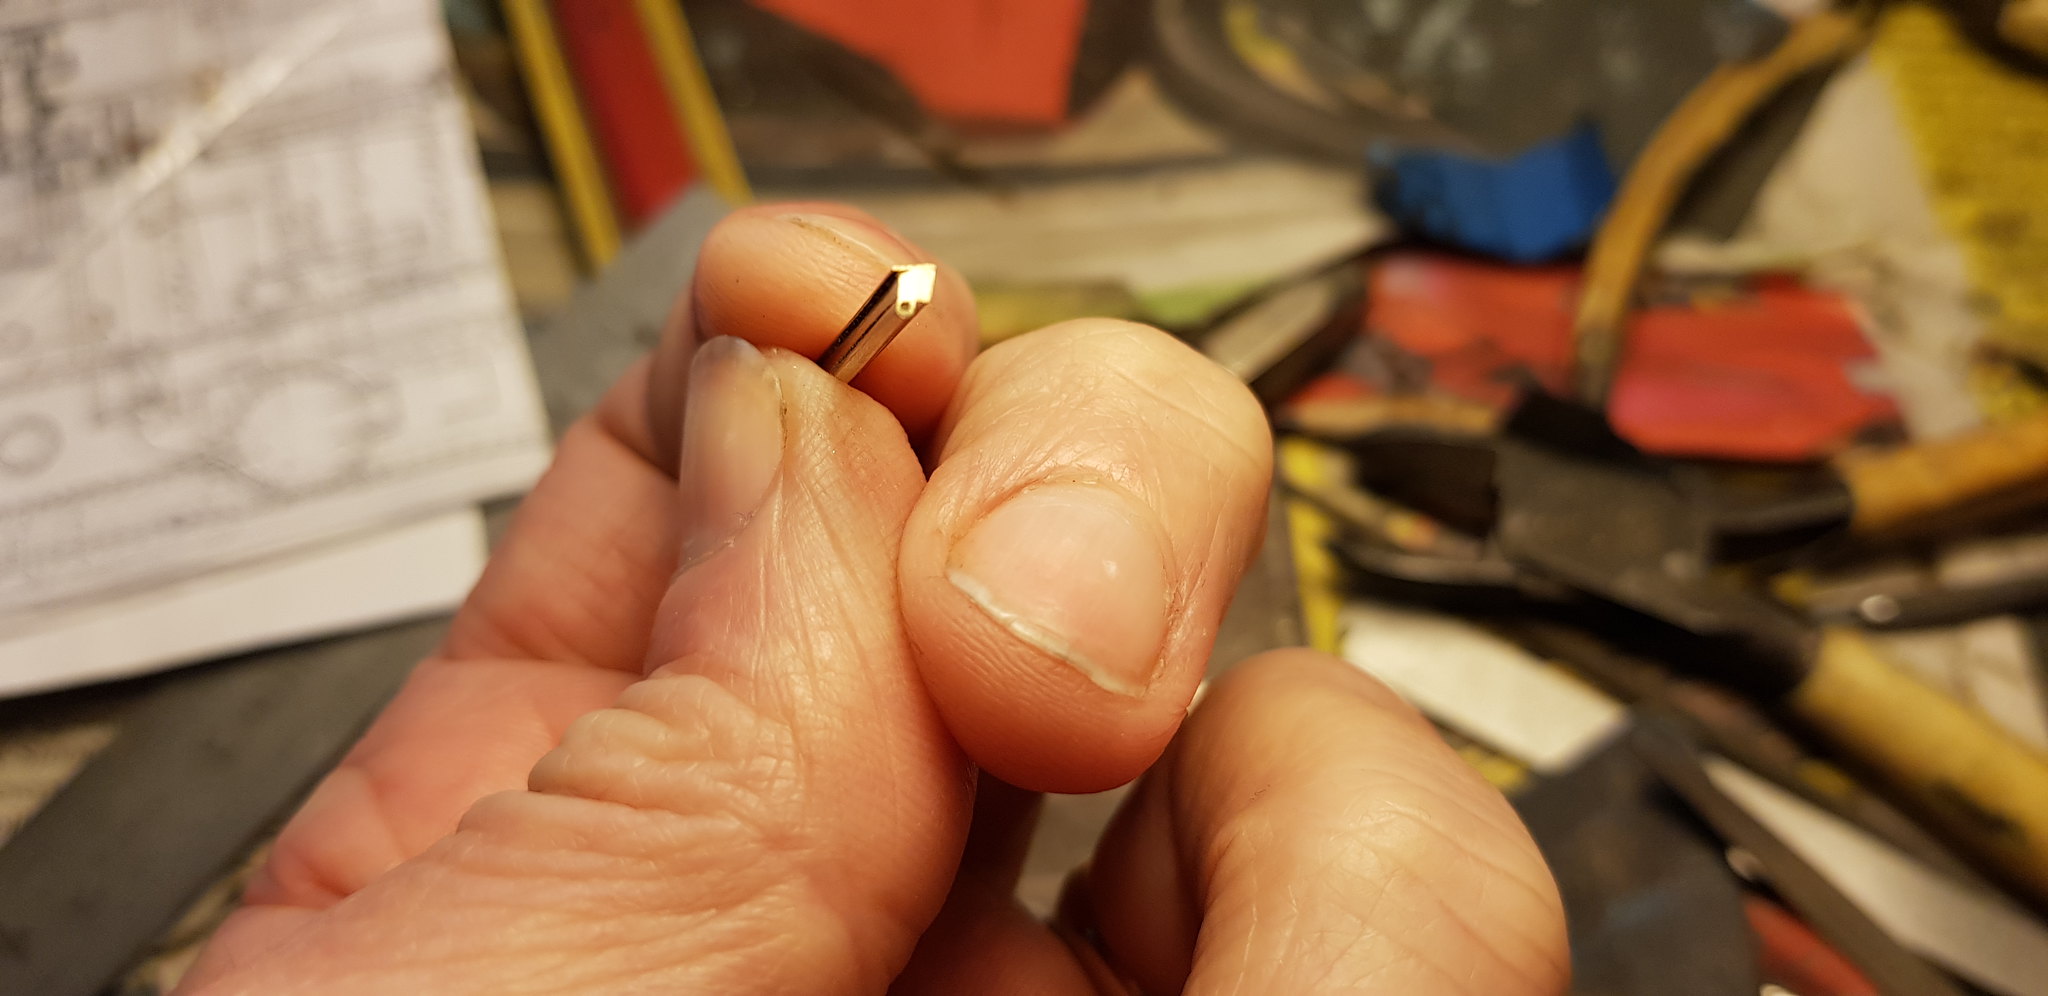
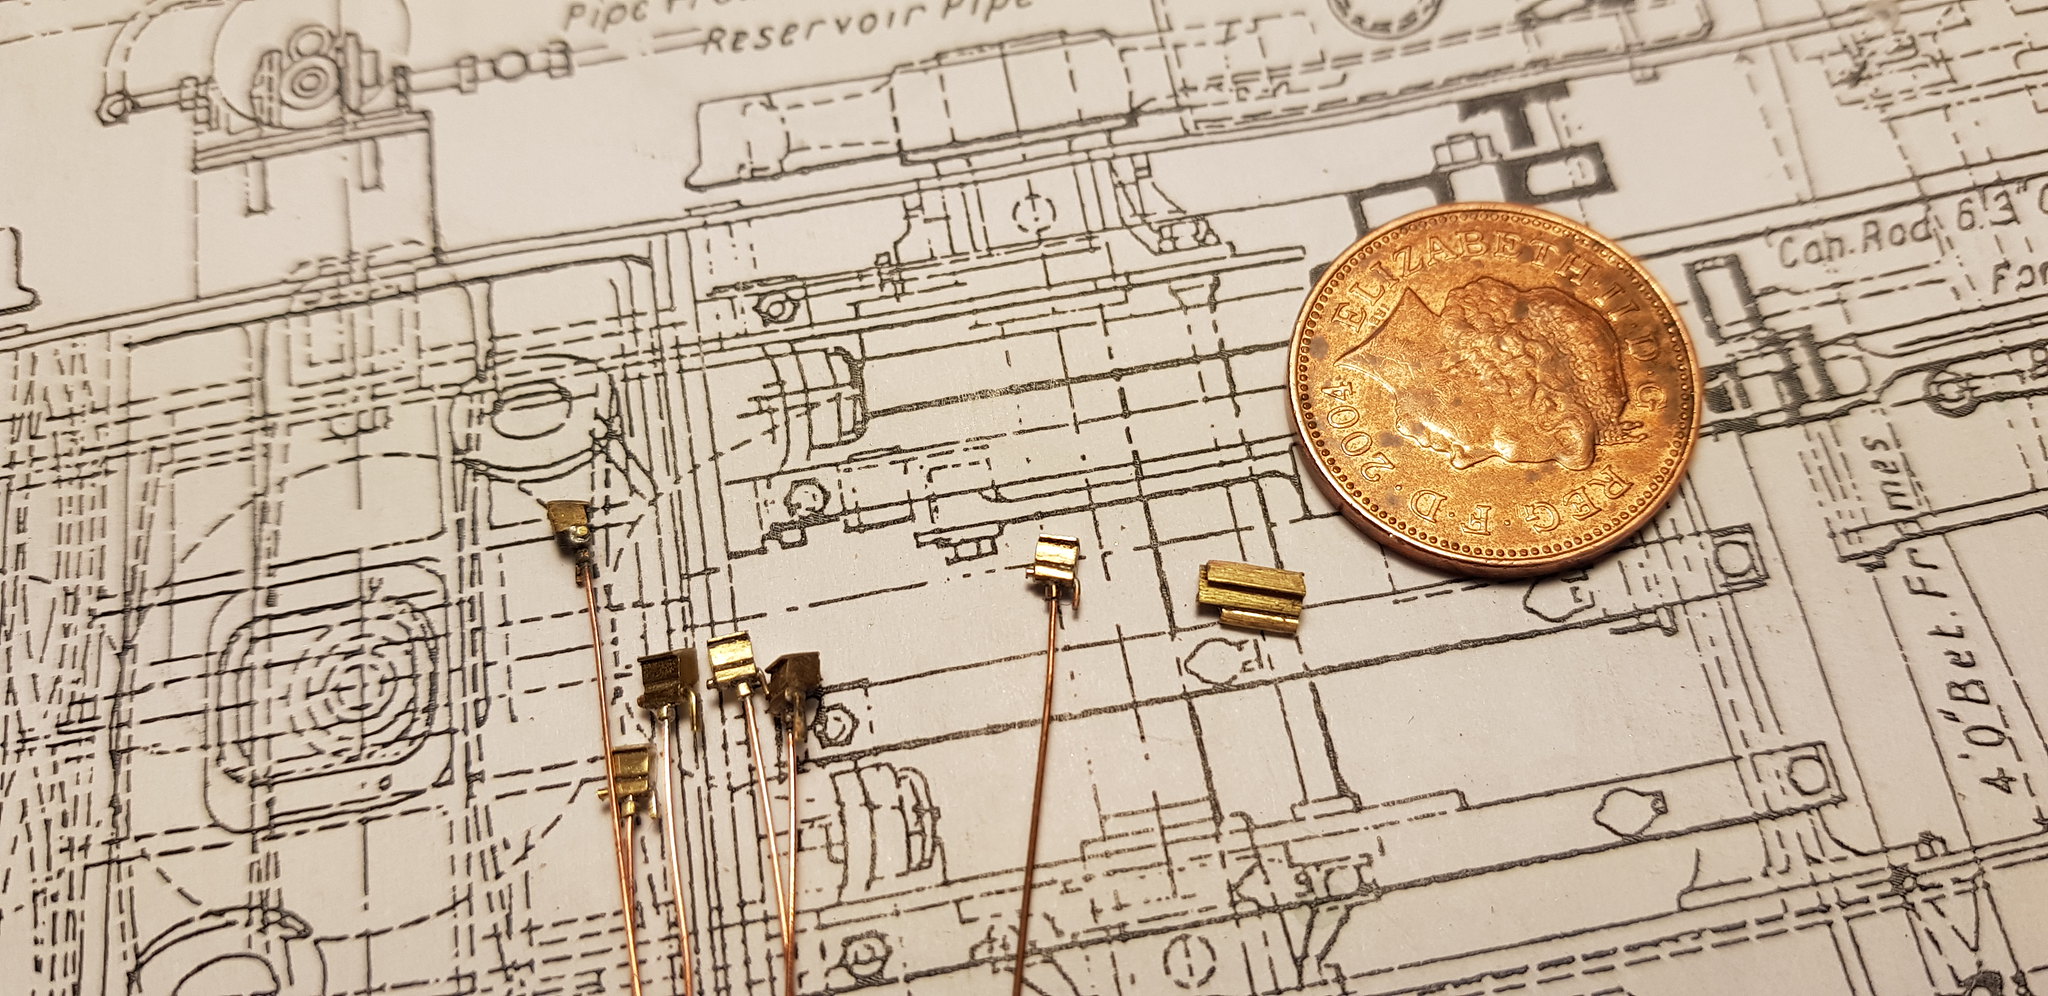
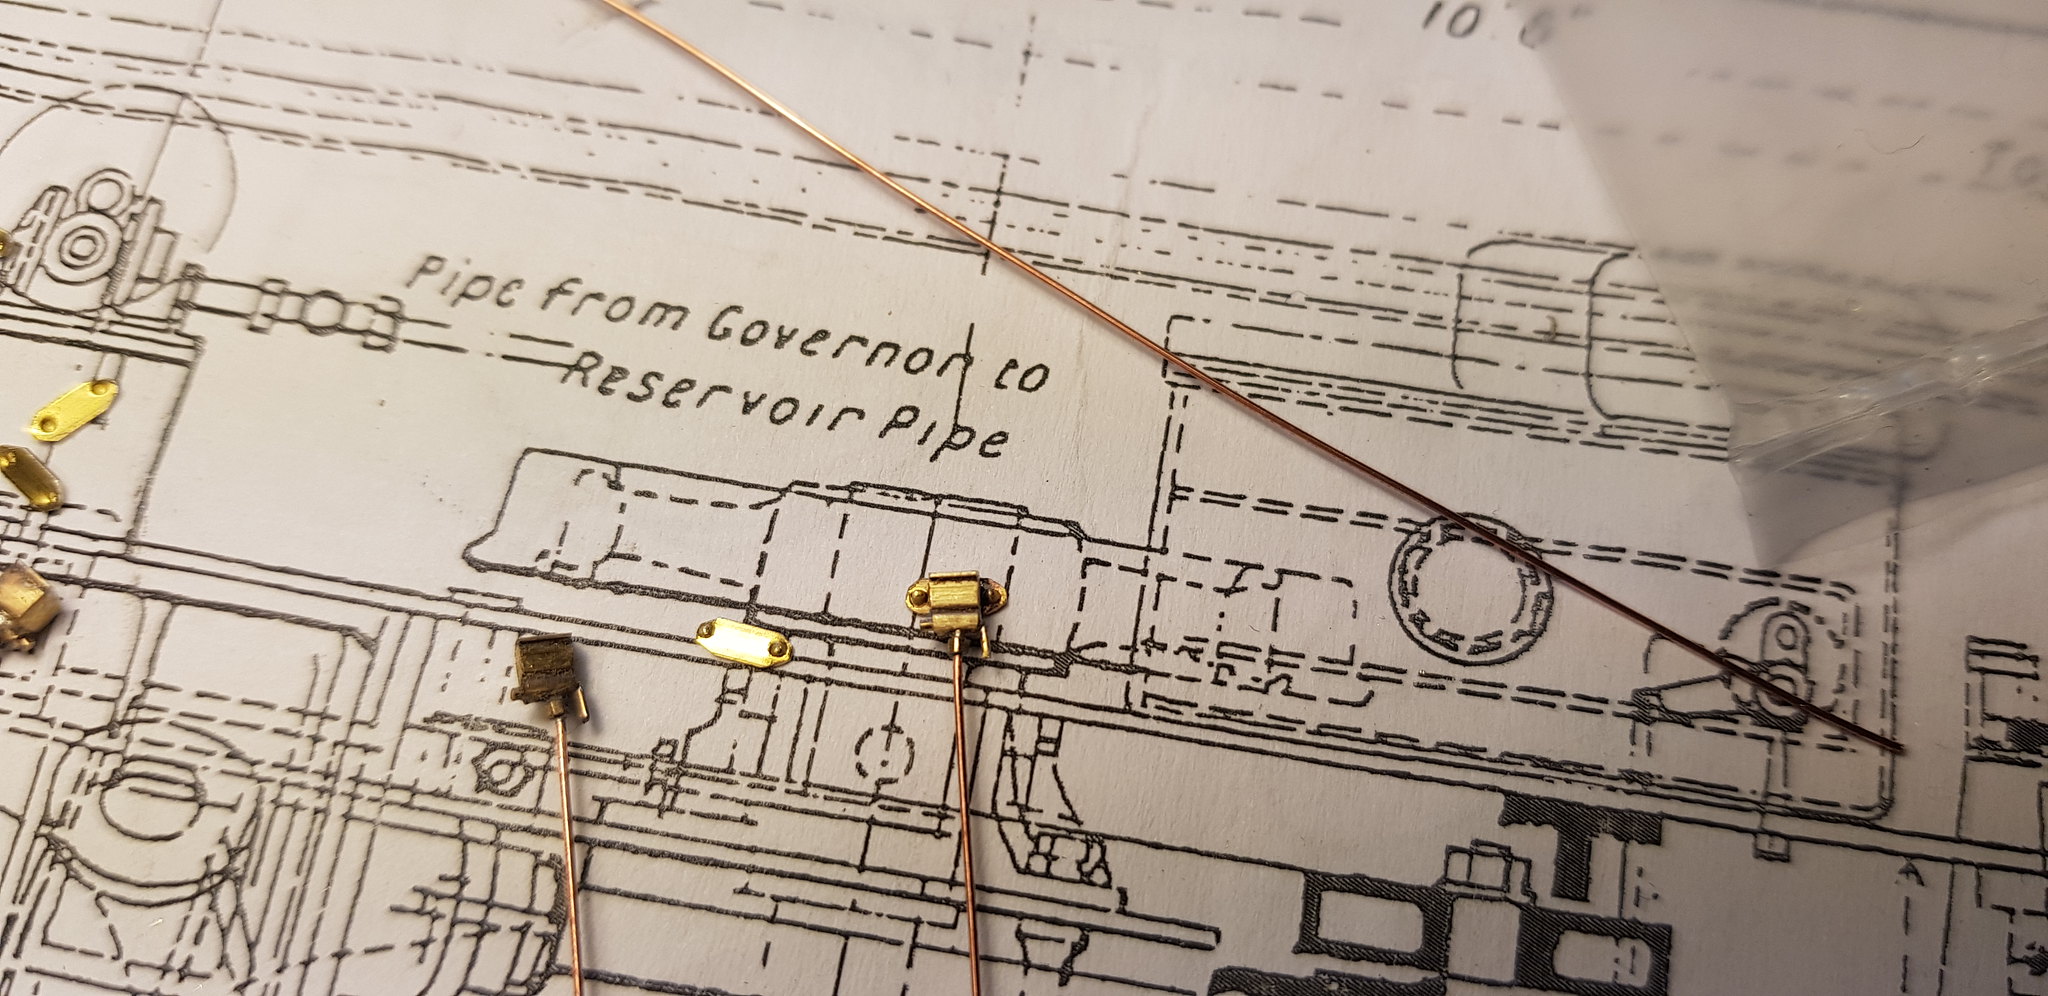
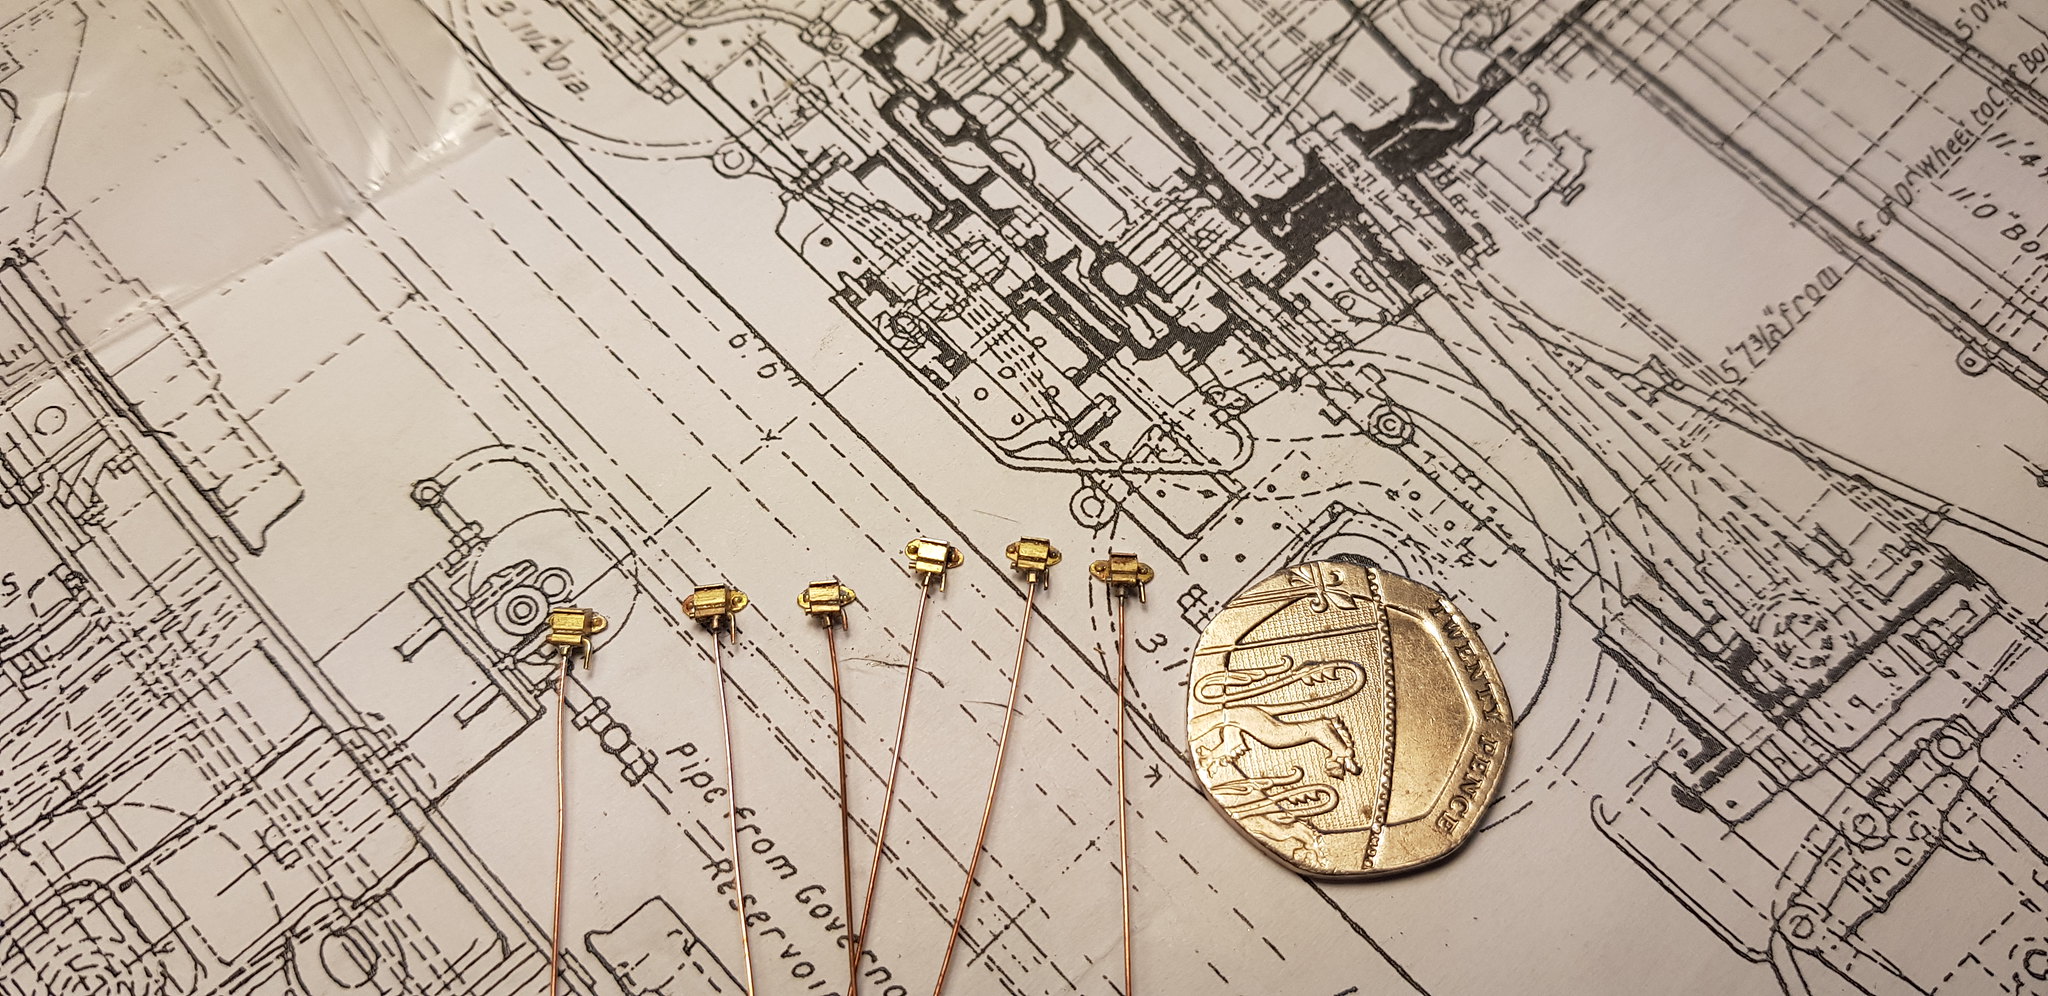
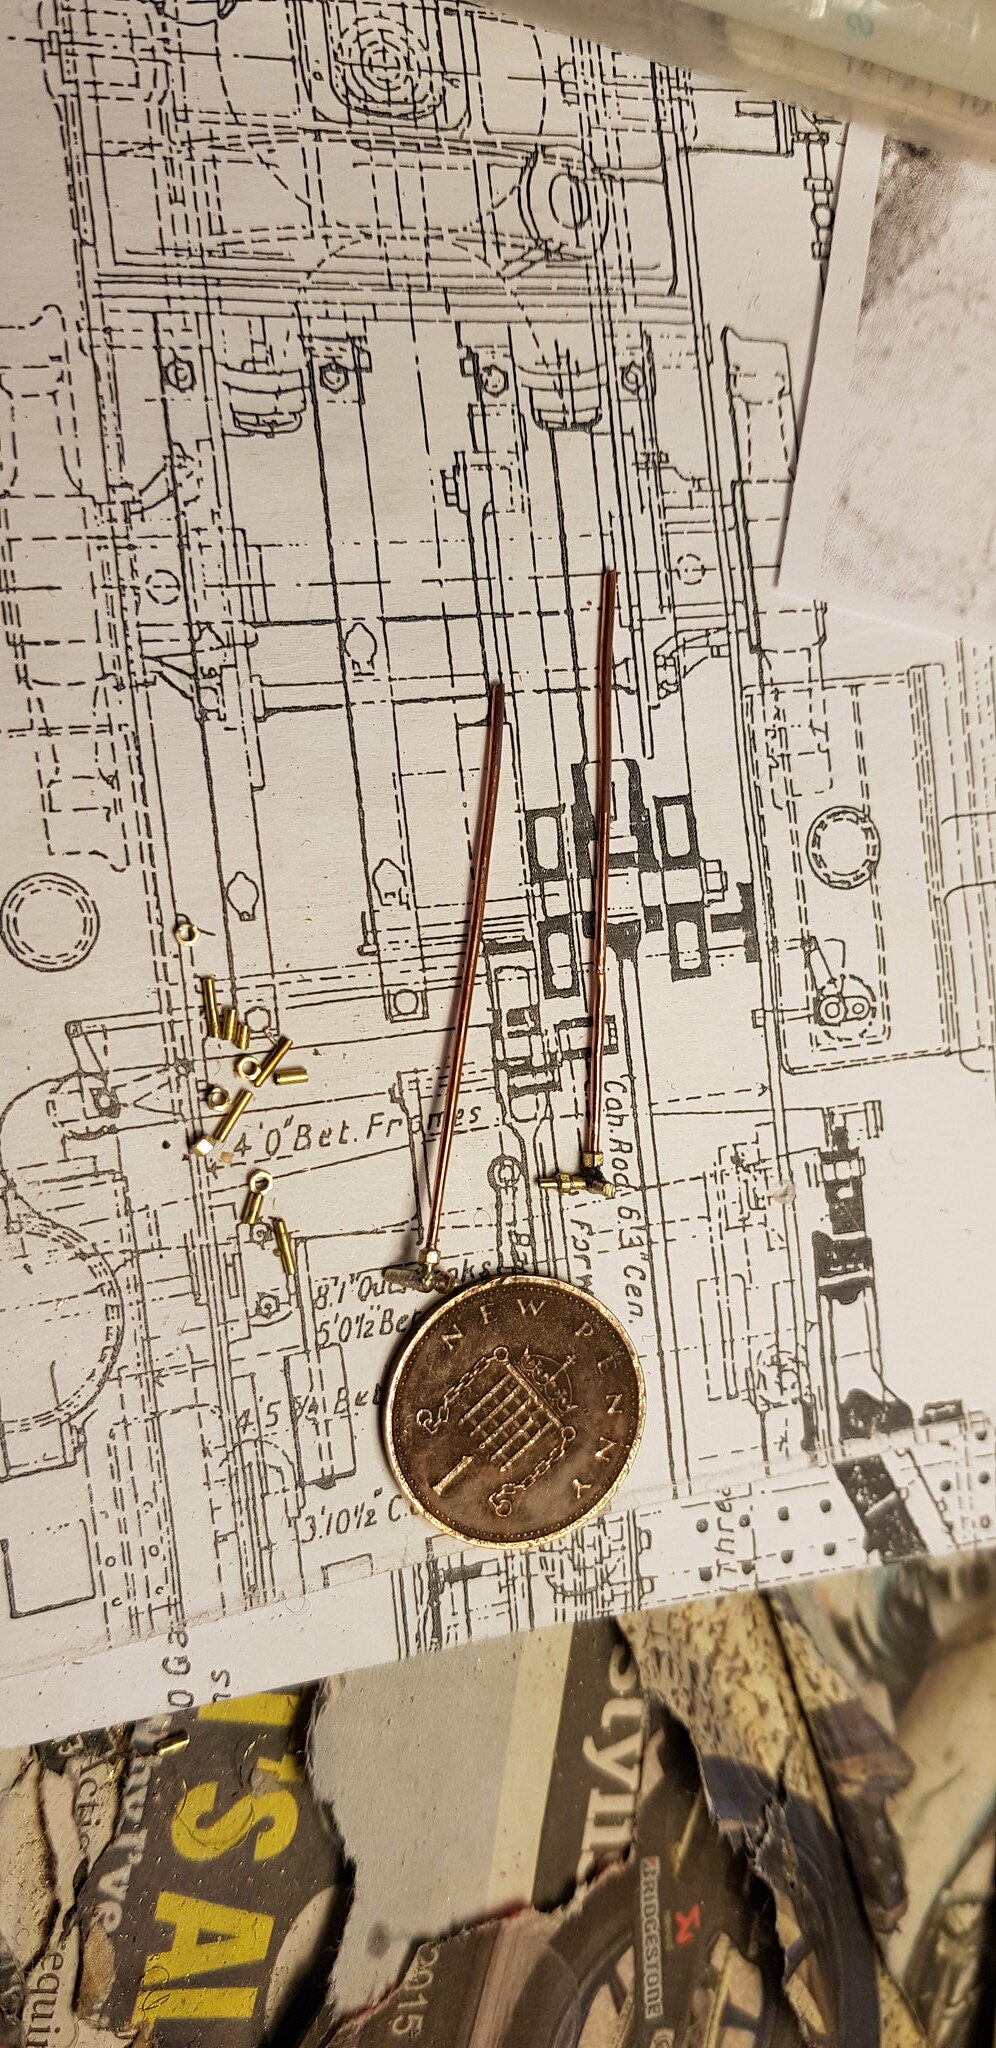
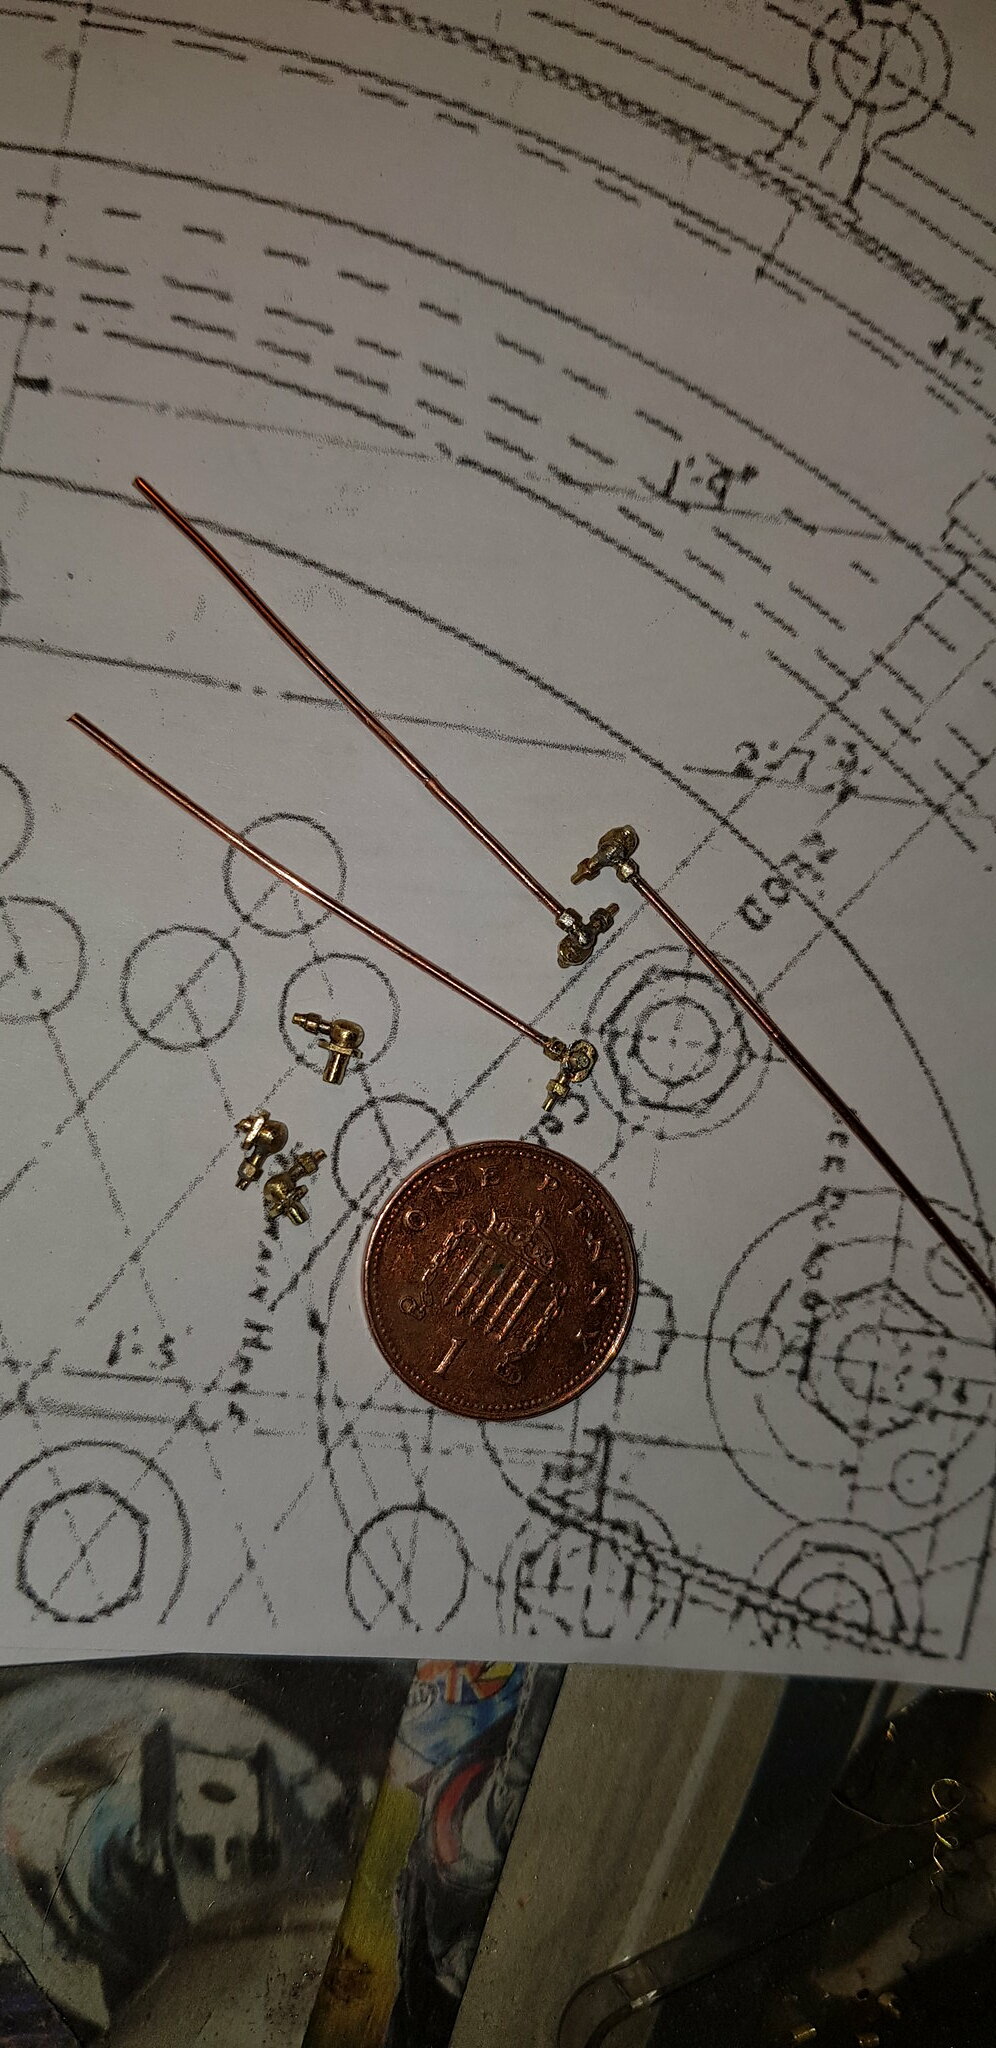
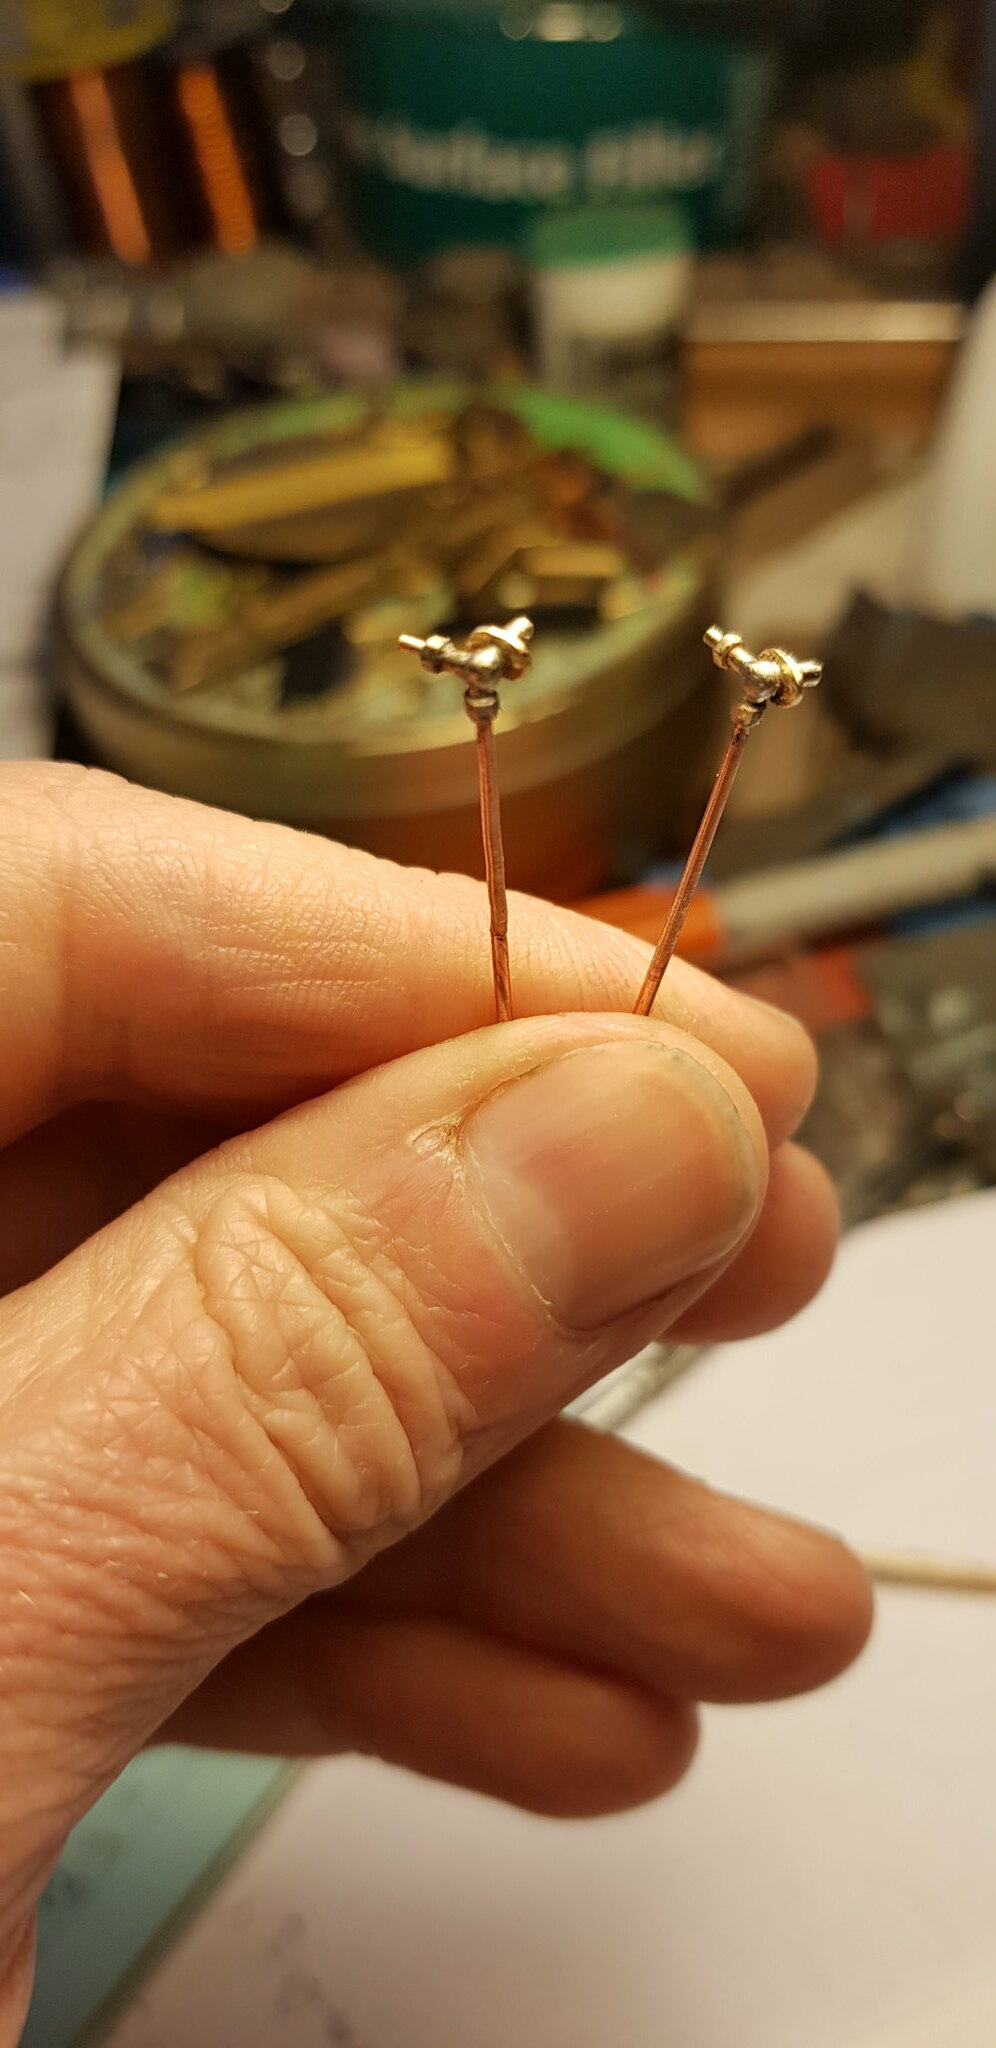
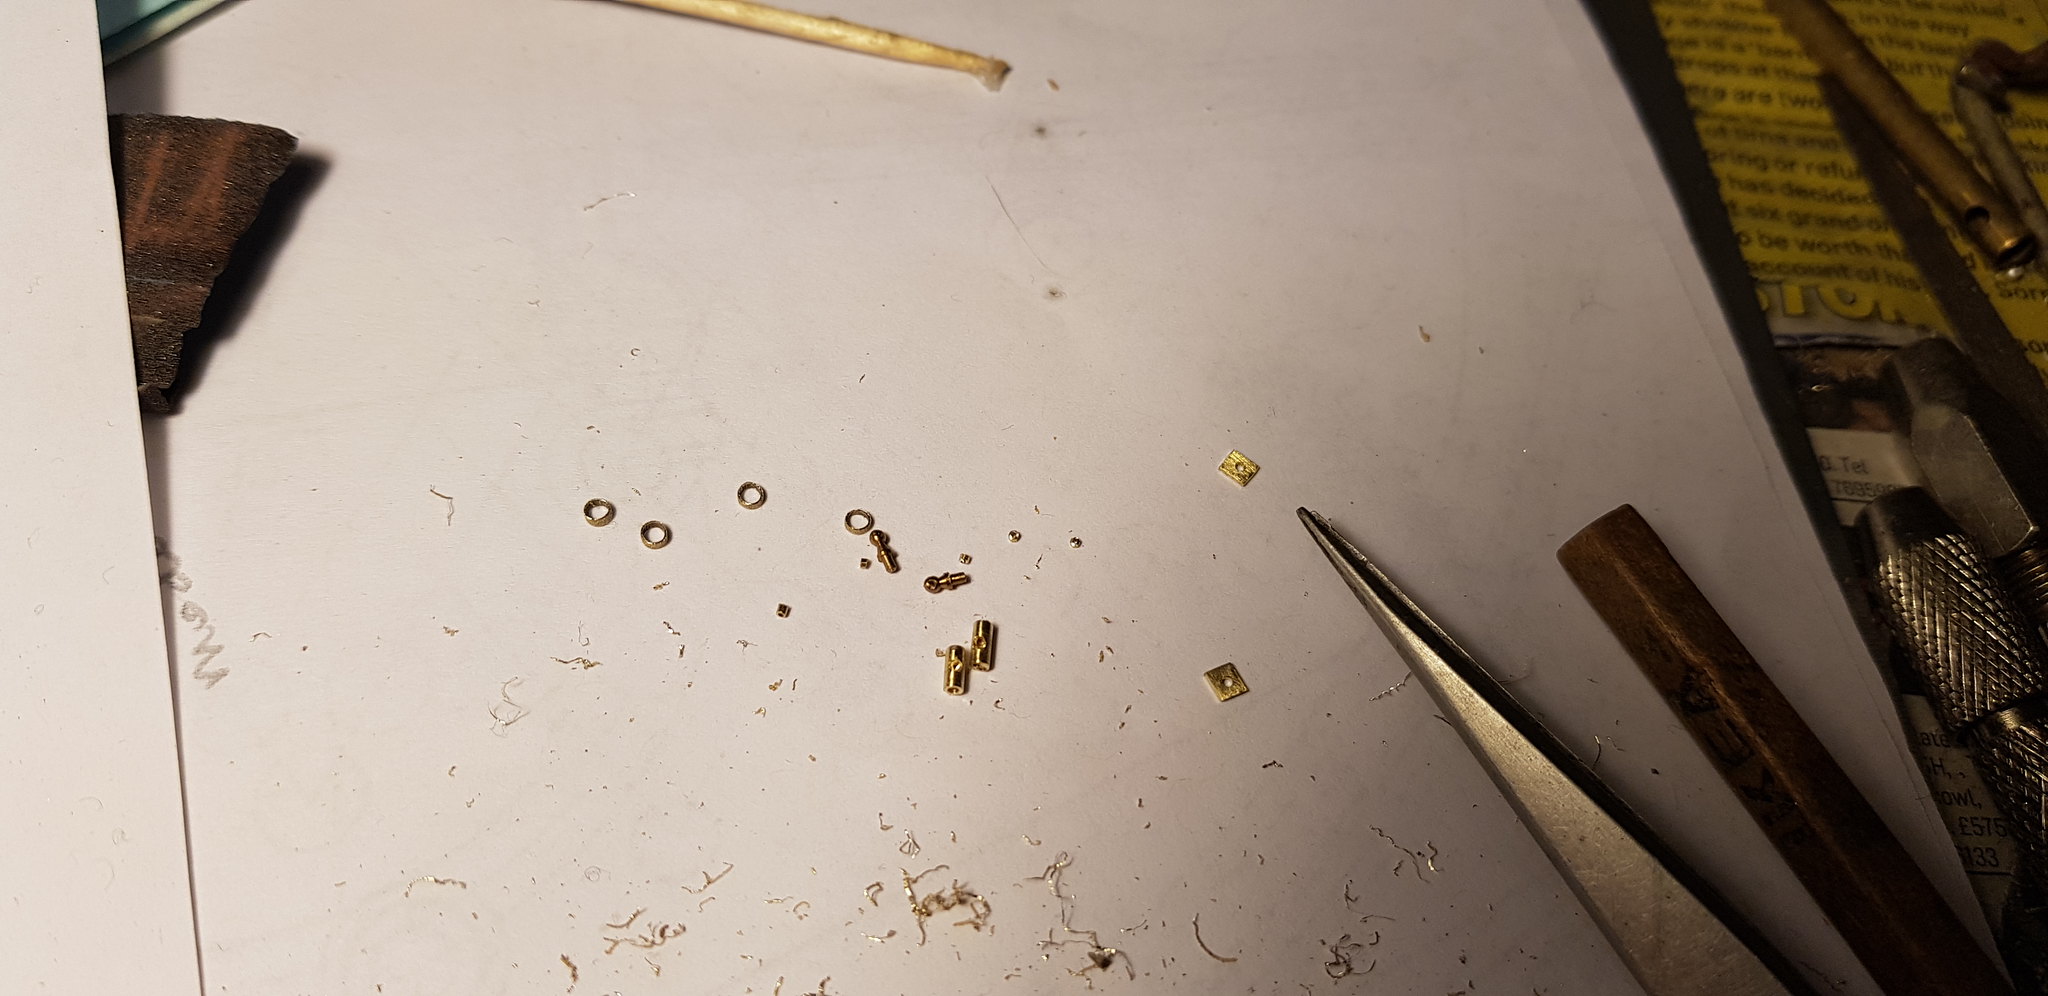
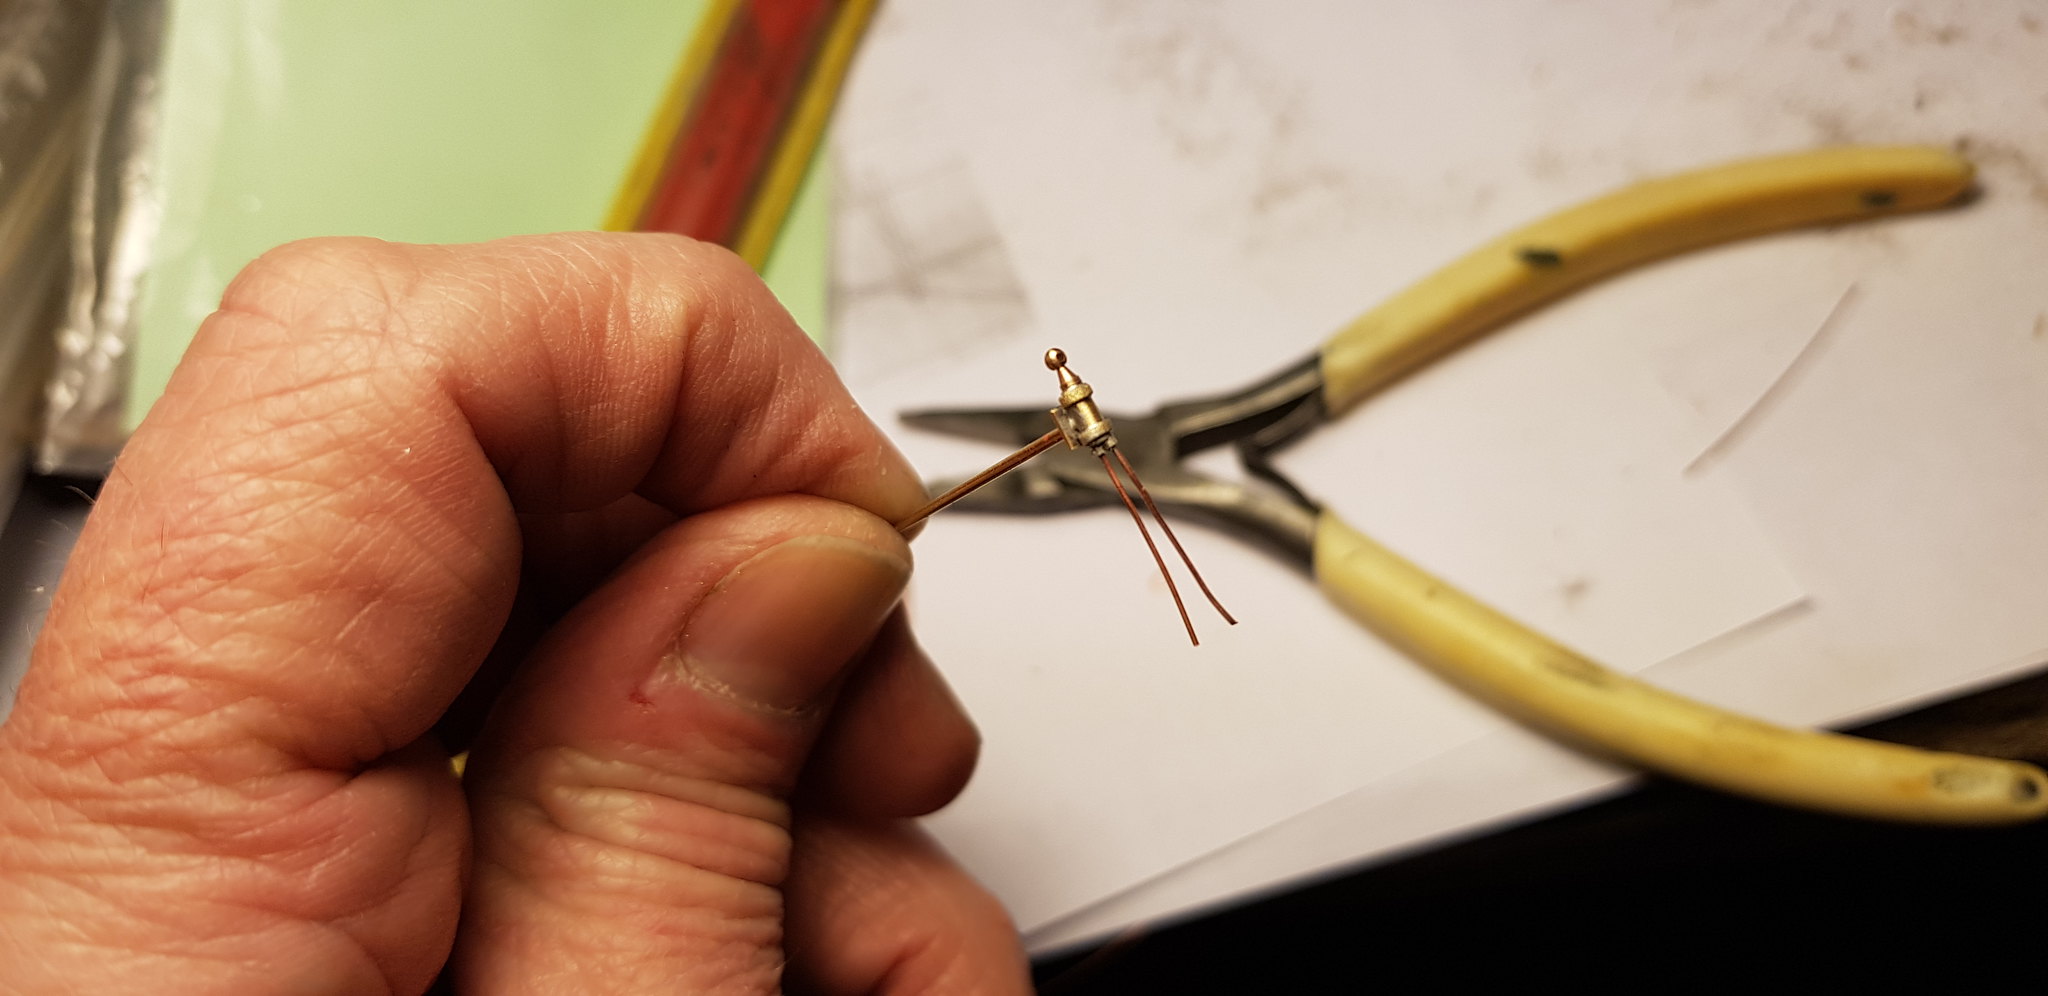
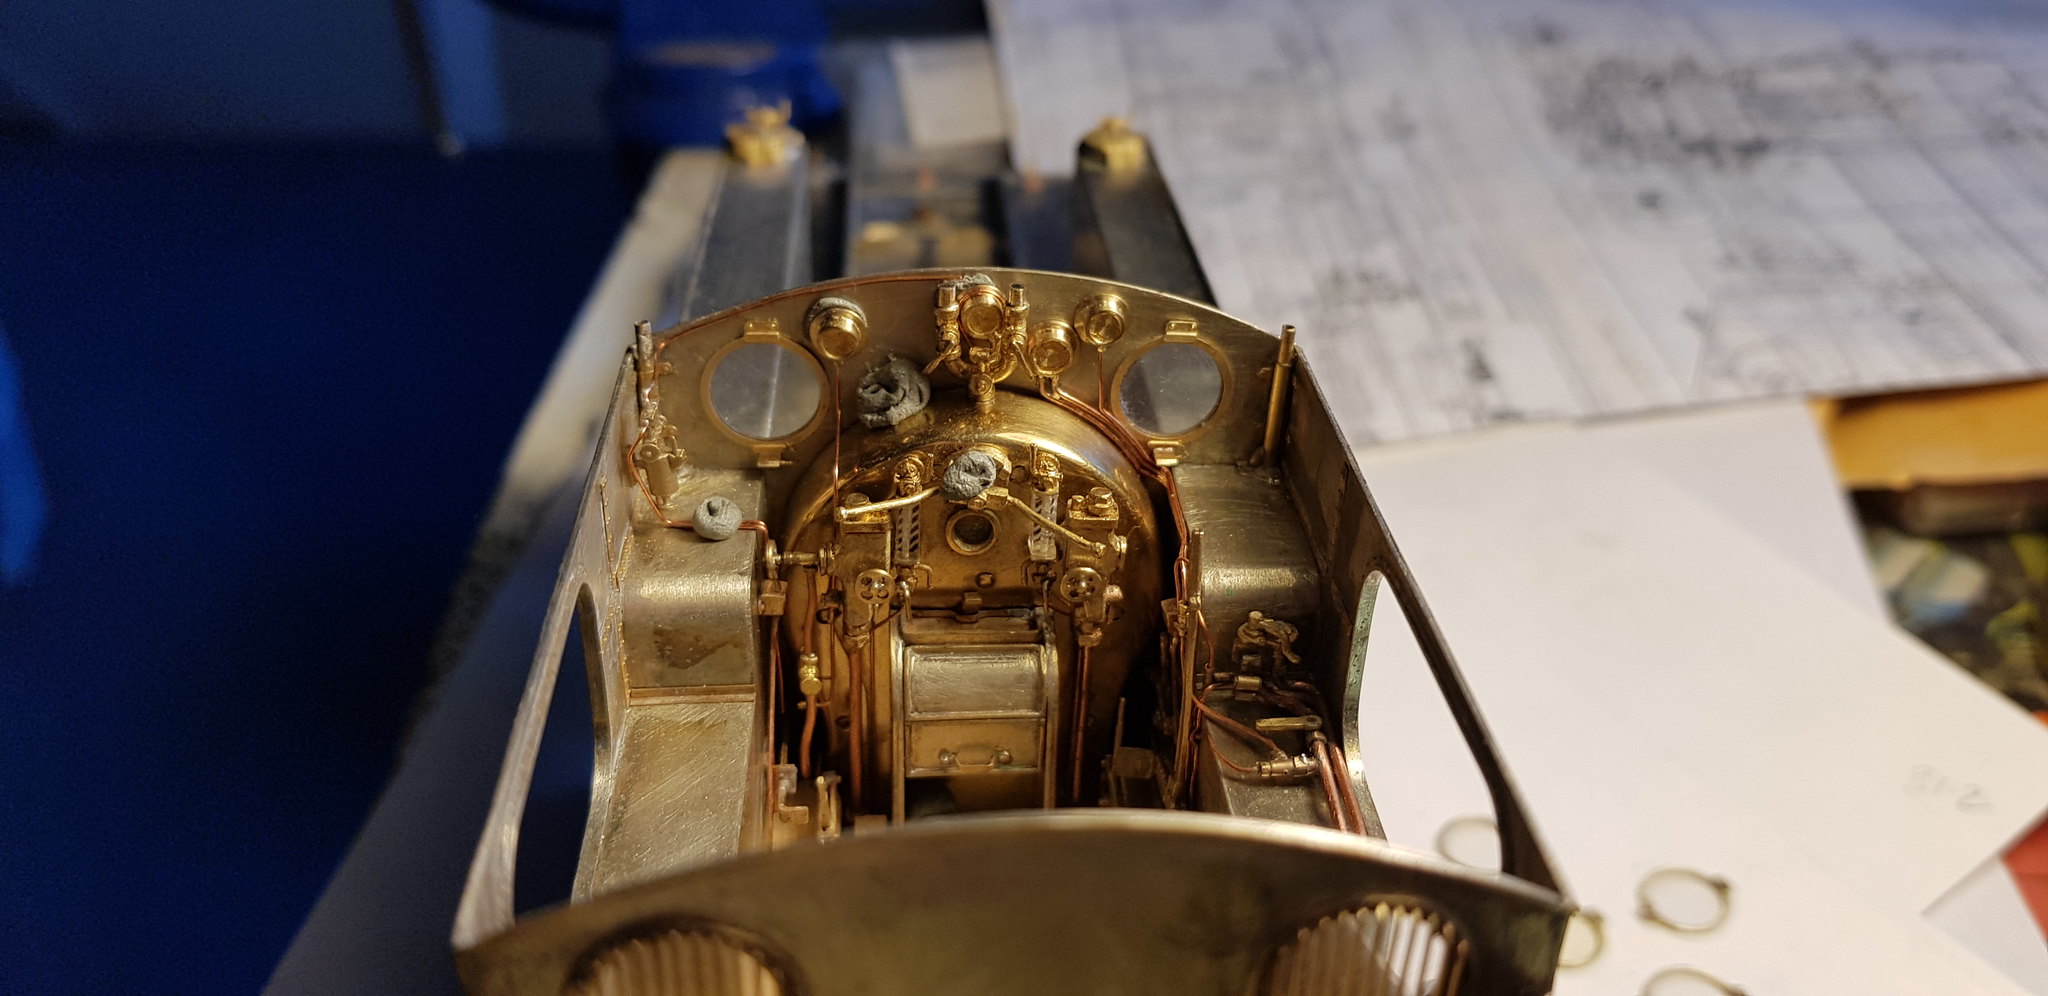
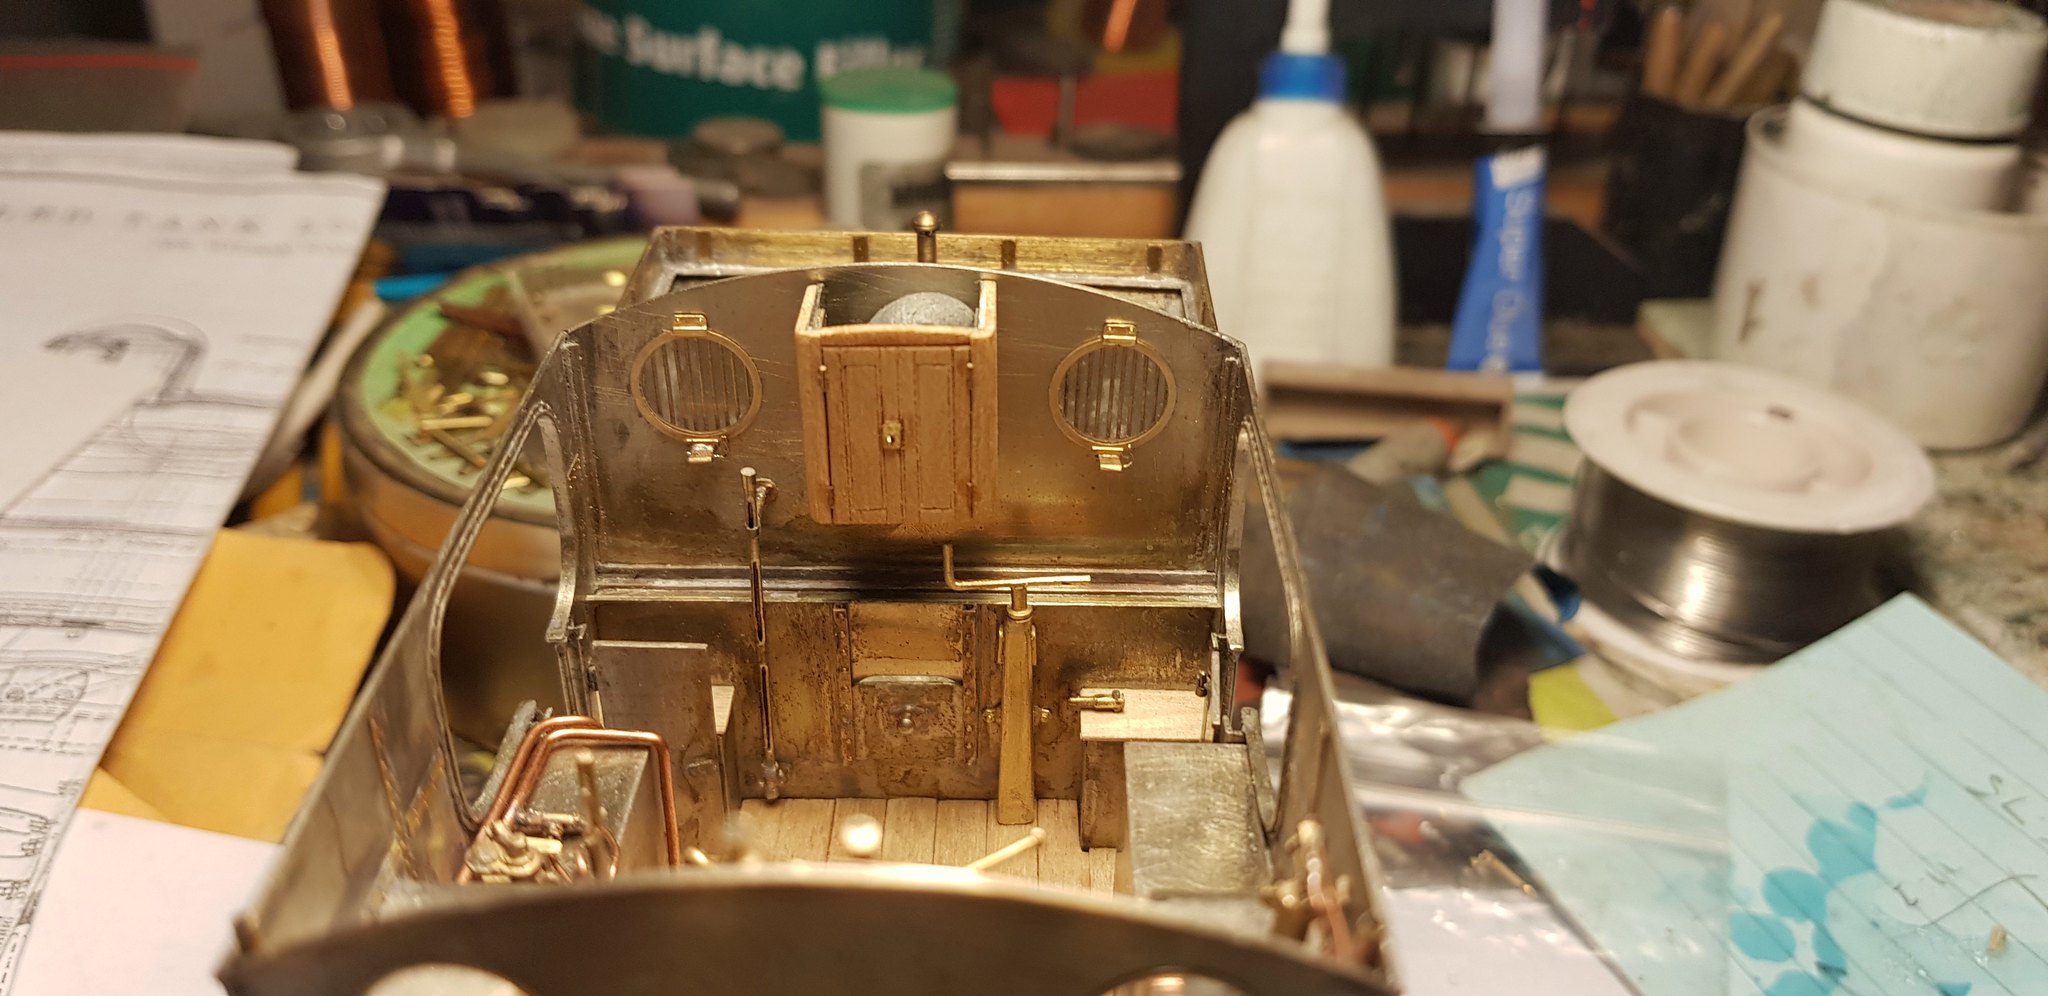
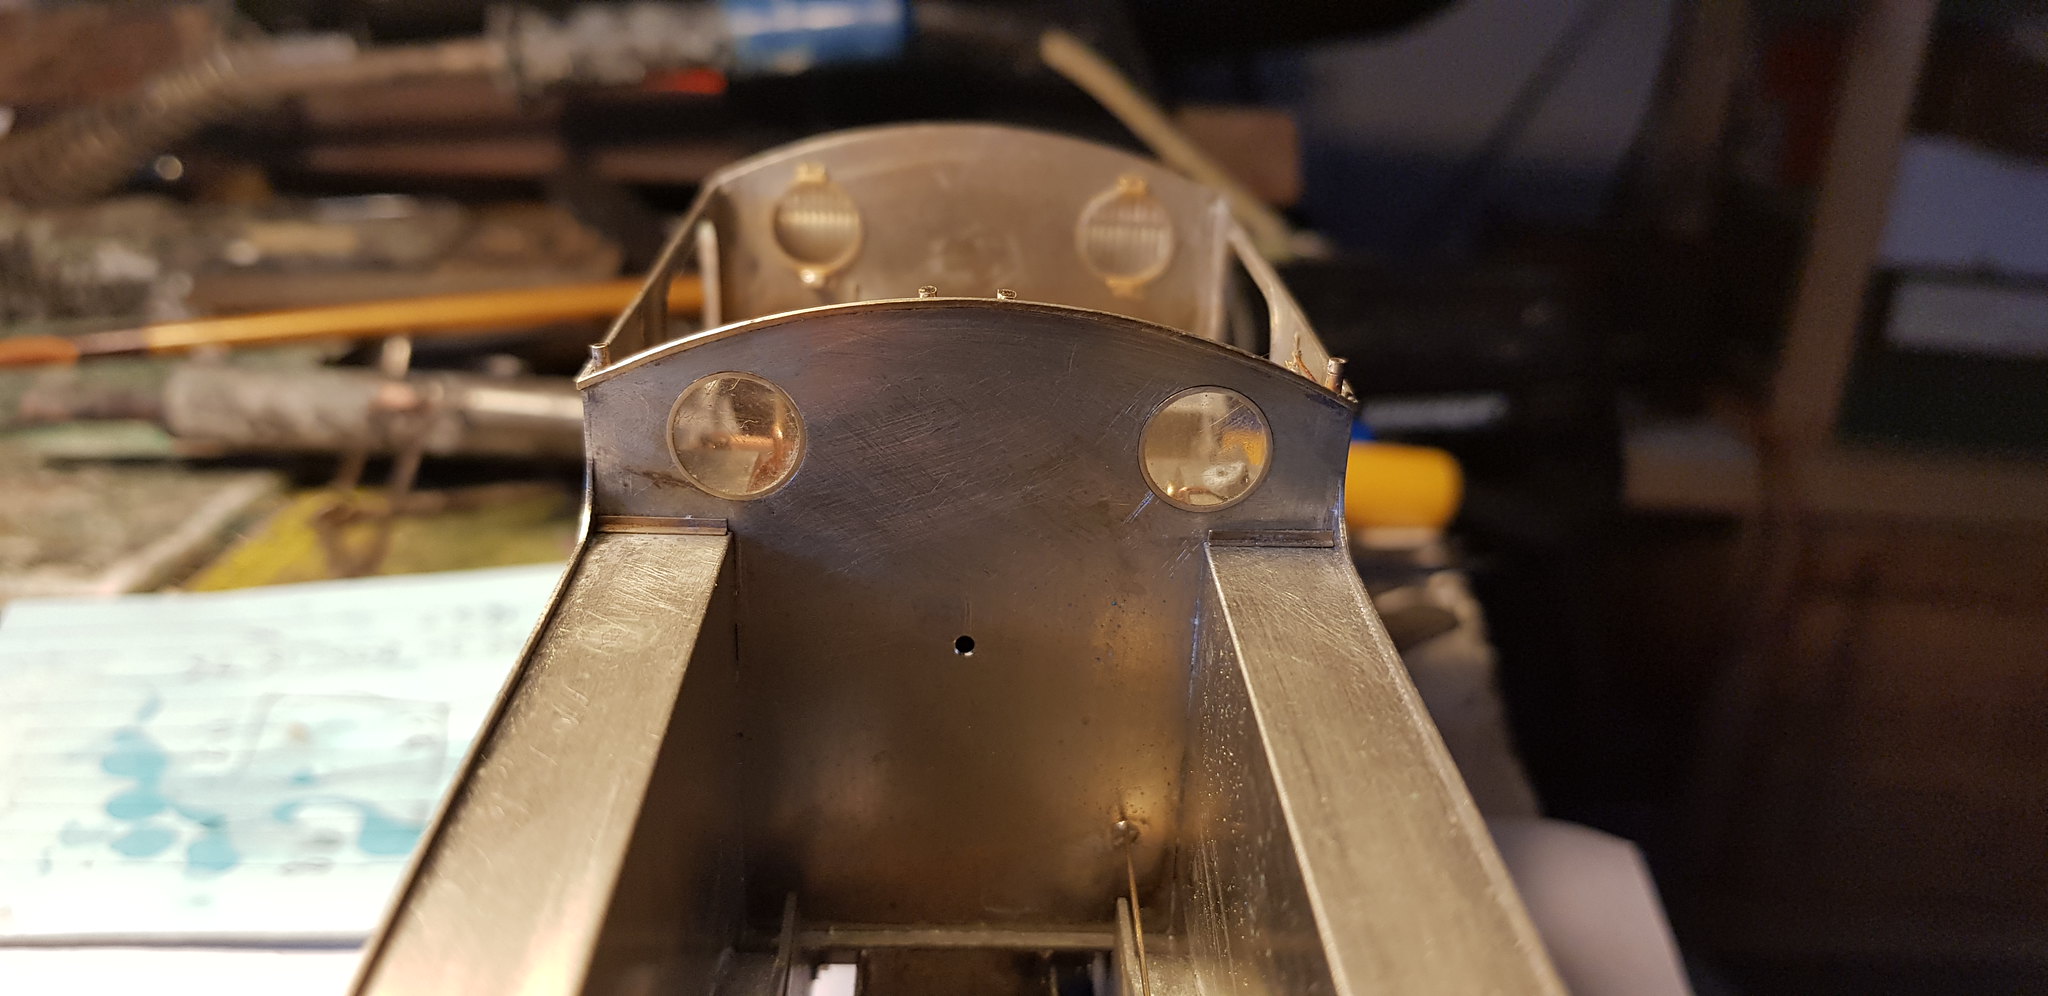
...Thanks for the encouraging words guys. I have made some brass fittings to accommodate the copper pipework on the cylinder block/smokebox rear. I think the bigger brass castings are anti-vacuum valves and the long copper pipes are the high pressure oil/steam mix for the cylinders and valve chests. The pipes originate from the atomiser in the cab.

40083945994_a9ded341e8_k.jpg


40793927351_ac34cf4094_k.jpg


40793927231_23df3f60bf_k.jpg


40793926381_a7dee5faa8_k.jpg


Tomorrow will be a nice day so no modelling, I'm off out on me motorcycle and the Ws can wait.......
 

Locomodels

Western Thunderer
Awesome is much overused to describe objects that don't invoke awe, this really is though, probably some of the best modelling I have ever seen.
Regards
Martin

I will second that. Superb work, and one can stand in awe of such craftsmanship.

Regards,
Paul.
 

Tim Watson

Western Thunderer
Safety valve looks so much better. Clearly wouldn’t have been as per the original. Did the engines keep the spark arrestor in service?

Tim
 

Nick Dunhill

Western Thunderer
Yes Tim I kept looking at the top of the Ramsbottom SV cover and thinking ''Something not right here!'' Tom Burnham put me right.

I assume the spark arrestor was a permanent fitting because the blower pipe is an integral part of the cage. I might be wrong though.....
 

Nick Dunhill

Western Thunderer
....I have made some lubricator pots for the Ws as the usual casting suppliers had none.

The first ones are kiln shaped on an elbow. The pots were shaped in a mini drill and mounted over some bent rod, and fixing plate was added.

25972327507_34488e70db_k.jpg


25972324537_b19ad3a6f1_k.jpg


39950018685_bac06d6dd3_k.jpg


The second lubricators are more conventional slopey rectangular ones but with a stop valve and have one outlet. The bodies were made by filing a chamfer on one edge of some square brass bar and planting on some strip for the lid and tube for the valve. A hole was drilled for a copper outlet pipe and a brass ferrule, and the handle added. The pot could then be cut to the required length and a mounting plate added, made from waste brass boiler band material. On the real thing these feed oil to the bogie slides. Each one is made from 8 pieces, madness!

25972321907_63061ba718_k.jpg


39034612410_3ba71651ba_k.jpg


39034609930_062907a9d1_k.jpg


39034609960_030511cb14_k.jpg


Some over complicated valves next..........
 

Nick Dunhill

Western Thunderer
....this one's just a quickie, I have made a couple of valves that sit atop the smokebox. One is the blower control and the other a steam control for the Westinghouse pump. Both have had their bodies shaped from rod with files in a muni drill. The fittings are made from telescoping tube, the nuts are tube filed into a hexagonal profile. The latter is easy to do in my pin vise as it has a hex chuck.

27012679778_72ca14c651_k.jpg


27012679378_735f64232f_k.jpg


27012678978_94f49580b0_k.jpg


Window frames next....
 

Nick Dunhill

Western Thunderer
...so to the last of the lubricators. This one is for the valve guides and is mounted on the motion bracket between the slide bars. It is made from tube, rod and a 4mm handrail knob. A big thanks to DLOS who explained how to make the knurling on the knurled rings of the can.

40216462984_3685976b97_k.jpg


40216462814_bd0478d7d4_k.jpg


Then on to the window frames. The frames are a circle of transparent acetate to represent the glass sandwiched between the brass outer and inner frames, a bit like the real thing. They are a push fit into the apertures in the cab. A massive thanks to Kevin Wilson for stamping me out the plastic discs.

26052207677_823ffe4f1e_k.jpg


27053752968_606412a050_k.jpg


27054130608_73e9d73b13_k.jpg


40883139212_15bc6cac89_k.jpg


Finally for this post I'm after a bit of help. Does anyone out there have a couple of etchings (or similar, maybe a left over backhead handwheel) they could spare me for the smokebox door handle wheels?

34553326536_ebb499cdfa_k.jpg


27054310268_36aea0872a_k.jpg


It's about 4.6 mm in diameter and I want to drill and tap the centre so I can make the handles work prototypically....
 
Last edited:

adrian

Flying Squad
A big thanks to DLOS who explained how to make the knurling on the knurled rings of the can.
go on then let us in on the secret! I have various grades of diamond surface plates for cleaning up tools. I think I would try rolling them over the brass can on a cutting mat to texture the surface.
 

Nick Dunhill

Western Thunderer
Hi Adrian, you're right. DLOS suggested putting the rings on a suitably sized drill to prevent crushing and rolling them between two files. It worked, although it's difficult to tell from the photos.

Morning Tim, you could spin that another way, it's the advantage of 7mm that you can put a lot of detail on. ;)

Nick
 
Last edited:

Nick Dunhill

Western Thunderer
... I have moved on to make the inner handles. The inner handles have a square hole to engage with the square shaft of the smokebox door dart. The pictures are pretty self explanatory I think, but it's drilled out to 1 mm to accept a 1 mm square rod and the corners are carefully cut out with a piercing saw.

26062028697_fea70e5448_k.jpg


40040919475_ccf1fd8b19_k.jpg


40893114892_a8dabb4bb6_k.jpg


This will rotate the dart in the crossbar and engage it, and the hand wheel tightens everything up.....
 
Top