warren haywood
Western Thunderer
Hard rubber available from eBay, bought an 8” square of it for a few quid.
")


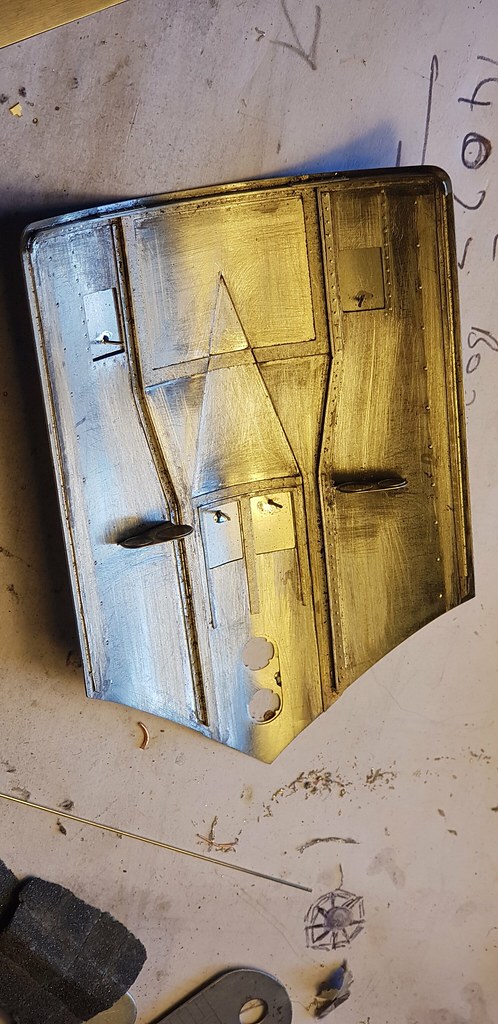


Because they are A3 low front tenders and Nick needs an A4 high front tender.
There were also issues with the cant rail bend, it's too severe on the DA kit, so even with a high front the cant rail bend would of been wrong; in fact it's wrong for any tender and is too high up the side as well.
