Building the MOK Class Q1, or From the Sublime to the Cor Blimey

JimG

Western Thunderer
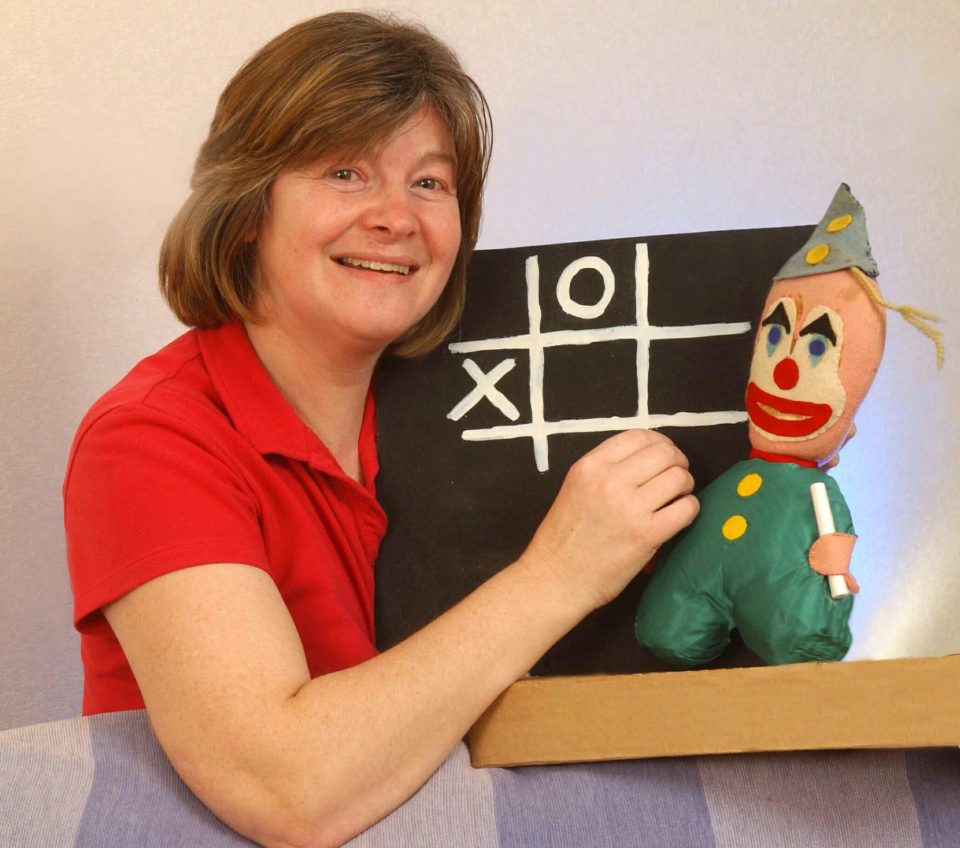
Good grief, haven’t seen that for a while.

I wonder what she’s doing now, not many jobs for test card models any more!

She's still around. :)

tcgnow.jpg


Jim.
 

oldravendale

Western Thunderer
I did hear they reversed the image to make her right handed, whether there was any truth in it I do not know.
JimG'll know.

Happy wallpapering, I always tried to persuade the authorities paint was better.

I agree. The newly plastered walls are painted. The original walls which still survive (house built about 1810) are so uneven and crumbly that sealing and lining paper are the only way to provide a decent surface. I'd rather not replaster them as they're part of the fabric and character of an old house, but I'm really making a rod for my own back. The long drop's only been plastered, and by a professional I may add, because the previous owners didn't bother to plaster the dry lining. As a result the surface looked like.......dry lining.

Today's joy. Being an old house we're beset by nooks and crannies. The back of the fireplace next to the stairway has a couple of shelves which are actually the reverse of the chimney, if you see what I mean. 'er indoors decided that she didn't like the quarry tiled surface and being a lady of extreme good taste (after all, who did she marry) decided that at least one of them needed a plastered surface. I remonstrated (of course, a totally useless exercise) and explained that my plastering days were done. "How difficult can it be?" she asked. "It's only like icing a cake". So there you go. If you can plaster you can ice cakes and vice versa no doubt. All you splodge appliers and smoothers out there now know exactly where you stand in the scheme of things. I suggested that the best answer may be for her to do it as she's a masterful cake icer. That went down well.:)) I may get dinner tonight or it may be in the dog.

So today oi mostly been plastering.......:D

IMG_20190219_162116582.jpg

This has been so successful I'm now expecting more similar demands on my time.

Brian

ps. Apologies to myself for taking this thread off piste.
 

richard carr

Western Thunderer
Good luck Brian

At this rate mine is going to be finished long before yours.

Here's the chassis up and running like a dream, just give it a little nudge and it rolls away. This was built just as per the instructions, no jigs to help just carefully following what is in the instruction book and it runs perfectly first time. I did wonder about the coupling rods as there is lots of ways of getting these out of sync with each other, but no, just careful construction, drilling the holes with a 2.4 mm drill and it all runs perfectly.

20190216_144042.jpg


20190216_144051.jpg
 

oldravendale

Western Thunderer
With apologies for failing to post anything about this build for a while........

I've failed dismally to take photos as I build - in fact the tender is, to all intents and purposes complete. It's still missing a knob on the coal hole door, and the top lamp iron is still to be fitted but otherwise it's done. In fact I'll have to come back to photograph those bits I've not shown yet, (mainly the brake gear) but here's a couple of the completed tender.

IMG_20190409_141211164 (2).jpg IMG_20190409_141226235 (2).jpg

And the loco chassis is well on its way. Here's the frame sides, compensation bits in place, ready to start adding the other components.

IMG_20190401_163748475 (2).jpg

The frame spacers are separate built up assemblies.

IMG_20190401_163657286 (2).jpg

The dummy valve gear looks as though it should work! In fact I reckon it could be made to do so. However I've built as intended.

IMG_20190403_144306384 (2).jpg IMG_20190403_144316203 (2).jpg

The coupling rods were made up and laminated now out of the suggested sequence as I wanted to fit wheels and motors to the dry run chassis assembly to prove the build thus far. It was silly of me to have any doubt - the chassis ran sweetly. So coupling rods and wheels were removed for the build to continue.

IMG_20190406_141333156 (2).jpg

Here's the chassis made up with the frame overlays in the background ready to be attached.

IMG_20190408_142044369 (2).jpg

Everything is now soldered in place, tabs removed and overlays attached. The drag beam end sub assembly is built and attached too. Photos of this stage tomorrow.

Brian
 

oldravendale

Western Thunderer
I agree, Tony, it's high in the top quartile.

Yes, I've built with working valve gear previously but wanted to build this as designed, in part, after the four year build of the "K" as proof to myself that I could build a proper kit in a sensible time period. If I build another I'll probably fit working valve gear.

Brian
 

richard carr

Western Thunderer
Hi Brian

It's good to see all the progress. What are you going to do about the outer slide bar hitting the front hornblock ?
I decided to omit the the outer slide bars altogether as I wanted to retain the hornblock in full. I also decided to skip the springing of the front axle and replace it with a third beam so that the axle rocks on that beam and the beam fixes the height of the axle. It is very easy to fit the beam once the chassis has been assembled. I'm just waiting for the motor to arrive now from ABC gears, but they told me at Kettering that their lathe had broken and there was a production delay as a consequence.

Richard
 

oldravendale

Western Thunderer
That's a good question, Richard, and one I debated. The instructions advise that the outer slide bars can't be seen. However, I liked the thought that they are there so I simply ground down the width of the slidebars until they cleared the hornblocks. It reduces the thickness of the slidebars by about 1/3 but I've had the chassis running, a mentioned above, and this process seems to have accomplished the objective. I've retained the sprung front axle.

As for motor/gearbox, I was lucky to purchase half a dozen Portescaps a couple of years ago and the Q1 will use one of those.

Brian
 

oldravendale

Western Thunderer
Firstly a photo which describes better than any words the work I did on the lower slidebars so that these cleared the hornblocks. As explained in the instructions, these lower slidebars can't be seen, but I, at least, know they are there!

IMG_20190410_143846910.jpg

Next task was to start work on the brake gear. Initially just the brake cylinder and associated gubbins. The remainder is fitted later.

IMG_20190416_133739227.jpg

Here's the frame before work started on the reversing gear. In fact the buffer beam and overlay have now also been installed, and the buffers have been polished, chemically blackened and made up but not fitted.

IMG_20190410_160623629.jpg

Here's the dry run of the reversing gear parts to be fitted. This was a particularly worthwhile exercise as one of the control rodsappears to have a break in the middle and be joined to the cylinders, but studying the prototype photos showd this to be incorrect, so when actually fitted the necessary correction to layout was made.

IMG_20190416_150913667.jpg

Reversing gear duly fitted.

IMG_20190417_142718571.jpg

IMG_20190417_142743649.jpg

Just to gild the lily, not that much gilding is necessary with this kit, I added the fine pipes which run from between the frames to the reversing cylinders.

IMG_20190417_142808720.jpg

Next is the remainder of the brake gear and to that end four of the brackets are fitted with two more to go before hangers and brake shoes can be fitted. Photos as appropriate in the next episode.

Brian
 

Attachments

  • IMG_20190410_143707831.jpg
    IMG_20190410_143707831.jpg
    176.6 KB · Views: 14

oldravendale

Western Thunderer
Progress continues apace - that's at a snail's pace....... It really is remarkable how the finer details of fitting out the chassis on a relatively simple loco take so much time.

Brake gear has been finalised. Here it is as the "dry run".

IMG_20190424_160715239 (2).jpg

And as finished attached to the chassis.

IMG_20190425_164905310 (2).jpg IMG_20190425_164933226 (2).jpg

It is screwed in to position so that it can be removed for painting and is shown below removed so that the brake gear and chassis can be washed to eliminate flux. It comes out as a complete unit, thus:

IMG_20190426_134741629 (2).jpg

Next comes the pipework beneath the cab and the injector pipework. The beneath cab pipework is first as it's inaccessible once the injectors are installed.

IMG_20190427_153256376 (2).jpg

The injector pipework is now partially fitted. I've taken stage photos so the pipework to the rear of the loco from the back injector is shown, then that from the front injector.

IMG_20190428_152453859 (2).jpg IMG_20190428_162407045 (2).jpg IMG_20190428_162437544 (2).jpg

The solder looks a bit grotty on that last photo, but has subsequently been cleaned up. I'm now moving to the pipework from injectors towards the front of the loco and will photograph that in stages too. Clearances behind the last set of driving wheels are phenomenally tight so I can see the remaining pipework taking some time.......

Brian
 

oldravendale

Western Thunderer
After a not inconsiderable delay due to various building works, holidays and other fripperies I returned to the work bench today. Inspired by the 50th anniversary of the first man on the moon I've made a great leap forward (or was that Chairman Mao? Anyway, here's the state of the dry run at the moment. Solder yet to be applied.

IMG_20190722_170626755.jpg IMG_20190722_170644241.jpg

I'll be moving on to the cladding next but am confused about the presence of the etched extensions which can be seen top and bottom of each etch. I can't find any reference to these, their use or, indeed, final presence so should these just be cut off? Frankly I doubt it as they look to be an important part of the etch. Can anyone advise? If not I'll give Dave a call for his advice.

IMG_20190722_170846403.jpg IMG_20190722_170852666.jpg
Regrettably the rest of this week and the weekend are fully occupied (some of it self inflicted with a day fishing at Brighton on Wednesday) so I'll not be moving on to the next part of the construction until this time next week at the earliest.

Brian
 

Yorkshire Dave

Western Thunderer
I'll be moving on to the cladding next but am confused about the presence of the etched extensions which can be seen top and bottom of each etch. I can't find any reference to these, their use or, indeed, final presence so should these just be cut off? Frankly I doubt it as they look to be an important part of the etch. Can anyone advise? If not I'll give Dave a call for his advice.

As a casual observer they could be mega important as it appears the tabs fold and hook in and around the the loops at the opposite end of the etch as they are in line with each other.....:)
 

oldravendale

Western Thunderer
Thanks for your thoughts, Dave. I agree that these tabs are probably mega important.

The small tabs at the edge of the boiler cladding engage in slots in the cab front. There are tabs on the spacers which engage with the slots in the boiler cladding. Then the tabs for the centre section engage with slots in the spacer and the slots engage with tabs on the next spacer. There's no slot in which to engage those etched extensions and no cut out in the spacers through which they can fit.

I have to say that, last time I questioned something with Dave he was very gracious and went out of his way to ensure that I didn't feel the idiot which I undoubtedly was! I suspect that, once this issue is worked out the answer will be so obvious that I'll be kicking myself.

Brian
 

richard carr

Western Thunderer
Brian

I couldn't find any reference to them in the instructions either so I just cut them off.

The boiler, firebox and smokebox are relatively easy to form, the cab skin is considerably more difficult as it needs to be formed perfectly to get a good fit, the tinest error on one side is greatly magnified on the other.

Richard
 

Ressaldar

Western Thunderer
Brian

I couldn't find any reference to them in the instructions either so I just cut them off.

The boiler, firebox and smokebox are relatively easy to form, the cab skin is considerably more difficult as it needs to be formed perfectly to get a good fit, the tinest error on one side is greatly magnified on the other.

Richard

Exactly what I did on both of my builds. There are no corresponding tabs or slots with those on the 'appendages' so cut away with confidence:eek::eek::eek:

IMG_0187.JPG IMG_0192.JPG IMG_1884.JPG

enjoy the fishing.

regards

Mike
 

oldravendale

Western Thunderer
Thanks for your advice, Richard and Mike.

Cutting them off seems to be the order of the day, then, but I may give Dave a ring to see if he can advise what they are for. If I get appropriate advice I'll post on here.

Brian
 

oldravendale

Western Thunderer
Dave Sharp is truly as good as gold, isn't he? I phoned this morning but in the absence of a reply sent an mail. By lunchtime I'd received this reply: "No they aren’t important they were originally for centering the shape if we were to use a bending tool so clip them off but leave the tabs on."

You were absolutely correct, Richard and Mike.:)

Brian
 
Top