Rob Pulham
Western Thunderer
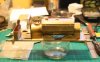
Rob Pulham's Work Bench
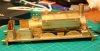
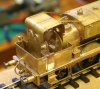
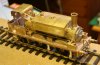
I agree not quite a cab - life must have been a bit rough for the driver/fireman in the winter on such as these.

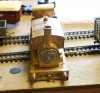
28ten said:That looks cutealthough I do prefer them without the cab. actually calling it a cab is stretching it a bit!!
I agree not quite a cab - life must have been a bit rough for the driver/fireman in the winter on such as these.
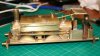
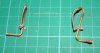
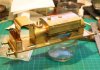
Not quite Mike, but I do have a Microflame which I use for most things and I hope that it will cope with thisRessaldar said:Hi Rob,
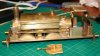
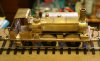
Looking really good, 3.5 thick brass is going to take some soldering though or have you got a MIG welding set on stand-by?
regards
Mike


") .
.