Tim Watson
Western Thunderer
Tom Mallard has turned up trumps with original works drawings of the valve gear which make it clear how it all fits together: this really is an excellent forum.
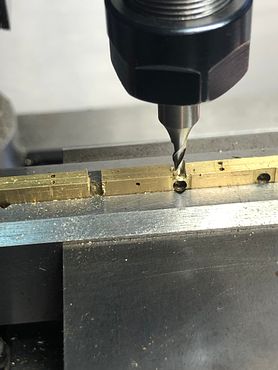
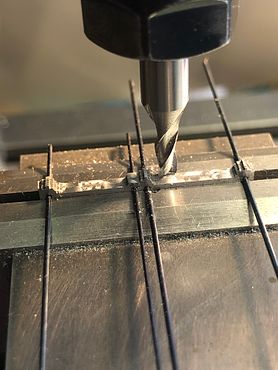
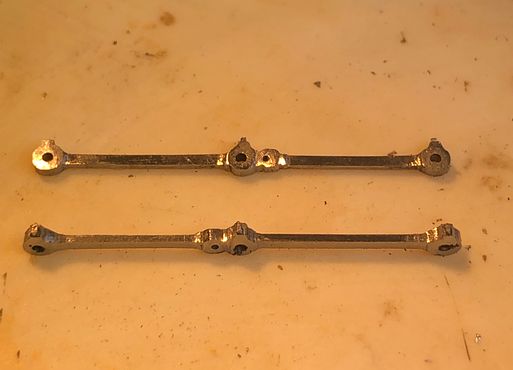
The coupling rods were made from 1mm thick steel strip, two sweated together and then drilled 0.8mm on the mill drill.
They were then roughly milled to shape. Sighting rods through the holes ensures that they are sitting level in the machine vice and also helps to stabilise them in the vertical plane.
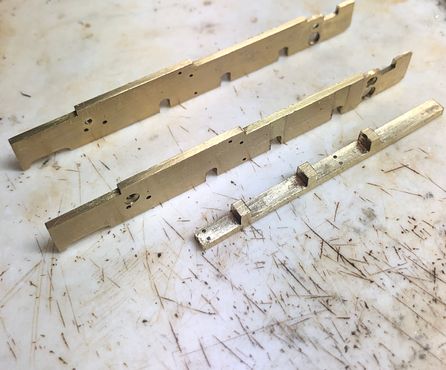
The two rods were removed from the mill looking quite chunky.
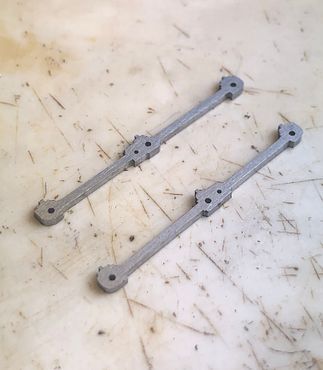
These were draw filed to shape together, again using the sighting rods to keep them in register.

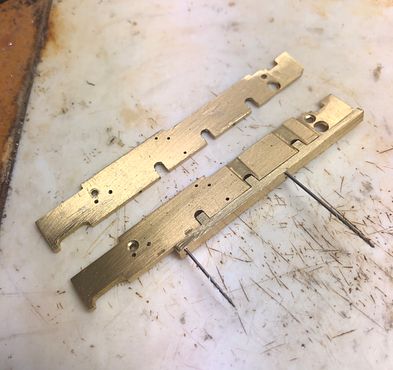
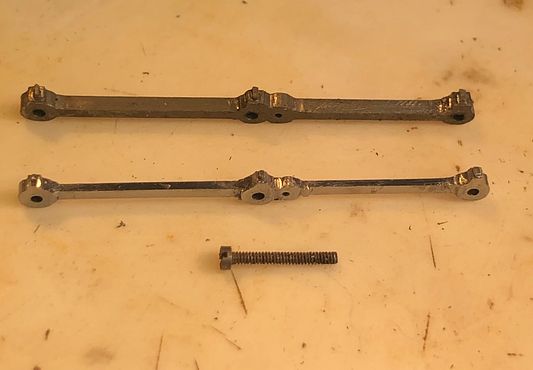
This photo shows one rod as filed roughly to shape and another completed with the inter-boss rod suitably reduced in thickness and the oiler corks filed into place. The screw is 16BA for reference. That is the size of the bearing currently, but these will be running in brass bushes when complete.
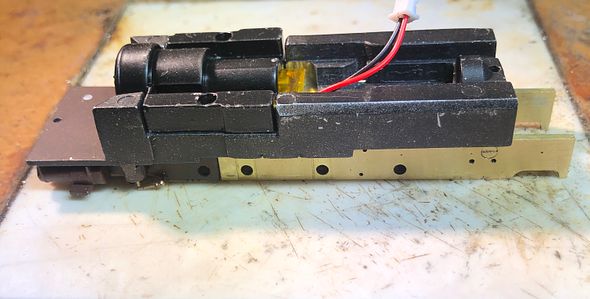
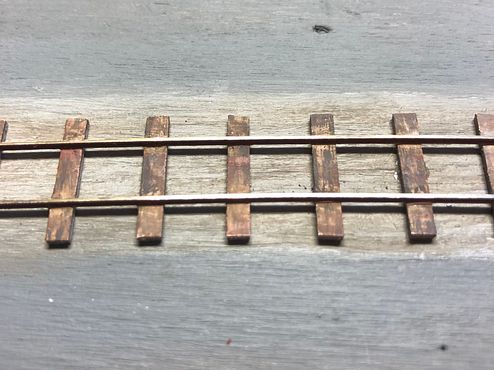
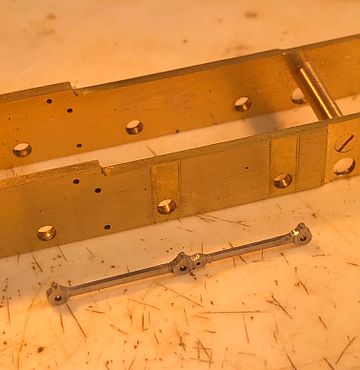
Final picture shows a rod sitting in front of the frames.
The Heljan rods are quite close to scale dimensions, but don’t have the oil corks, and boy are they sloppy!
Tim
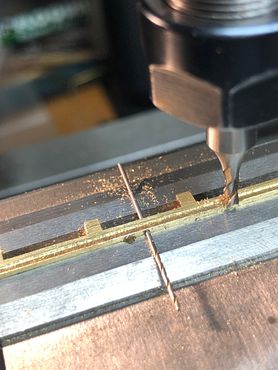
The coupling rods were made from 1mm thick steel strip, two sweated together and then drilled 0.8mm on the mill drill.
They were then roughly milled to shape. Sighting rods through the holes ensures that they are sitting level in the machine vice and also helps to stabilise them in the vertical plane.
The two rods were removed from the mill looking quite chunky.
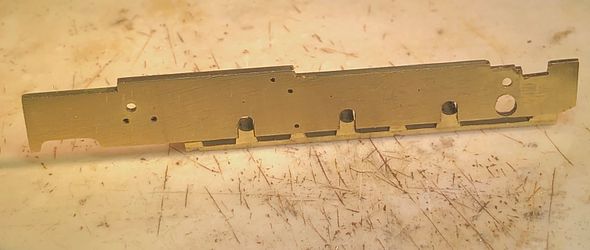
These were draw filed to shape together, again using the sighting rods to keep them in register.
This photo shows one rod as filed roughly to shape and another completed with the inter-boss rod suitably reduced in thickness and the oiler corks filed into place. The screw is 16BA for reference. That is the size of the bearing currently, but these will be running in brass bushes when complete.
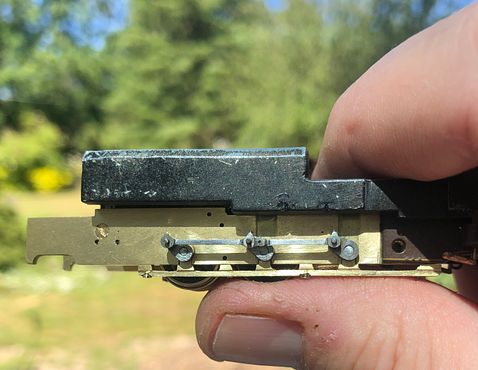
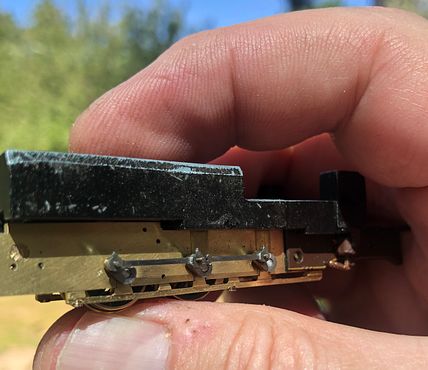
Final picture shows a rod sitting in front of the frames.
The Heljan rods are quite close to scale dimensions, but don’t have the oil corks, and boy are they sloppy!
Tim


 to you, if you can.