GCR Class 5A - LNER/BR J63

Ian@StEnochs

Western Thunderer
Rob,

Good to see you are getting good use of your new lathe, the more you use it the more uses you will find for it.

You could have turned the lubricator stem from the solid, given a sharp tool and high speed, but it would have taken quite a bit of time and possibly a breakage or two. What you have done is how I would have tackled the job. More power to your elbow.

Ian.
 

Dave Bowden

Western Thunderer
Today I rechecked the motor and gearbox on the centre axle with all the other axles in place. Sadly, it was as I feared, the tight fit of the motor in the boiler area pushed the compensation beam down and left the chassis rocking on the centre axle. So back to plan A fitting it on the rear axle and cutting into/the brake cross beam.

Before doing anything drastic I took time out to knock up some ashpan sides and they have cured the gearbox visibility issue.


51030101462_309a3585c0_b.jpg


51030100547_33471db17c_b.jpg


That still left the gear touching the brake cross beam so I bit the bullet and cut a section out of it.

51030226922_26141c1072_b.jpg


Hi Rob, could you fit a bridge shaped piece of metal between the gap either on top or across the front to give it extra strength?

Dave
 

chigley

Western Thunderer
Thanks Ian,
That you with your experience would have done the same nicely confirms my thinking.
hello Rob would i be right in saying that this is a early mok kit, only being relatively new to building kits there seems a lot of similarities. nice work i must add. Ken
 

Rob Pulham

Western Thunderer
Hi Ken,

That's exactly what I thought when I built my first one. But having talked about it to Dave Sharp of MOK, it seems that Garth Patrick drew it himself after being taught how by Dave.

Dave's techniques obviously rubbed off because it's very similar in design and construction to MOK kits.
 

chigley

Western Thunderer
Hi Ken,

That's exactly what I thought when I built my first one. But having talked about it to Dave Sharp of MOK, it seems that Garth Patrick drew it himself after being taught how by Dave.

Dave's techniques obviously rubbed off because it's very similar in design and construction to MOK kits.
Thanks Rob
 

Rob Pulham

Western Thunderer
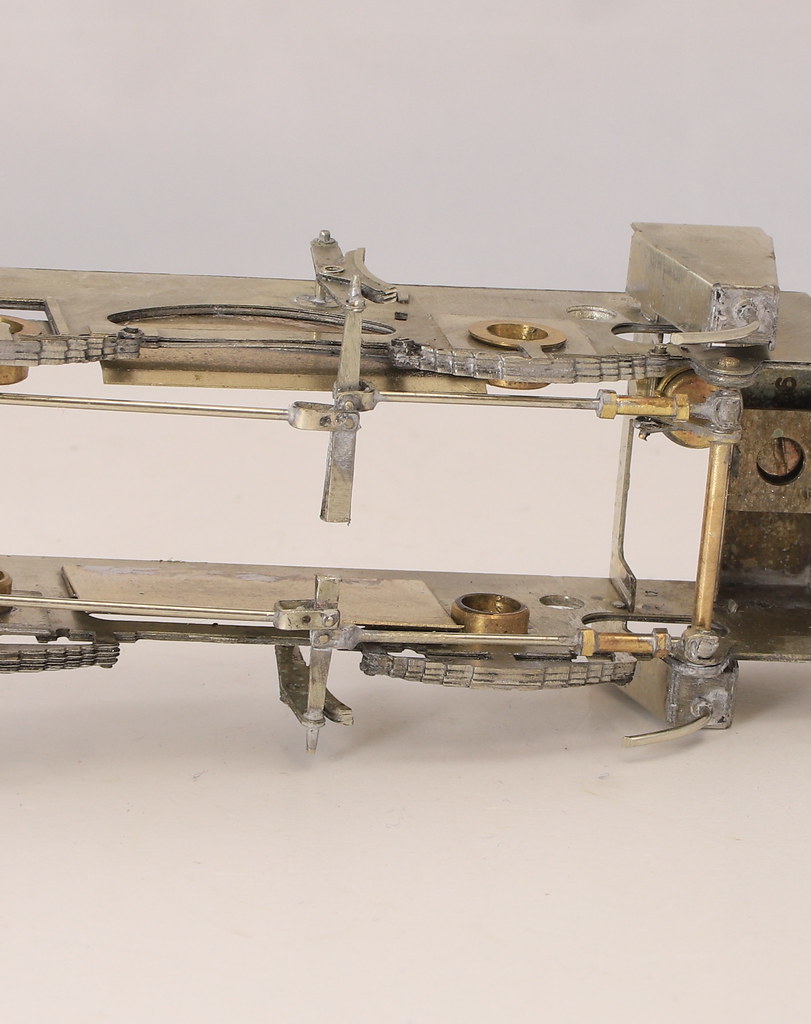
A couple of sessions this weekend, have seen most of the brass castings and the backhead finished and secured in place.

Prior to doing that I had to make a cab floor or rather the front section of the cab floor because my replacement backhead fell through the section that’s not provided in the kit when I tried it in place.


I added a couple of 2mm wide strips to the edges of the cab splashers and then soldered the additional cab floor to that which brought it to the same height as the rest of the cab floor.

After making the floor it gave me another option to secure the backhead so I made the back head and the cab gauges removable to ease the job of painting.


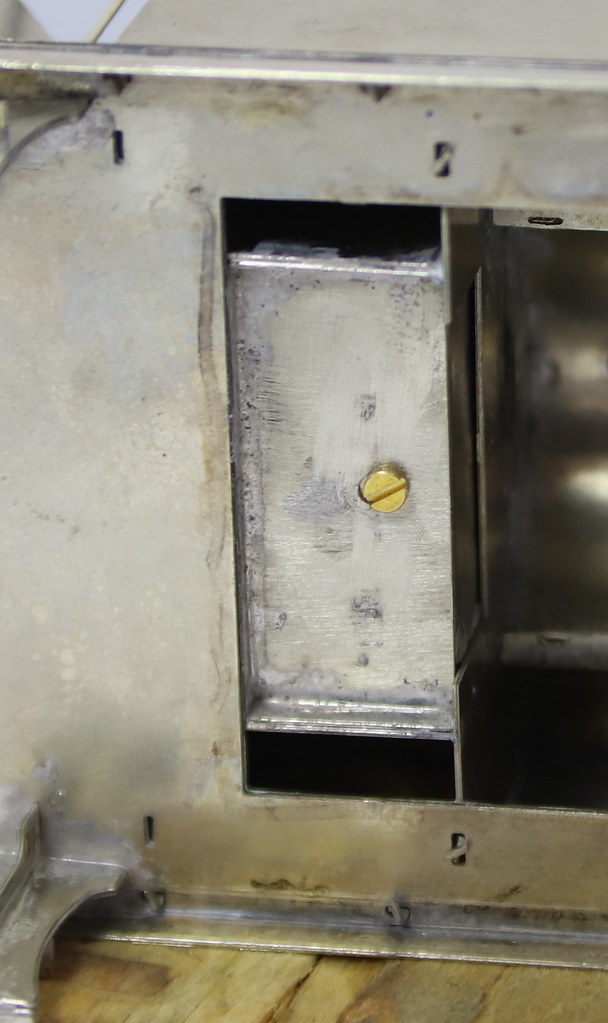
I folded a small piece of 10thou nickel into a U shape with a short leg to the front and drilled a hole for a 10ba nut. The idea of the U shape is to add a bit more strength to what is relatively thin sheet.


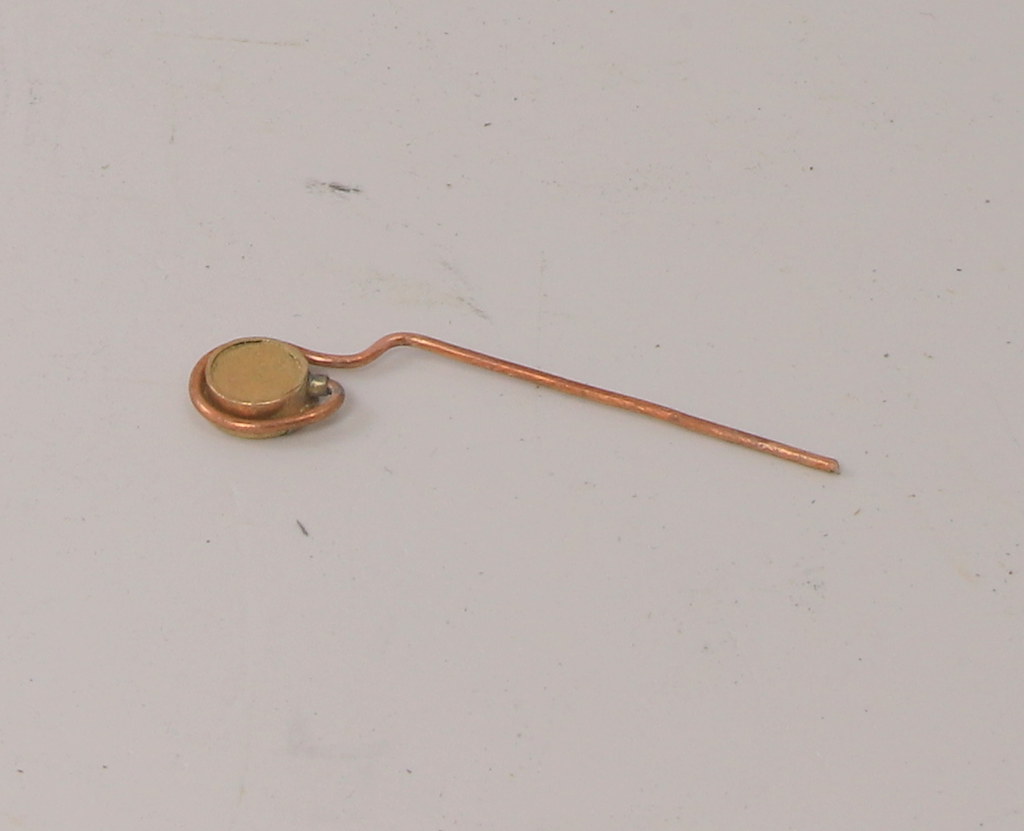
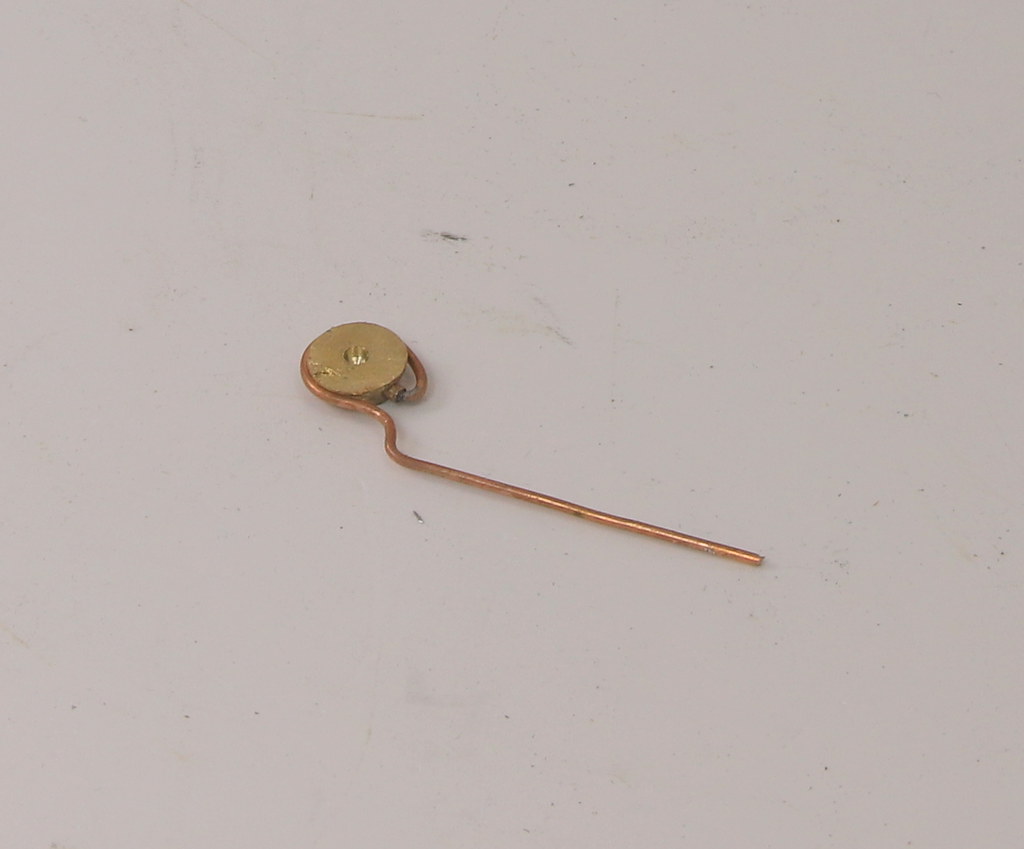
I added a short length of tube in the corner of the cab front and splasher and the tail of the pipe from the gauge locates into it with the back of the dial fitting over the peg where the vacuum ejector pipe enters the cab. Not strictly prototypical I am sure but it means that after painting a small dab of glue will secure it in place.

A few general shots of the smokebox details which is where most of it seems to be on this loco.


The clack valve is one of Jim McGeown’s from his most useful sprue of Clack and elbow castings as is the vacuum ejector elbow on the other side.

The lubricators on the smokebox are Laurie griffin and the small pipe and fitting is scratch built from tube, rod and scrap etch.


The rather nice turned whistle came with the kit and is without doubt the best fitting supplied.

Still to fit are vacuum pipes and the whitemetal fittings – buffers, dome and chimney, then balance weights and some lead in the side tanks before track testing.

The end is most definitely in sight.
 

Rob Pulham

Western Thunderer
I had some milliput out for making some modifications to some axlebox ready to make some castings of them. I needed a miniscule amount so it seemed a shame to waste the reast of what I mixed so I filled the back of the balance weights for the Class 5a.


They still need a little tidying up but they do look a bit better than just an etched skin.


When I did my J63 I had some etched washers that were just the right size to make the front windows into opening ones by sticking them either side of soe glazing material and wrapping a strip of brass around them.

I wondered if I was able to turn a couple with a proper recess rather than a wrap-around overlay, now that I have a little more confidence with the lathe. I ordered a 3.5mm boring tool and when it arrived, I thought I would have a go.

I cut a length of brass rod and turned a section of it down to the required width and then drilled progressively bigger holes in the end until I reached 5mm in diameter. Then I tried the boring tool ad had a gotcha moment. The tool might be 3.5mm wide but it’s also 3.5mm deep and it wouldn’t fit when trying to centre it in the hole for cutting…. In order to get the tool in I would need a bigger hole than I wanted.

,I scratched my head for a bit and then had a rummage thought the box of tools that came with the lathe. One of them had been ground with boring holes in mind but the corner of the cutting edge was chipped so while it would cut, I didn’t get a square edge to the bottom of the hole.

It was at this point that I remembered that I had bought a mini bench grinder from Lidl about 3 years ago and it was sat on a shelf under my bench.

Out it came and I had my first go at grinding a cutting tool for the lathe. Light touches soon restored the missing bit of tip and I now see what Ian meant when he said a sharp tool makes a lot of difference to how it cuts.

While I had it on the bench, I reground a couple more tools that had dings out of the edges too.


And one with the obligatory 5p for scale.
 

Rob Pulham

Western Thunderer
The build slowed down a little when I realised that the chimney casting had the flare cast lopsided. This meant that when you had the chimney sat on vertically on the smokebox there was more flare at one side than the other. I tried to reshape it with bars rolling it over a former the same size as the smokebox but I couldn’t improve it much.

After some discussion with Brian, I emailed Laurie Griffin and Andy Beaton to ask them if they had anything suitable in their ranges that might do (as long as it looked right it wouldn’t matter which loco it was originally designed to fit). Sadly the nearest we got to was an LNER standard chimney from Laurie.

The next step was to ask fellow Guild member Mike Hopkins who has been posting some excellent stuff on the Guild forum where he has been designing in 3D then printing waxes and having them cast in brass.

I supplied Mike with a drawing a couple of days ago and he went away to draw it up.


Below are some photos of the wax prints prior to removing the supports and sending them away for castings. Photo’s copyright of Mike and posted with his kind permission.


Rob Pulham

Western Thunderer
The final part of the build while awaiting the chimney casting was how to fit the cab windows.

I drilled each one top and bottom and added a pivot pin.


After thinking about bits of tube etc. I realised that I could add some bottom ‘hinges’ in the form of pipe type bracket and do the same at the top but only solder one tab so that the bracket could be eased back to make the window unit removable for painting.


A few shots as she stands awaiting her chimney. I also added lead to the side tanks and as I suspected she now runs quite smoothly on the rolling road. I will continue to run in while awaiting the chimney and when the weather improves, I will dig my test track out of the shed and test run around curves.


Rob Pulham

Western Thunderer
I had a long morning finishing of some fencing at the back of the house yesterday so modelling took a back seat. I did however manage to do some test running of the Class 5A on my rather rough and ready test track which it passed with flying colours.

I took a video of the slow running. It's only just over a minute don't fall asleep.


Rob Pulham

Western Thunderer
I received the chimney from Mike last week but the good weather meant that outdoor jobs took precedence. However, some modelling time yesterday afternoon and evening, saw the final touches to added the loco. I am now going to sit and look at it for a few days before arranging painting with Warren. Just in case I spot something that I haven’t noticed…


Rob Pulham

Western Thunderer
He would indeed,

I bought my own kit directly from him and collected it at Halifax show. We had a quite a natter.

He would be pleased that I managed to find a kit for his Clayton Rail motor too. His moulds were worn so he wasn't able to put a kit together for me at that point. He was hoping to re-introduce it but he never managed it.
 
Top