You are using an out of date browser. It may not display this or other websites correctly.
You should upgrade or use an alternative browser.
You should upgrade or use an alternative browser.
Giles' misc. Work bench.
- Thread starter Giles
- Start date
Giles
Western Thunderer
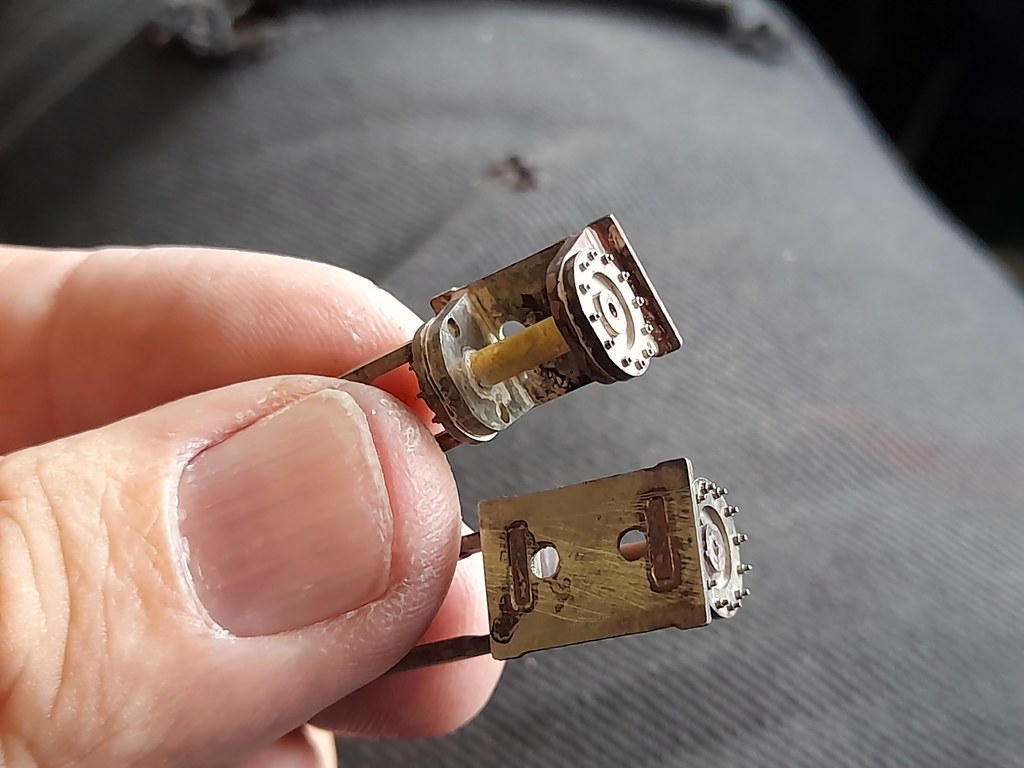
Connecting rods are machined out, ready for a later process, and I've made four pairs of slide bars. I make them in fixed pairs as it is so very much easier to get them square, parallel etc this way, than fiddling with individual bars. Once the bars are soldered (silver) to the motion bracket, the aft side will be cut away.

Meanwhilst, I have been making the rear cylinder end covers from 1.6mm nickel silver, which then silver solder to the slide bars. There will be an extra little piece to form the gland and slide bar support.


Meanwhilst, I have been making the rear cylinder end covers from 1.6mm nickel silver, which then silver solder to the slide bars. There will be an extra little piece to form the gland and slide bar support.

Giles
Western Thunderer
The extra piece of the end cover 'casting' fitted to form the gland and slide bar support. The tube obviously provides a nice enclosure for the piston rod, and helps achieve a square assemble to the cylinder.
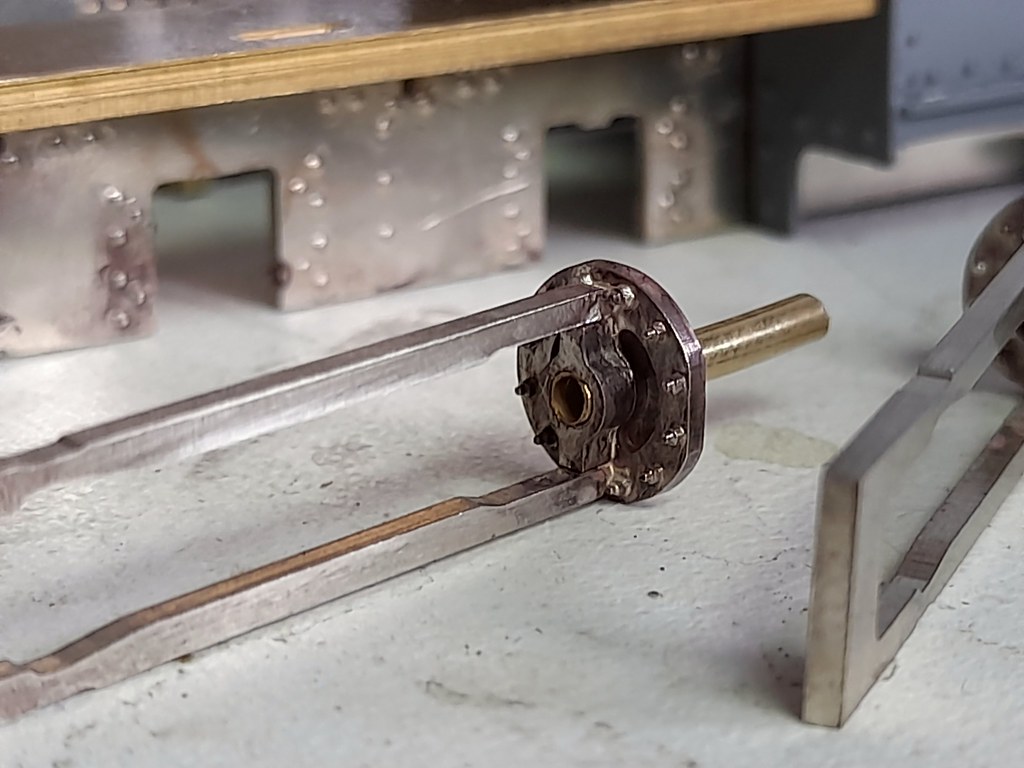 View attachment 166337
Two of the four front cylinder covers. These are machined from 1.6mm nickel silver.


 View attachment 166337
Two of the four front cylinder covers. These are machined from 1.6mm nickel silver.

Richard Gawler
Western Thunderer
The surface finishes you are achieiving scale up incredibly well. Then again, the craftsmanship is incredible too 

michael mott
Western Thunderer
I was wondering how you did the hex nuts, that is amazing.
Michael
Michael
Giles
Western Thunderer
It's all done on this set-up, though this photo shows a Proxxon drill being used as a spindle - sadly they don't last long! I've got a decent KRESS FME-P 800 watt spindle, which does the job well......
Last edited:
michael mott
Western Thunderer
Thank you Giles for the photograph, that technology is something I have never ventured even close to getting involved with. But I am always amazed by what can be done.
Michael
Michael
Giles
Western Thunderer
Giles
Western Thunderer
After a delightful day at Larkrail........ both locos now have cylinders and slide bars attached.... but still no wheels in stock!
Hobbyhorse
Western Thunderer
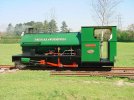
Those are bringing back some fond memories of the loco we had at Bredgar a few years ago, sadly it was a bit heavy and didn't like some of our tighter curves so it was off to pastures new.
Your build is very impressive especially the 3D work, which I should explore at some point, although I'm more of a drawing board person than cad.
Harrogate is on my build list at some point.
Simon
Your build is very impressive especially the 3D work, which I should explore at some point, although I'm more of a drawing board person than cad.
Harrogate is on my build list at some point.
Simon

Giles
Western Thunderer
Thank you Simon! Lovely photo - the B&W did a very sympathetic rebuild of her cab. I think I could see in recent photos (at Statfold) that her centre drivers are now flangeless, but I can't be certain - the photo wasn't completely clear - but it would not be an unreasonable fix for a problem that has plagued her.
I needed to get into 2D CAD for work twenty years ago, which is just like drawing board stuff, but have only just started 3D, which is entirely different in its thought processes!
I needed to get into 2D CAD for work twenty years ago, which is just like drawing board stuff, but have only just started 3D, which is entirely different in its thought processes!
34091 Weymouth
Western Thunderer
Blooming heck, that's super.
Giles
Western Thunderer
This is (an adjusted) photo of why I think the centre drivers are now flangeless......... I'm inclined to make at least the loco I'm keeping the same (even though the chronology is wrong!) purely for flexibility. I suspect that being outside frame the fact the centre drivers are flangeless probably won't even be noticeable.
Giles
Western Thunderer
I've made a start on the injectors (4 off). I've made all the bodies, and silver soldered the pipes onto this one, but there's more nuts and a valve to go. I had been hoping to find suitable castings, but to no avail.
Giles
Western Thunderer
To make the hex, I took some round section and soft soldered two nuts on, in the same orientation. This enabled me to index the bar accurately to 60 degrees in the vise in the horizontal V, and mill off the top.
Hi Giles, thank you for all your posts, there's so much to learn from them. I had a need for quite a lot of hexagonal and square section of odd sizes in short lengths accurate to within a thou or so. In the end it was worth making a little jig for use in a lathe, photos below. It's just a piece of half inch square bar with three holes in it. One 3mm reamed hole right through (a good fit on 3mm stock rod), one tapped hole for the clamp screw that goes onto the setting section (left) and another tapped hole to clamp the workpiece in the guide hole.To make the hex
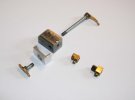
The two brass bits to the right slide on to the rod, hex or square as required and are tightened on to it. The clamp sections were sawn off the top of a 13 amp plug prong and then soldered to a nut and a piece of square section with a hole in it. The aluminium section then tightens on the nut or square part to set the angle. To change the angle just loosen off the aluminium clamp, rotate the workpiece and tighten again.
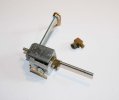
I use it an ordinary toolpost and just screw down on to it.
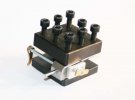
As you can imagine it takes a little time to make but all the holes are in the same plane and there are no critical measurements, just the workpiece hole to get parallel to the sides to make setting up easy, a rod in the chuck and square off that to the side of the jig. It's very quick and easy to set up and use and worth it if you have a lot of this sort of thing to do.
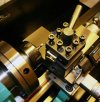
I use it with a milling cutter in a collet. No doubt a more refined jig could be made but it suffices for my needs. Just as easily clamped in a vice on a milling machine. It's just so easy to insert a length of stock rod and shape as required.
EDIT. As well as making short lengths of hexagonal or square stock it can also be used for making tiny lathe tools out of 3mm silver steel, for example for creating the groove between the square sections of a clack valve. Once the tool is made the jig can be used as the toolholder.
I tend to use it more for toolmaking than anything else at the moment but it was originally intended for the sort of work Giles is doing on things such as injectors. The need was for longer lengths made to exact dimensions to be used in pattern making rather than for making representations of nuts or bolts.
Last edited:


