

Rob Pulham
Western Thunderer
Now that the B16/1 is finished I thought I would share with a you a little distraction that I had a couple of weeks ago.
I had a few days off after my birthday and wanted to spend it working on something for me. I really should have spent the time working on my MOK 8F kit but I didn't instead I made a good start on the J79.
Jim's kits are great in that you can build them as supplied and have a lovely model or you can go to town and have an even better model. I chose to not only raid the spares box but to do some scratch building as well.
This is where I got to during the 4 days that I spent on it.
First of all I built the chassis. I decided I wanted something a little more 3D for the loco springs and after raiding a few of my kit stock to see if I could borrow anything that might be suitable I ended up making some from scrap etch, nickel rod and some 12ba nuts

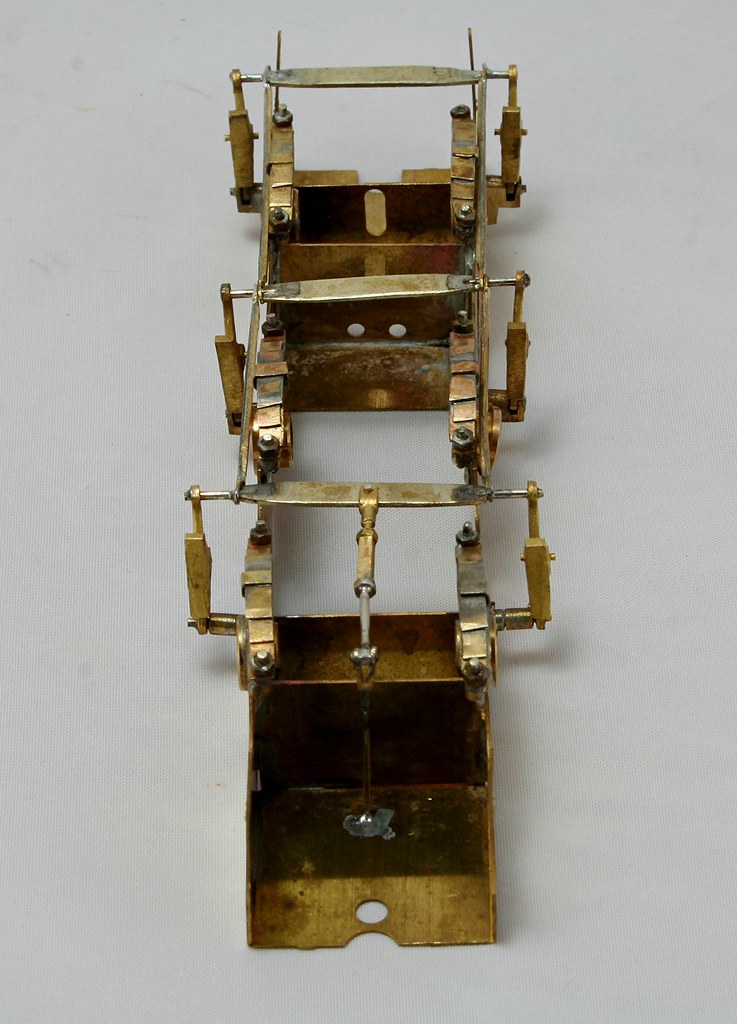
The centre axle holes have been elongated downwards and sprung with a piece of 0.8mm piano wire which sits into a dimple drilled in the bearing.
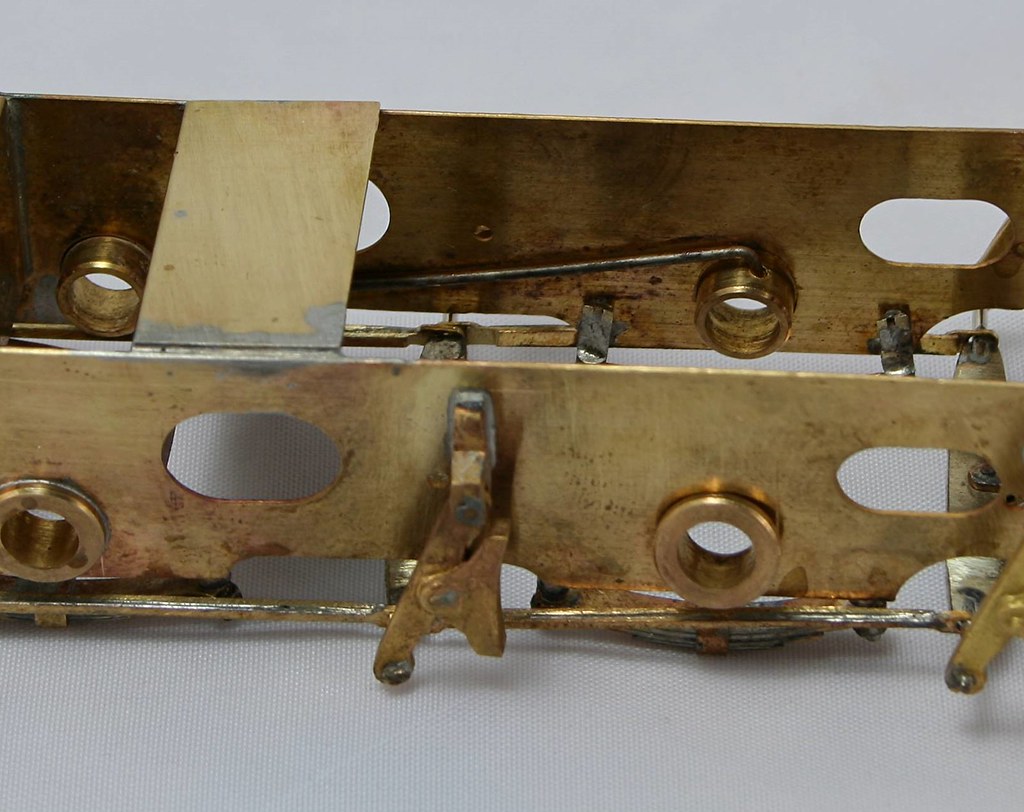
The lovely brake castings are from Ragstone Models and were bought originally for my A3 but there wasn't enough clearance to use them so they were sat in the spares box and matched the etches perfectly so it made sense to use them.
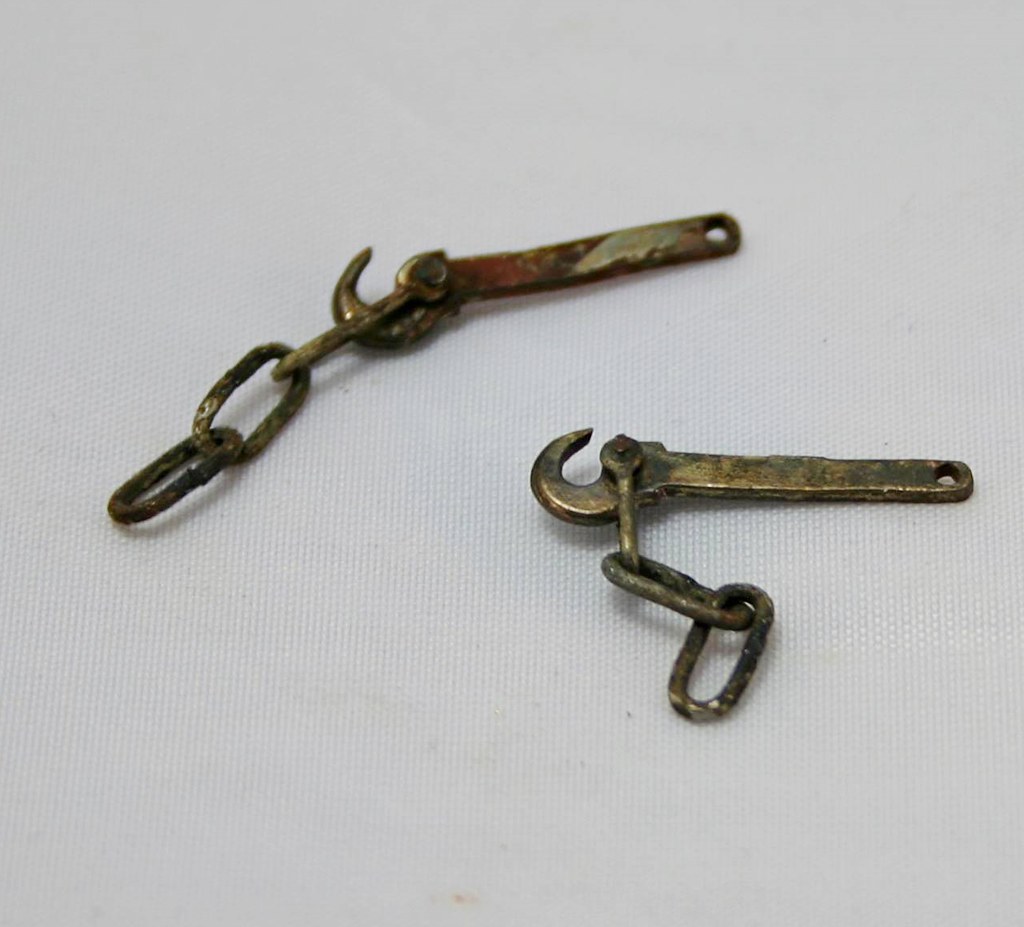
The J79 (NER H2) has quite distinctive couplings which again are made up from bits in the spares box
While at Guildex was enquiring as to the availability of coupling rods for the N2 etches that I picked up from the E&T and noted that they had a table at the side of the stand which had boxes of castings of various descriptions at quite silly prices. Apparently they had cleared out their workshop and they were all part used sprues of lost wax castings most were at £1 or £2 per bag and I got quite a few for about £12 in total. Some of these were lamp Irons.
I made use of them on the bunker rear

To make them even more secure I drilled through and attached them via the spigots too.
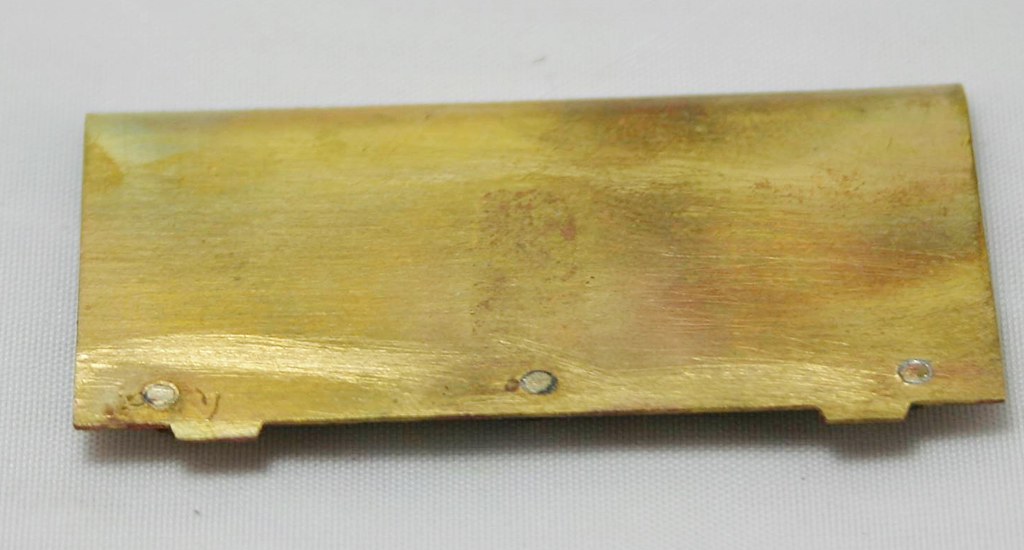
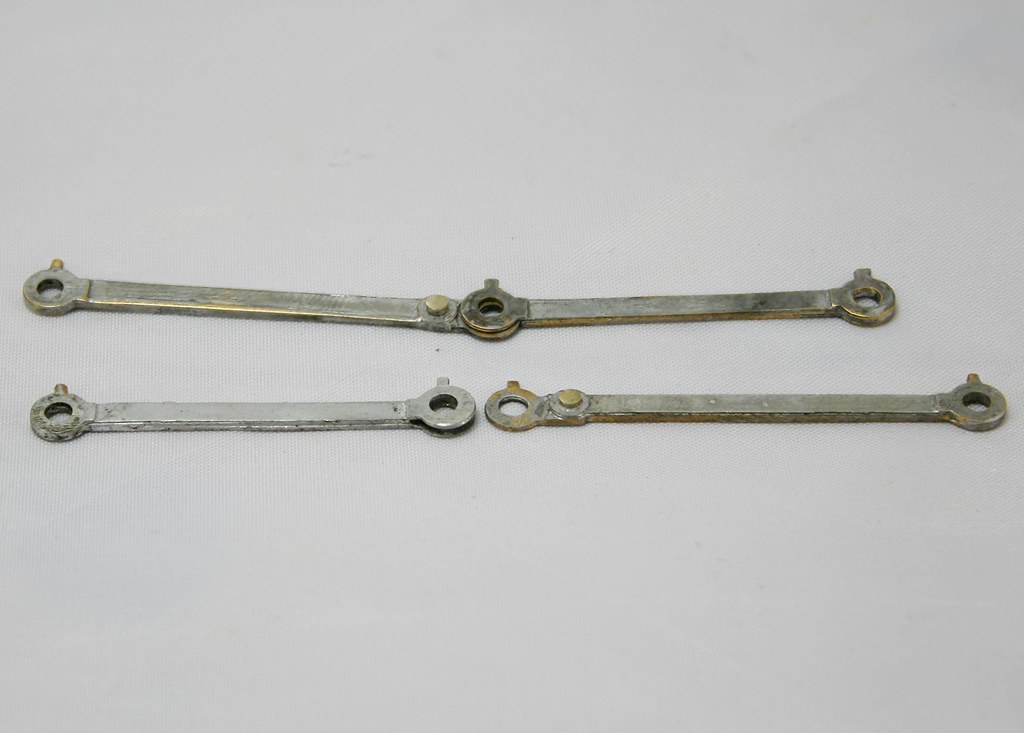
The coupling rods in this kit are brass etches and Jim helpfully suggests tinning them to make them look like dirty steel rods. I have used this tactic in the past and it does work.
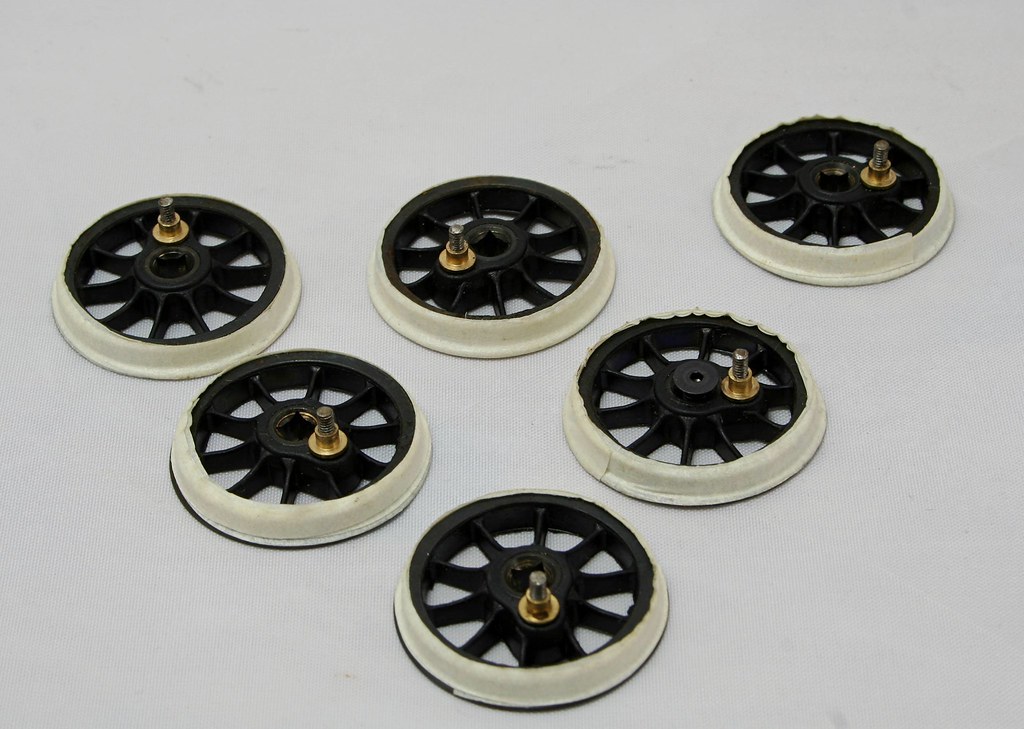
Finally I blackened the wheels, tapped the crank pin bushes 10ba and fitted 10ba steel Counter Sunk screws to the wheels.
I had a few days off after my birthday and wanted to spend it working on something for me. I really should have spent the time working on my MOK 8F kit but I didn't instead I made a good start on the J79.
Jim's kits are great in that you can build them as supplied and have a lovely model or you can go to town and have an even better model. I chose to not only raid the spares box but to do some scratch building as well.
This is where I got to during the 4 days that I spent on it.
First of all I built the chassis. I decided I wanted something a little more 3D for the loco springs and after raiding a few of my kit stock to see if I could borrow anything that might be suitable I ended up making some from scrap etch, nickel rod and some 12ba nuts
The centre axle holes have been elongated downwards and sprung with a piece of 0.8mm piano wire which sits into a dimple drilled in the bearing.
The lovely brake castings are from Ragstone Models and were bought originally for my A3 but there wasn't enough clearance to use them so they were sat in the spares box and matched the etches perfectly so it made sense to use them.
The J79 (NER H2) has quite distinctive couplings which again are made up from bits in the spares box
While at Guildex was enquiring as to the availability of coupling rods for the N2 etches that I picked up from the E&T and noted that they had a table at the side of the stand which had boxes of castings of various descriptions at quite silly prices. Apparently they had cleared out their workshop and they were all part used sprues of lost wax castings most were at £1 or £2 per bag and I got quite a few for about £12 in total. Some of these were lamp Irons.
I made use of them on the bunker rear
To make them even more secure I drilled through and attached them via the spigots too.
The coupling rods in this kit are brass etches and Jim helpfully suggests tinning them to make them look like dirty steel rods. I have used this tactic in the past and it does work.
Finally I blackened the wheels, tapped the crank pin bushes 10ba and fitted 10ba steel Counter Sunk screws to the wheels.