Moving on to the boiler, there are covers for the pipes along the sides, but unfortunately, no indication in the kit as to their actual position or measurements to align them. First step, mark the boiler centre line.
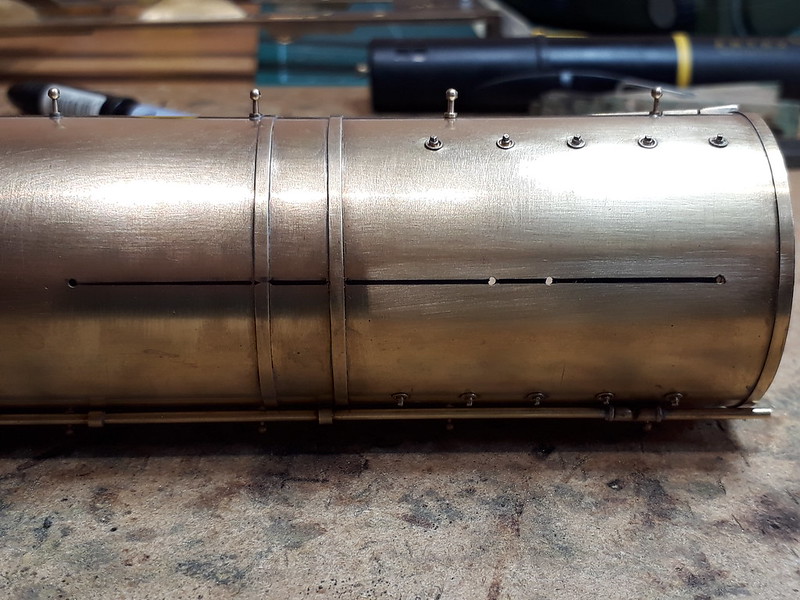
The boiler was then marked up for the position of one of the covers using photographs as a guide.

That line was then used to mark the other side, and the other boiler, by marking up a length of slim plastic strip.

The kit provides two lengths of etch to represent the pipe casing, but I wanted to make something more in keeping with the prototype, so it was back to some brass channel section, purchased from Metalsmith Leeds (lankytank), seen here being marked up for cutting.

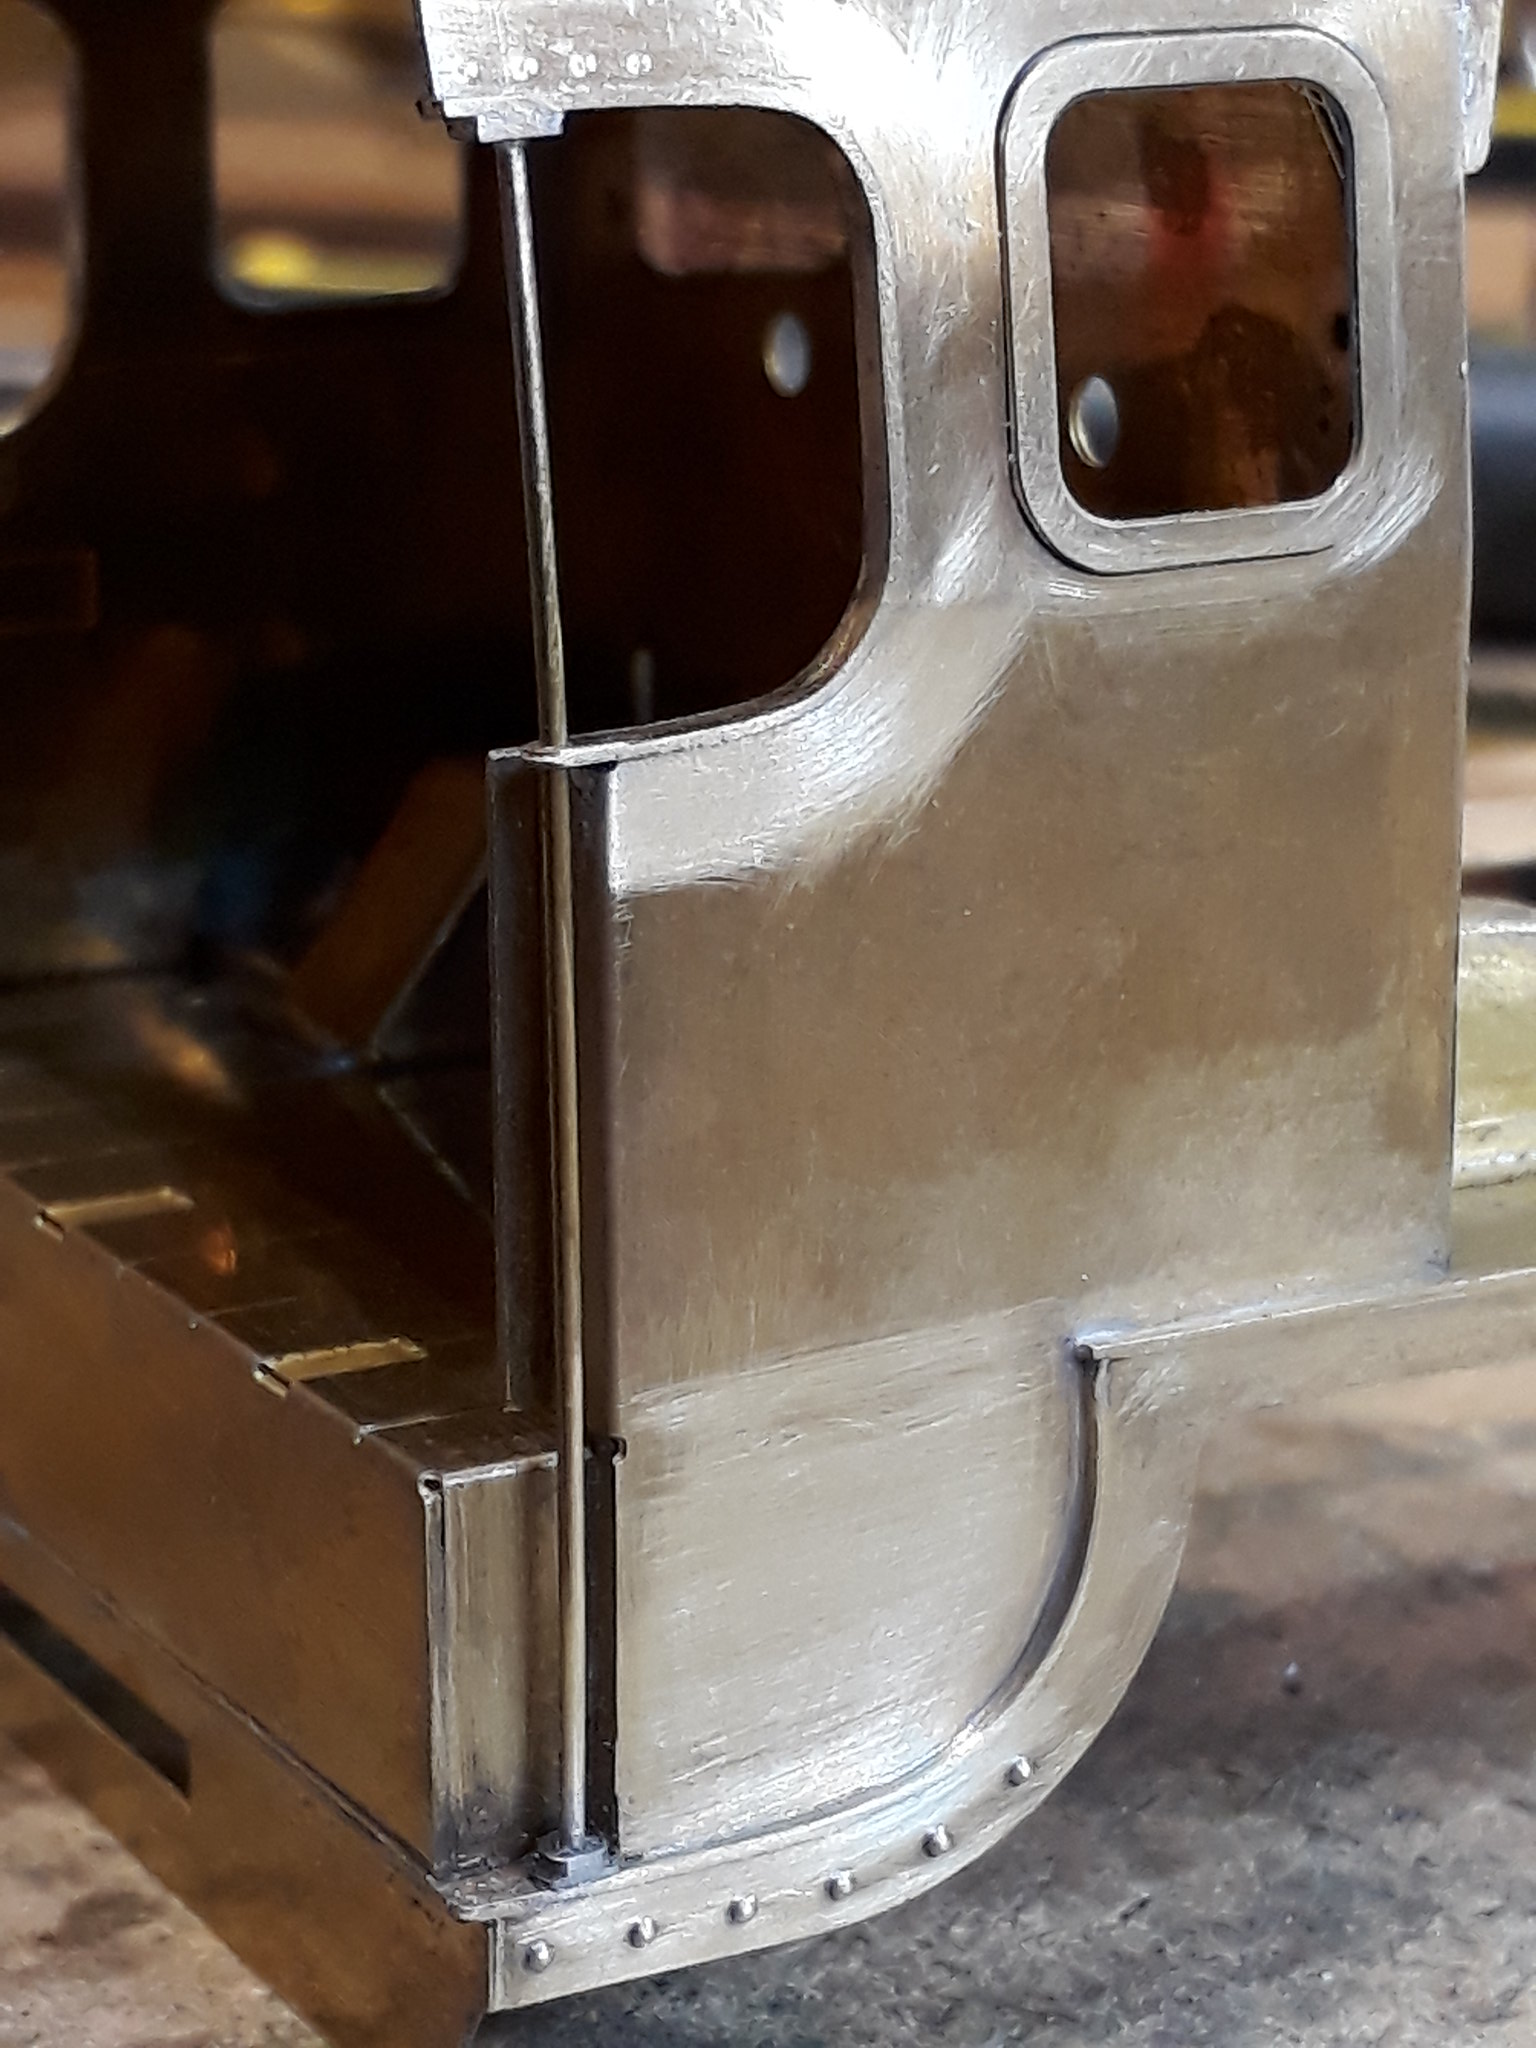
First cover soldered into place with the cast brass part also in place which is at the cab end of the boiler assembly. The "securing lugs" were cut off the etch parts and attached separately. One issue, was that the boiler bands required slitting so that the brass channel would sit flush with the boiler. This would have had to have been done anyway even if using the kits etched parts.

Photo showing the other side of the boiler assembly.

A completed item with the boiler in place on the rest of the superstructure.

Ian