Rob Pulham
Western Thunderer
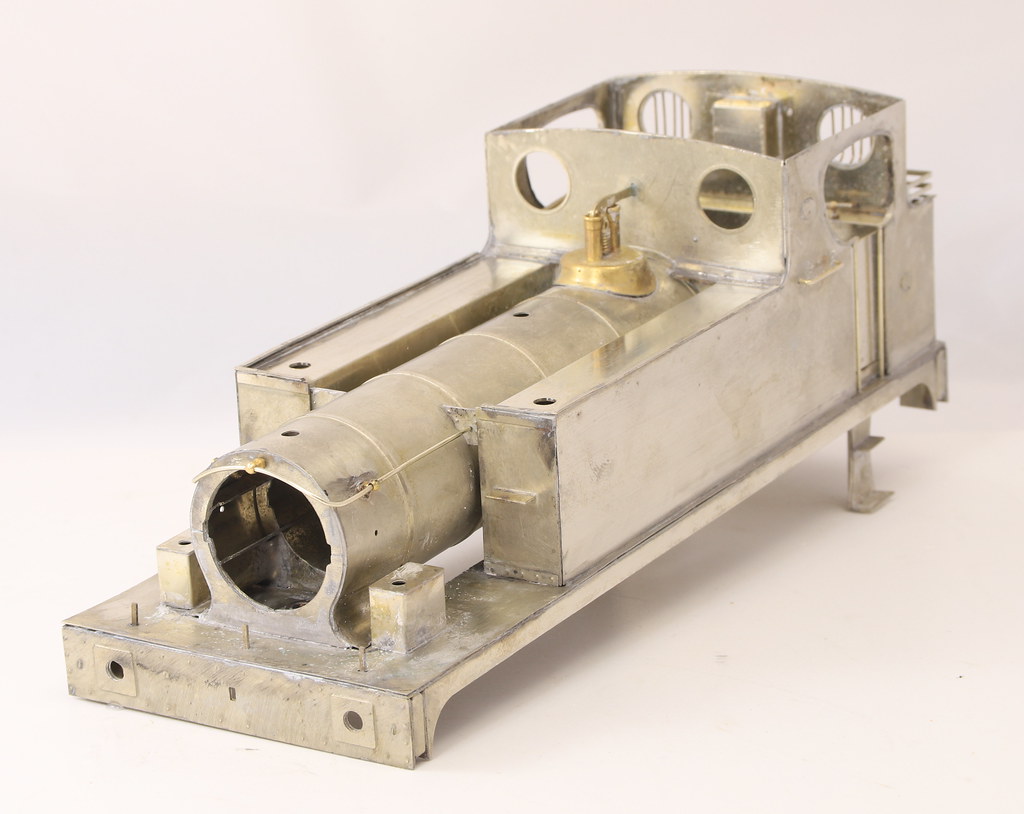
I am pleased to say that the replacement side has been a complete success and even in bare metal, if you didn’t know I doubt that you could tell that it wasn’t original.
Each side has a couple of ovals representing works plates so I used some off cuts to file up a couple of replacements and soldered them in place before fitting the side. I took measurements of the side that I had taken off to get the correct placement.

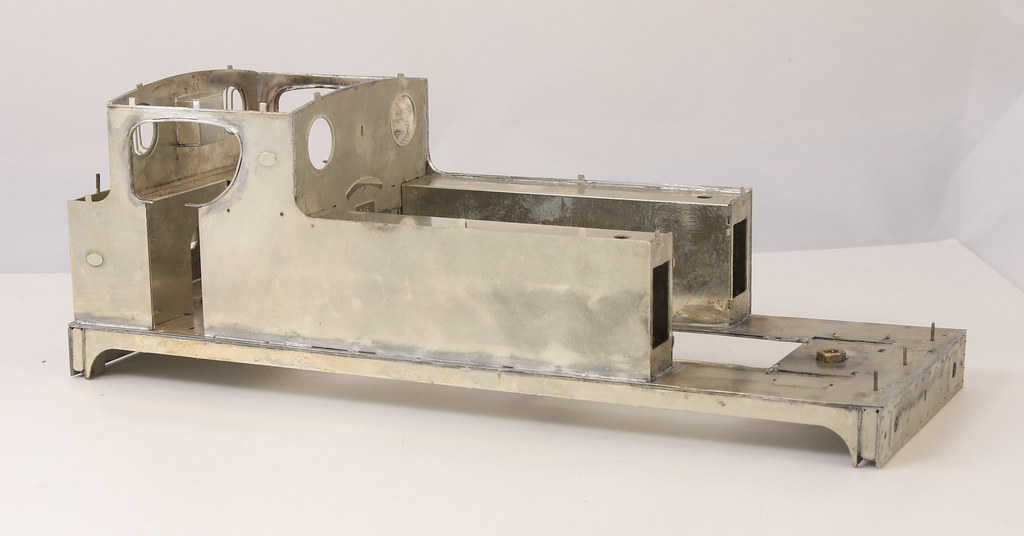
Before finally soldering the new side on I fitted the front and rear of the cab and the cupboard on the cab and their overlays.
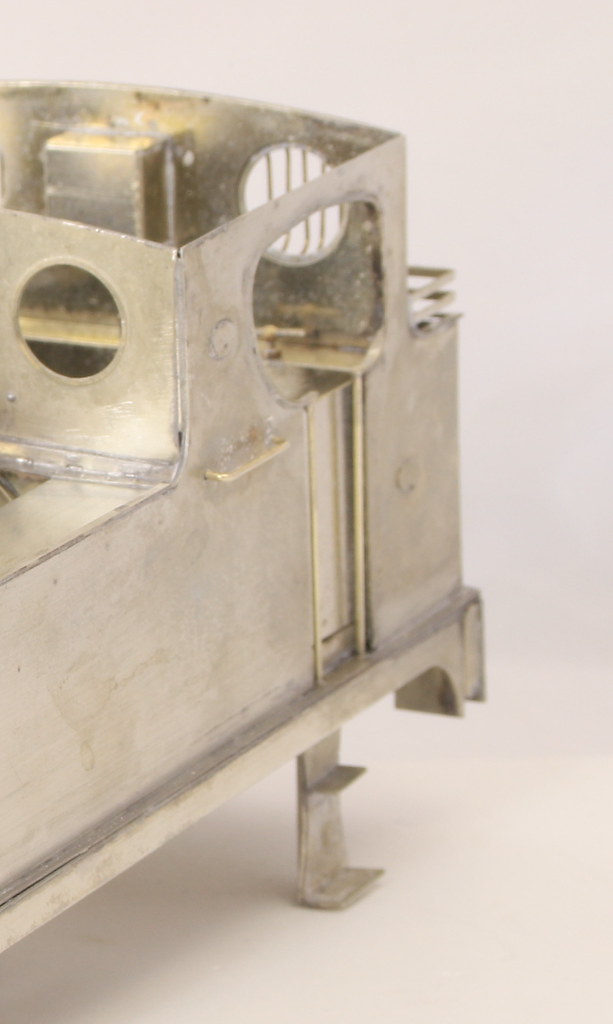
Once they were all in place, I added the beading around the cab opening. Although I am sure that I used them last time I failed miserably to get the beading to slot onto the tabs in the cab openings. In the end, I filed them off and did it as I would have if there had been no tabs. Using the opening as a former I pre-bent the beading to shape and them with the aid of self-locking tweezers soldered them in place. I will have to revisit one of them as while taking photos this morning I noted a couple of small gaps that need filling.


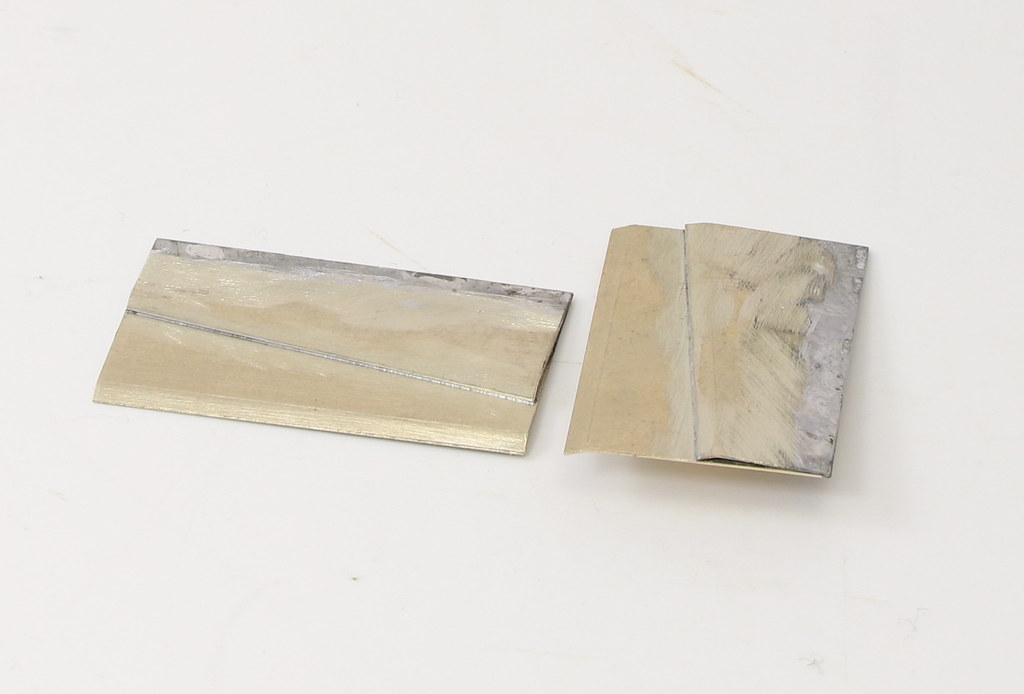
Each side has a couple of ovals representing works plates so I used some off cuts to file up a couple of replacements and soldered them in place before fitting the side. I took measurements of the side that I had taken off to get the correct placement.
Before finally soldering the new side on I fitted the front and rear of the cab and the cupboard on the cab and their overlays.
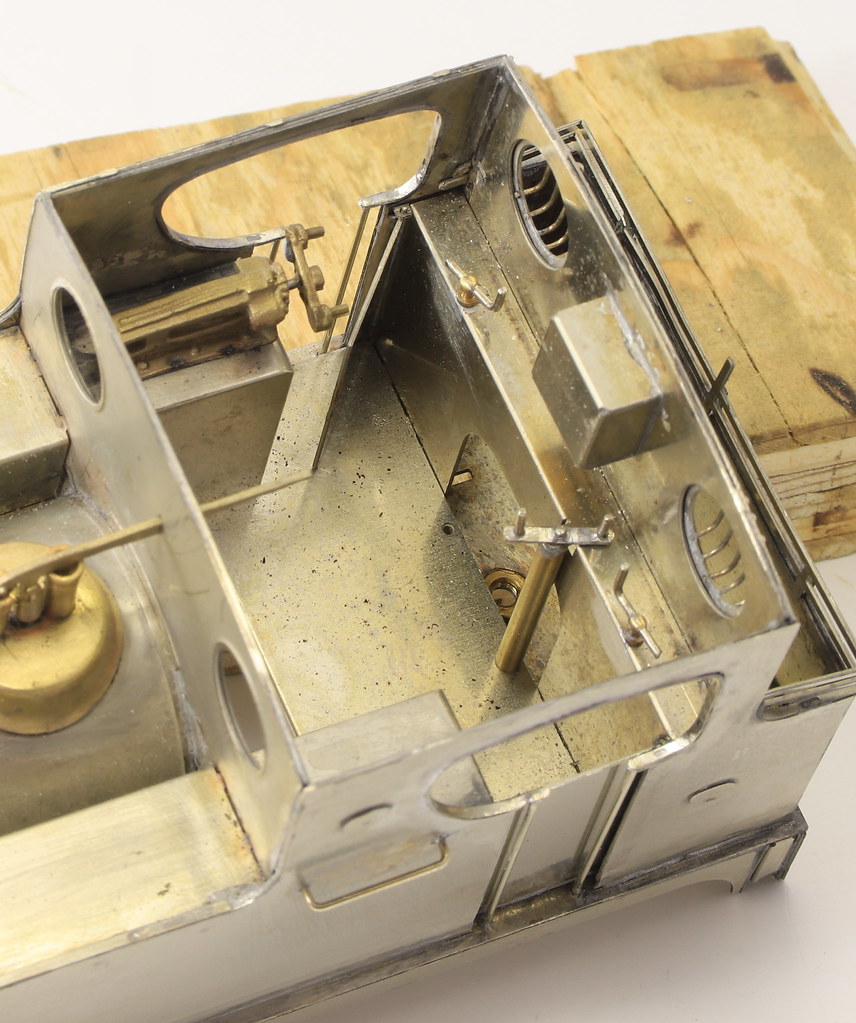
Once they were all in place, I added the beading around the cab opening. Although I am sure that I used them last time I failed miserably to get the beading to slot onto the tabs in the cab openings. In the end, I filed them off and did it as I would have if there had been no tabs. Using the opening as a former I pre-bent the beading to shape and them with the aid of self-locking tweezers soldered them in place. I will have to revisit one of them as while taking photos this morning I noted a couple of small gaps that need filling.