4mm Life in a Northern Town - Ever more York

Neil

Western Thunderer
Look what I have to put up with when my mates roll up to play trains.

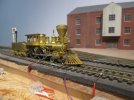
The little brass American 4-4-0 is tiny and jewel like. Apparently my mate Charles bought it for $10 many years ago when he was working in the states as it didn't work; a simple fix he told me.

d 001.jpg

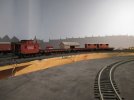
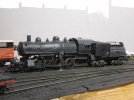
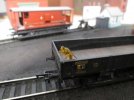
Also from America, some more workaday stuff.

d 002.jpg

d 003.jpg

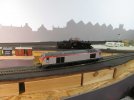
Closer to home, this TfW class 67, my mate Patrick's loco. All I can think is that the Aberystwyth - York mails has fallen through some gap in the space time continuum and ended up with this thing at its head. Pigs might fly, eh?

d 004.jpg

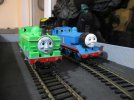
Good grief Nooooooo! A pair of the grey faced little f******s (fellows, perhaps?) spotted lurking in the light railway fiddle yard.

d 005.jpg

Finally as it was warm with the window open, when the evening darkened, all sorts of moths and bugs decided they'd like to get in on the act. Only one was brave enough to risk a ride.

d 006.jpg

Mrs R reckons that it's probably a shield bug, but if you know different .....
 

Jordan

Mid-Western Thunderer
Look what I have to put up with when my mates roll up to play trains.

The little brass American 4-4-0 is tiny and jewel like. Apparently my mate Charles bought it for $10 many years ago when he was working in the states as it didn't work; a simple fix he told me.

View attachment 193372


Finally as it was warm with the window open, when the evening darkened, all sorts of moths and bugs decided they'd like to get in on the act. Only one was brave enough to risk a ride.

View attachment 193377

Mrs R reckons that it's probably a shield bug, but if you know different .....
At least the American 4-4-0 is the correct scale for the track.... ;) :)
Just before I sprint for the exit, I'll just leave this here....
20230805_222452.jpg
At least your bug survived it's railway encounter :rolleyes:

coat/hat/gone... scared0018.gif
 

Neil

Western Thunderer
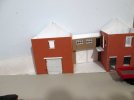
If you've been paying attention you might remember the bendy building debacle back in May. Well I've finally bought some thicker plasticard, got my mojo up and running and made a start. Here's what I've done so far.

yk 382.jpg

yk 383.jpg

It's full of 80 thou plasticard and lots of bracing. Even in its incomplete state it's pretty heavy; I dare it to warp this time.
 

Herb Garden

Western Thunderer
If you've been paying attention you might remember the bendy building debacle back in May. Well I've finally bought some thicker plasticard, got my mojo up and running and made a start. Here's what I've done so far.

View attachment 194360

View attachment 194361

It's full of 80 thou plasticard and lots of bracing. Even in its incomplete state it's pretty heavy; I dare it to warp this time.
Neil,

I've just noticed your backscene.... a bit different but very effective really like the silhouette!

George
 

Neil

Western Thunderer
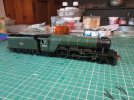
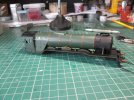
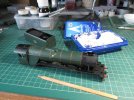
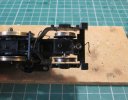
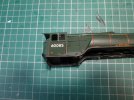
As I mentioned in the 'budget' thread, I picked up an A3 for thirty quid last year. It must have had a hard life as various bits were broken, missing and it didn't work. The working bit was solved by pulling out the dcc chip and replacing with a blanking plate, the cosmetic bits are taking a little longer. It arrived as The White Knight, smoke deflectors broken off, tender handrail loose, no reversing rod under the footplate, glue marks on the smokebox and something awry with the loco to tender fixing. I'm part way through sorting out the cosmetic issues.

yk 385.jpg

Here I've fixed new handrails in place, the originals stopped part way under the smoke deflectors and have started the process of changing the loco's identity; it will become Manna in its early sixties form. There is a reason for this choice, not unconnected with my mates raving about the new Accurascale manor, I want to show them what a proper Manna looks like.

yk 386.jpg

I've now finished creating a new set of footsteps this side, the electrification warning flashes, like the cab side numbers, are no more (Astonish and a chisel point coffee stirrer) and one of the damaged handrail knobs (missing ball end) has been reconstructed with a tiny blob of five minute Araldite.
 

y6tram

Active Member
As I mentioned in the 'budget' thread, I picked up an A3 for thirty quid last year. It must have had a hard life as various bits were broken, missing and it didn't work. The working bit was solved by pulling out the dcc chip and replacing with a blanking plate, the cosmetic bits are taking a little longer. It arrived as The White Knight, smoke deflectors broken off, tender handrail loose, no reversing rod under the footplate, glue marks on the smokebox and something awry with the loco to tender fixing. I'm part way through sorting out the cosmetic issues.

View attachment 196986

Here I've fixed new handrails in place, the originals stopped part way under the smoke deflectors and have started the process of changing the loco's identity; it will become Manna in its early sixties form. There is a reason for this choice, not unconnected with my mates raving about the new Accurascale manor, I want to show them what a proper Manna looks like.

View attachment 196987

I've now finished creating a new set of footsteps this side, the electrification warning flashes, like the cab side numbers, are no more (Astonish and a chisel point coffee stirrer) and one of the damaged handrail knobs (missing ball end) has been reconstructed with a tiny blob of five minute Araldite.
Looking good there Neil, do like the look of the layout as well.
 

Neil

Western Thunderer
Less than a week and I seem to have made good progress, not sure what's happened as I usually don't work that fast. One worthwhile mod I've done was to give the rear cartazzi axle more sideplay. As produced by Hornby it has lugs around the axle on the chassis block and ribs on the inside of the cartazzi truck moulding. Both of these restrict movement and have been ground and carved off. The A3 now has no problems coping with the curves on my layout without having to resort to the disappointing flangeless wheelset. I don't know why Hornby restrict the sideplay of this axle; barmy.

yk 387.jpg

Cabside numbers have come from a twenty plus year Presfix set which have lost the ability to be pressed into place. Frankly this is a bit of a bonus as they can now be used like a set of waterslide transfers, allowing them to be teased and tweaked into place. Once dry a coat of Halfords satin lacquer sealed them in place.

yk 388.jpg

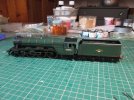
Moving on a bit, paint has been touched up, tender drawbar mended and fixed in place, plates stuck on with Araldite and had a waft over with more satin lacquer, now it's at the state shown in the next photos.

yk 390.jpg

yk 389.jpg

Still some way to go, it's missing the speedometer drive and reversing rod, but it's beginning to look like a finished loco. I'm pretty pleased with the result so far.
 

Neil

Western Thunderer
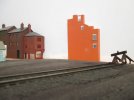
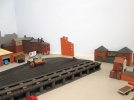
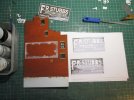
Over the last week or so another structure has been taking shape and that shape would be very thin. More of a scenic flat it just about struggles into the realms of 3D, starting out as 4mm thick and flaring out to 15mm at its widest. I had a bit of modellers block about what should go in this location until Mrs R suggested one of York's most iconic buildings, the old Stubbs Ironmongers shop.

yk 391.jpg

Here it slimness can be appreciated but this shouldn't be apparent once I've filled in the space between it and the warehouse/workshop at the front edge of the baseboard.

yk 392.jpg

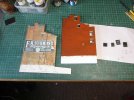
Once checked for fit it's been back on the workbench for further faffing, to its left is the proof of concept cardboard cut-out.

yk 394.jpg

To its right are the windows, painted, glazed, decorated and backed, ready to fit into the shell.
 

Neil

Western Thunderer
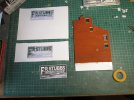
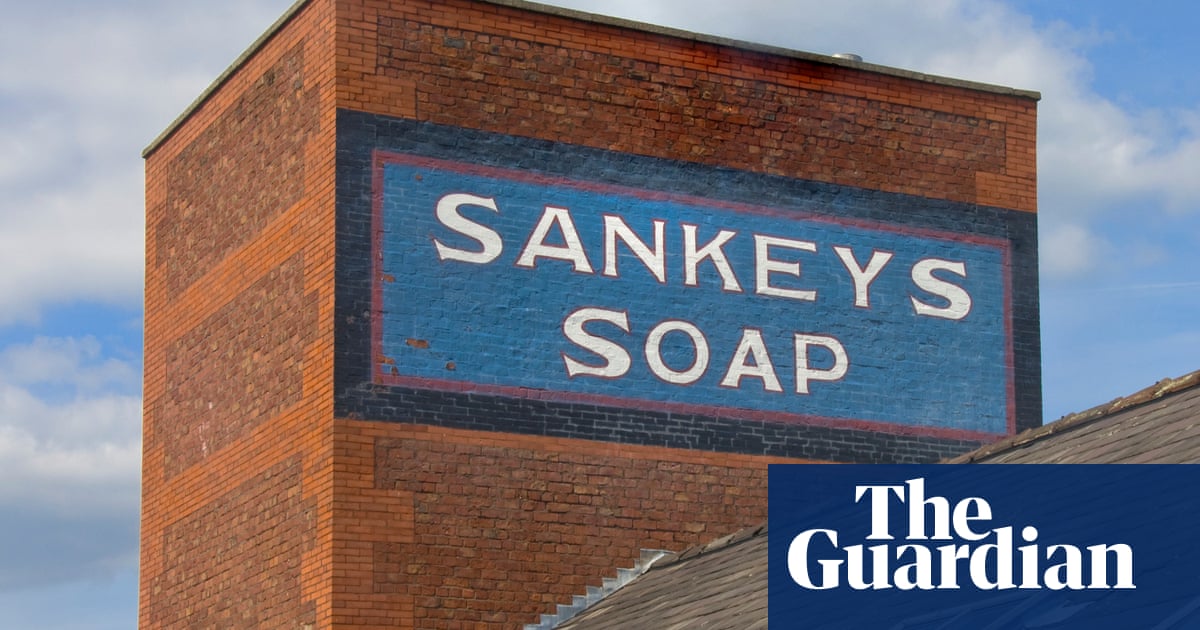
Time to tackle the sign writing. Nothing looks more like painted lettering than paint so after a brief try at using the downloaded photo as a stencil template (too distorted) I found some close fonts on the internet and had a go at a copy. I printed three out on one sheet and a good job too as though I was happy with the 'ironmonger' I was less happy with 'FR Stubbs' and chose to do this again modifying the letters slightly to match the slightly weird forms of some of the letters on the real thing.

yk 395.jpg

The remaining print out was used to set out the masking tape for the background.

yk 396.jpg

Humbrol matt white stippled and brushed on inside the border.

yk 397.jpg

Next once the white is dry I'll mask off the border and paint the rest of the background black.
 

Neil

Western Thunderer
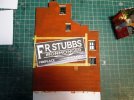
Since Friday I've cracked on a bit. I've used three separate stencils, the photos should tell the story.

yk 398.jpg


yk 399.jpg

Note: the blue arrows show the cut outs to register the FR Stubbs stencil to the already in place ironmonger lettering.

yk 400.jpg


yk 401.jpg


yk 402.jpg


yk 403.jpg


yk 404.jpg

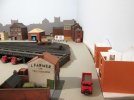
Finally in place on the layout.

yk 405.jpg
 
Top