Tim Watson
Western Thunderer
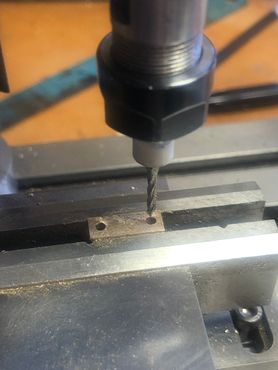
It’s quite important to get weight, or springing, or both over a pony truck. I therefore took two lumps of brass, filed a common face, sweated them together and then made a rectangular block with a joint in the middle. This was then milled further to shape and drilled twice at 1.9mm diameter for the 2mm axle.
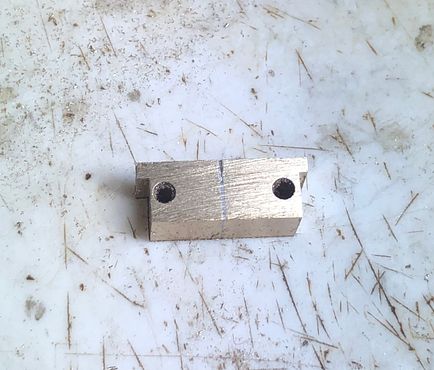
The block was further milled to give a rebate at each end that would accept the A frame of the pony - to be made from 1mm thick brass. The midline solder joint is obvious in this image.
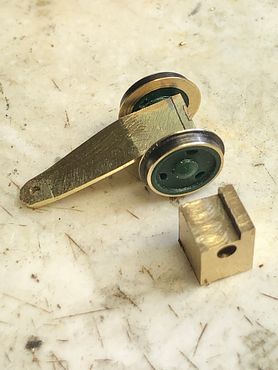
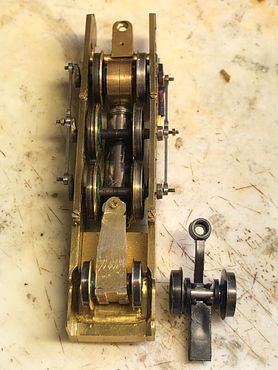
The as-milled block for the rear pony is sitting in front of the front pony in this image, with the A frame soldered in to place. This follows a lazy z shape to allow the ride height to be correct. It also means that the pony ‘works’ from ‘bottom up’ rather than ‘top down’, which I think helps stability.
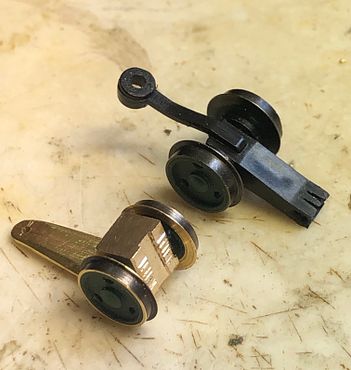
The front of the brass block was lightly milled and an indication of the springs filed into place - not that they will ever be visible. Also of note is that the A frame was filed with a bevelled edge to make it look thinner: it is quite thin strap material on the prototype. The Heljan original shows the clear difference in mass.
With the pony in place it is clear that there is plenty of room for side play and the correctly place pivot point will guide the engine into curves. If a guide spring proves to be required then that can be added easily at a later stage.
The rear pony will very probably have a compression spring built into it to take some of the rear overhanging weight of the engine. The pivot bolt will be replaced with a correctly shouldered fitting and the pivot hole then reamed to an x shape to allow movement in all axes.
Tim
The block was further milled to give a rebate at each end that would accept the A frame of the pony - to be made from 1mm thick brass. The midline solder joint is obvious in this image.
The as-milled block for the rear pony is sitting in front of the front pony in this image, with the A frame soldered in to place. This follows a lazy z shape to allow the ride height to be correct. It also means that the pony ‘works’ from ‘bottom up’ rather than ‘top down’, which I think helps stability.
The front of the brass block was lightly milled and an indication of the springs filed into place - not that they will ever be visible. Also of note is that the A frame was filed with a bevelled edge to make it look thinner: it is quite thin strap material on the prototype. The Heljan original shows the clear difference in mass.
With the pony in place it is clear that there is plenty of room for side play and the correctly place pivot point will guide the engine into curves. If a guide spring proves to be required then that can be added easily at a later stage.
The rear pony will very probably have a compression spring built into it to take some of the rear overhanging weight of the engine. The pivot bolt will be replaced with a correctly shouldered fitting and the pivot hole then reamed to an x shape to allow movement in all axes.
Tim

