Brettell Road, 1960s black country (ish)

Jim smith-wright

Western Thunderer
One change since the last post on this little tank is I've replaced the tantalum capacitors with a Lais stay alive unit on the recommendation of Nigel. With this little motor I've now got about 4-5 seconds of off the juice running which is a big improvement.

EOD-Barclay-clean.jpg

The model has been finished and lined with Fox transfers lining. I just need the number plate and name which is on order with Narrow Planet. I decided to take a quick shot of it for prosperity before i covered it all in goo!

barclay@BR.jpg

And post goo!

barclay@BR-2.jpg

The crew are, the almost customary now, Modelu Figures

deeley-and-barclay.jpg

I used to think my Deeley was tiny!
 

Jim smith-wright

Western Thunderer
As 2021 draws to an end I've been doing some of those fiddly little jobs that I kind of hope always get lost into the scene but I know they are there.
pushbike.jpg

Starting with a pushbike from the Southwark Bridge Models Kit. The kit is for a late 19th century bike so I modernised it a little. I think these may be reduced from 7mm scale model as some of the parts are at the very limit of what will etch and gives you a decent idea of what it must be like to try and solder a spiders web together!

signal-wires.jpg

I've finished off the signal wires using MSE posts and easyline.

barrow-crossing.jpg

This meant I could finally get the barrow crossing finished too.

platform-end.jpg


Below are a few evening shots of various comings and goings.
class-30-in-the-rain.jpg

8403-@-BR-dec-21.jpg

class-122-@-BR-dec-21.jpg

1F-@-BR-dec-21.jpg
 

AJC

Western Thunderer
Starting with a pushbike from the Southwark Bridge Models Kit. The kit is for a late 19th century bike so I modernised it a little. I think these may be reduced from 7mm scale model as some of the parts are at the very limit of what will etch and gives you a decent idea of what it must be like to try and solder a spiders web together!

I’ve done one of those, Jim, while Ivan was still alive. He was much more dexterous than most and was a life long P4 modeller (I saw him a week or two after his first 0 Gauge show: he was still suffering culture shock!) so the 4mm version is the original. I’m not sure where the solder is supposed to go, either.

The one kit that certainly wasn’t was the GW P7 hopper whose 7mm origins are painfully apparent, having built one.

Adam
 

Simon

Flying Squad
Fantastic work on this thread Jim, you have created some of the most dramatic and believable model railway scenes. I especially like the night shots but the Barclay work and your trackside detailing and observation is first class too.

Simon
 

Jim smith-wright

Western Thunderer
Bit of a pick 'n' mix post this one.

princess-margaret.jpg

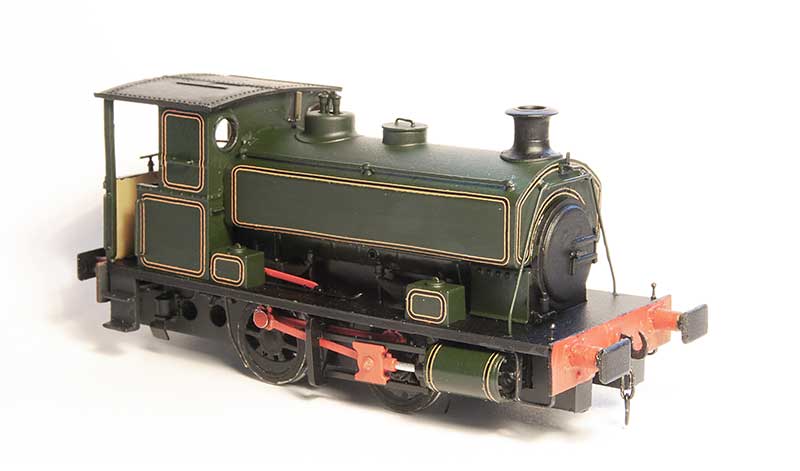
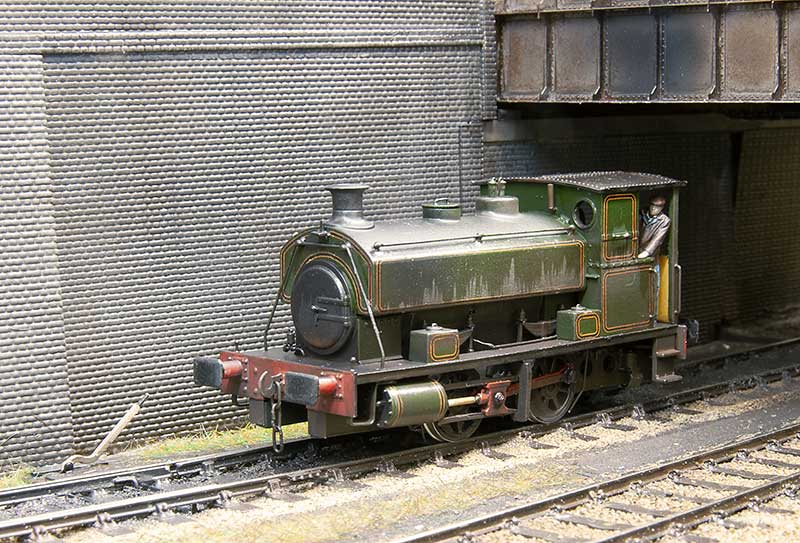
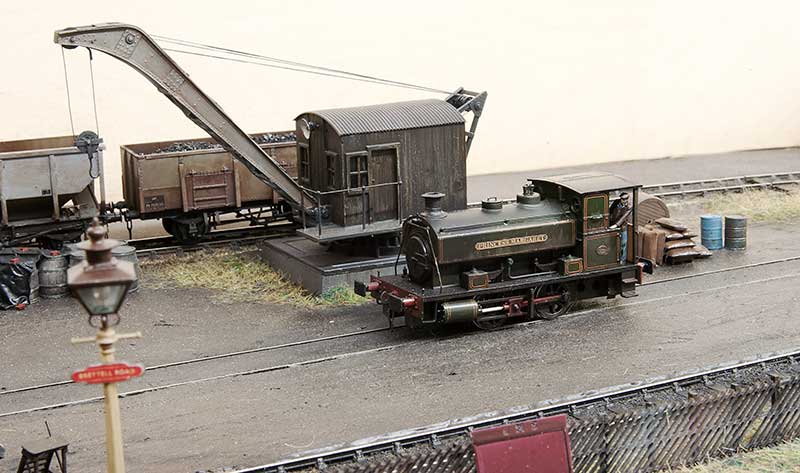
Lady Margaret now has her identity thanks to some custom nameplates from Narrow Planet

Finding your own compromise

When it comes to plastic kit building it helps if you think of a line. At one end of the line you have the kit as supplied, built as per the instructions with no attention or research what so ever on the prototype itself. At the other end you have the kit, researched, wrong parts replaced or corrected and superior parts substituted, as much extra detail as you can manage. Rumney chassis kind of thing. Inevitably we all need to find our place somewhere along the line that we feel comfortable.

This place can be influenced by several factors.

Cost - adding a lot of extra parts can mount up to quite an expensive model.

Expediency - high end models take a lot longer to build. Do we have the time

Reliability - no point adding every little detail if in use you're going to knock it all off again.

Usage - if you wagon is part of a train of 30 that are only ever going to trundle past at a scale 40mph are you going to have the opportunity to notice the extra work?

Consistency - no point mixing highly detailed and basic kit builds together really.

Volume - how many models are we going to need?

simple-kit-upgrades.jpg

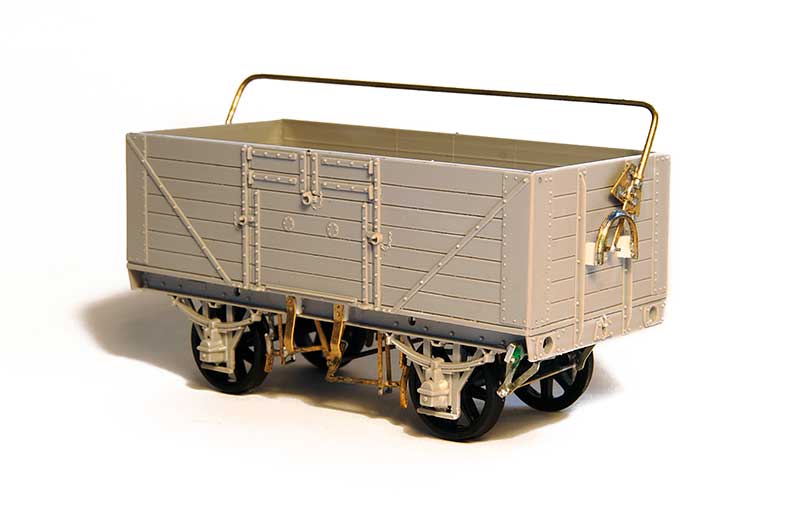
Heres my pretty much standard position along that line. The base model is a parkside kit. As mentioned elsewhere I'm not particularly worried about compensation or springing on a 10ft wheelbase wagon but i do use it for vehicles longer than 12ft wb.

A - brass tie bars. I use 0.8mm L section. the real things aren't L section but i use this for strength and you cant tell unless you turn the model upside down. In plastic kits the tie bars are a real weakness ad they are either bendy, get broken or to avoid those 2 things, massively thick.

B - break hangers from Bill Bedford - It doesn't take much to add a little finesse to the brake gear and trick the mind into thinking it's all a bit more refined that it actually is.

C - metal buffers, or in this case metal buffer heads. Unless your kit comes with metal buffers already lets be honest here, the plastic ones are going to be awful. These are MJT buffer heads.

D - couplings. A whole discussion on compromises in itself. In my case I use Smiths which i know are overscale but they are (quite) easy to use in operation.

E - brake pipe from Lanarkshire models.
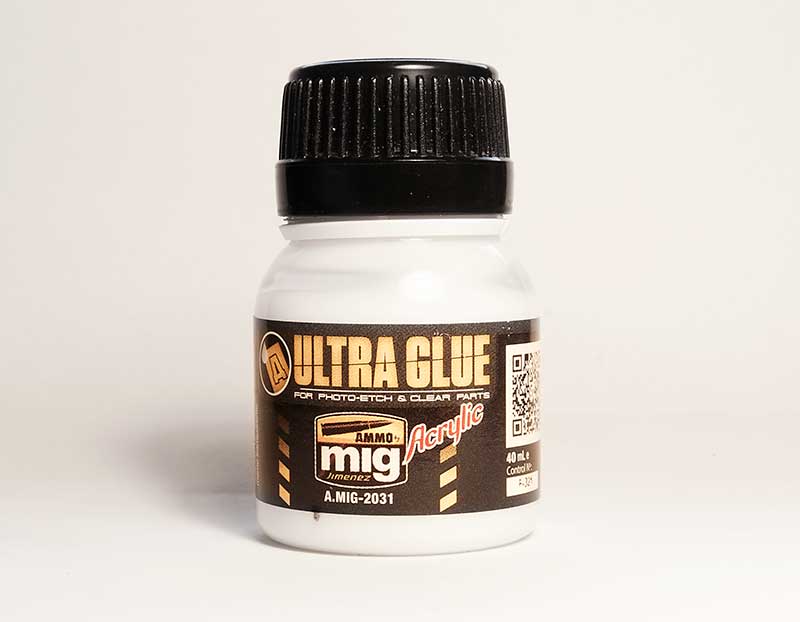
Glue

ultra-glue.jpg

I've recently been trying this stuff. Ultra Glue from MIG for etched and clear parts. Its water based so can be thinned if required and so far it seems to do the job at least as well as superglue. Its especially good for fitting name plates as while it has good grab it takes a few hours to fully harden and being water base any that creeps out can be lifted off with a wet paintbrush.
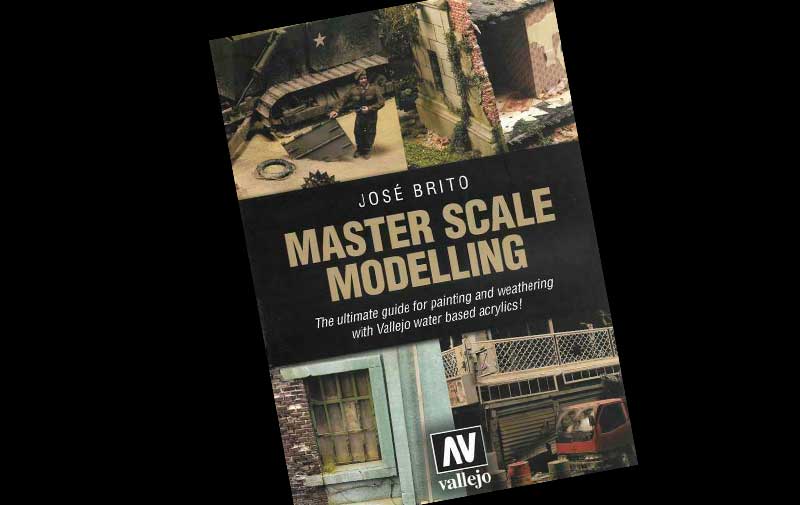
Reading

master-scale-modelling-book.jpg

It's been an awful long time since Martin Welch treated us to his 'bible' the art of weathering. And while still essential reading things have moved on a bit, especially so in the last few years or so. Some of the paints Martin used are no longer available (Humbrol tarmac for example) but theres a whole market now of weathering paints and materials. This (rather large at over 500 pages) book is an excellent window outside of our sometimes a little comfortable railway world.

12049-@-BR-feb2022.jpg

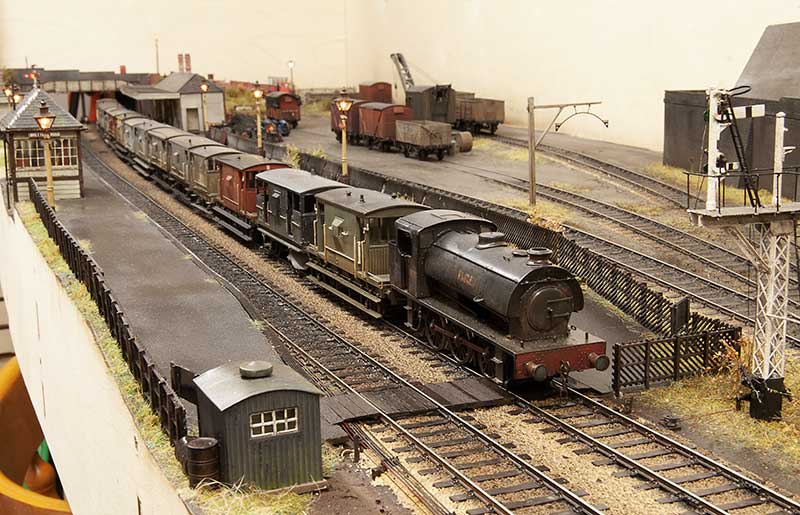
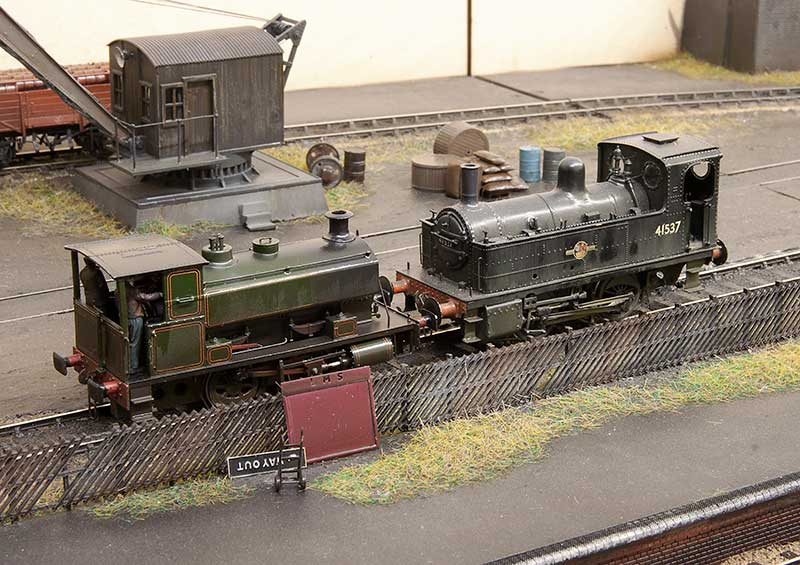
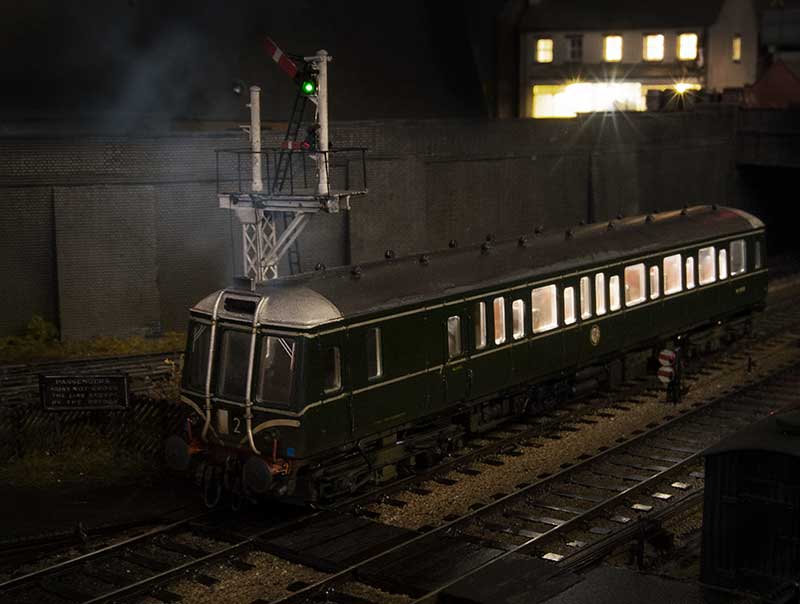
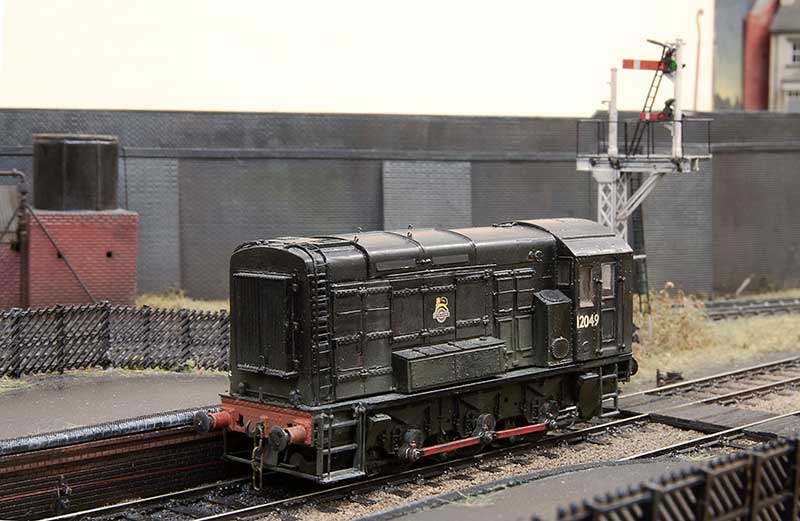
Having had a little trundle to Stourbridge shed and back for some Diesel, Class 11 shunter 12049 waits for the nod back into the yard at Brettell Road.
 
Last edited:

Jim smith-wright

Western Thunderer
coopercraft-Dia-02-in-progress.jpg

Pictured above is a Cooper Craft kit for a GWR diagram 02 open wagon. I found that if you use the bearing holes supplied in the kit the wagon sits too high so the holes were enlarged vertically a bit at a time, checking the wagon on a bit of glass to ensure all 4 wheels stayed square. The rail is a modified Rumney models kit and the brake gear from MRD.

coopercraft-Dia-02-finished.jpg


meat-van.jpg

The infamous Airfix meat van. Quite why Airfix picked this and not a standard 12 ton van is anyones guess. I replaced the gimmicky opening doors and the underframe with Parkside bits from my spares box. The transfers were cobbled together from what I had and those that were white were painted with revel clear yellow (730). Buffers on this and the GWR open were from Accurascale. Basically cheap and cheerful!

brake-van-special.jpg

A private railway favourite and an exhibition last hour staple, the good old brake van special! I think i might have overdone it a bit!
 

Nick Y

New Member
Hi Jim, I’ve been an admirer of your highly atmospheric modelling for some time.

Quick Q, are your stepped platform sides available commercially or were they made just for you?
 

simond

Western Thunderer
I purchased a copy of the Jose Brito book. It’s heavy…both in kilograms, and in some of the subject matter, which is largely military, and rather bleak In parts.

It’s full of hints and tips with some really interesting stuff. I’m not sure I’d recommend it, but there are some exquisite diaoramas, large scale figures, and intricate details, and a lot of varied, and perhaps extreme, weathering. Also some techniques to use foam as a base for models.

It’s also worth noting that it’s pretty much an advert for Vallejo, and there’s more than a bit of “product placement” too.
 
Top