You are using an out of date browser. It may not display this or other websites correctly.
You should upgrade or use an alternative browser.
You should upgrade or use an alternative browser.
Re: Union Pacific in Oldham
- Thread starter rjr
- Start date
Jordan or Plymouth Mad
Mid-Western Thunderer
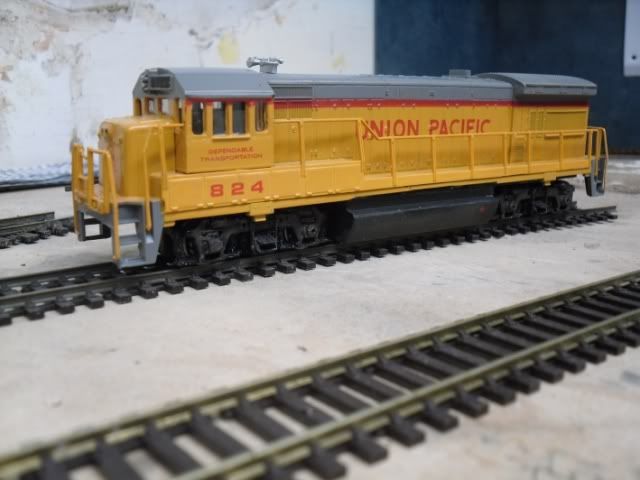
Union Pacific in Oldham
)")
I note the S Scale website lists the Class 22 body etch from Worsley Works... :scratch: 8)
*resist*resist*resist*resist*
Ah, Touche!! :-[Simon Dunkley said:Pay attention at the back there, Jordan...
I note the S Scale website lists the Class 22 body etch from Worsley Works... :scratch: 8)
*resist*resist*resist*resist*
Union Pacific in Oldham
I found the bargain I had been waiting for to make my workbench from. A local DIY shop (3ways in Denton) often has bargains. Today I picked up 2 18mm tall kitchen unit sides for ?3.99 each. When put together I get a 36mm worktop
So in typical builder mode I got my days work done and had an early finish. With a bit of timber to make a batten along the back wall and the side the new "worktop" when sawn to length just fell into place.
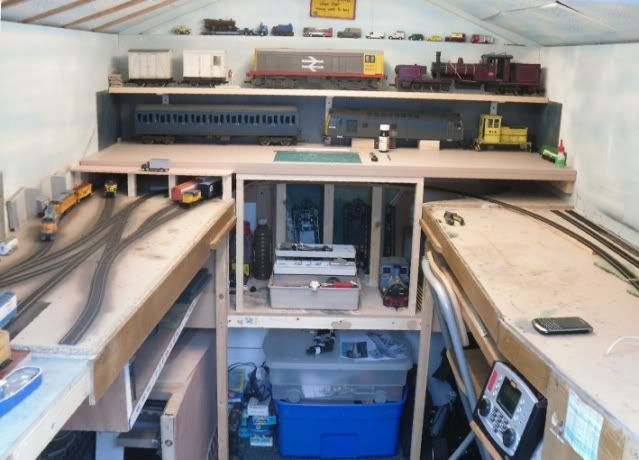
As 90% of the time I stand to model its a a nice height which will stop me getting an bad back ! I can still slot my short workbench in at layout level if I want to sit and model.
Its nice and tidy at the moment. and I have a home for my favourite G scale stock
With the worktop in place the decision of the best type of scenic break was almost made for me, it almost looked like a freeway straight away. So four lengths of timber were cut to 4" and used as bridge supports topped with a plywood road surface.
The bridge makes a nice place to watch the trains from
All in all a successfully hour in the shed
John
I found the bargain I had been waiting for to make my workbench from. A local DIY shop (3ways in Denton) often has bargains. Today I picked up 2 18mm tall kitchen unit sides for ?3.99 each. When put together I get a 36mm worktop
So in typical builder mode I got my days work done and had an early finish. With a bit of timber to make a batten along the back wall and the side the new "worktop" when sawn to length just fell into place.
As 90% of the time I stand to model its a a nice height which will stop me getting an bad back ! I can still slot my short workbench in at layout level if I want to sit and model.
Its nice and tidy at the moment. and I have a home for my favourite G scale stock
With the worktop in place the decision of the best type of scenic break was almost made for me, it almost looked like a freeway straight away. So four lengths of timber were cut to 4" and used as bridge supports topped with a plywood road surface.
The bridge makes a nice place to watch the trains from
All in all a successfully hour in the shed
John
Jordan or Plymouth Mad
Mid-Western Thunderer
Union Pacific in Oldham
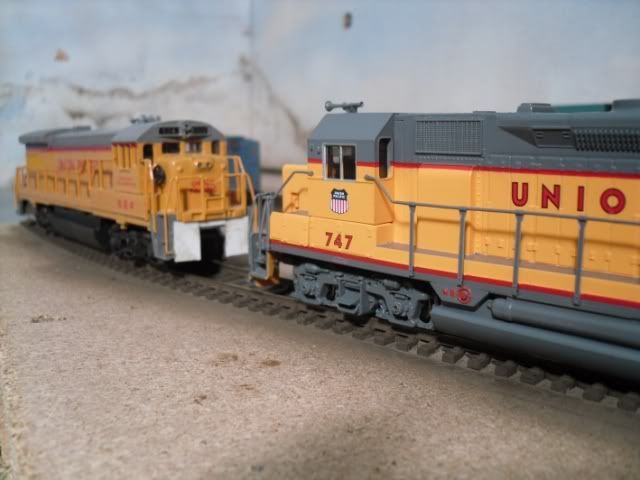
I particularly like the "overall view"... really puts into perspective the size of those G Scale models!!
So, John, going by your usual modelling speeds, the Dark Side layout will be finished by the end of November..?? :scratch: ;D
;D ")
I particularly like the "overall view"... really puts into perspective the size of those G Scale models!!
So, John, going by your usual modelling speeds, the Dark Side layout will be finished by the end of November..?? :scratch:
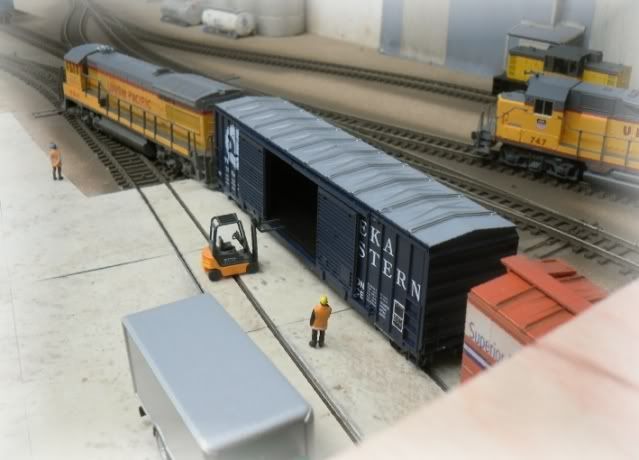
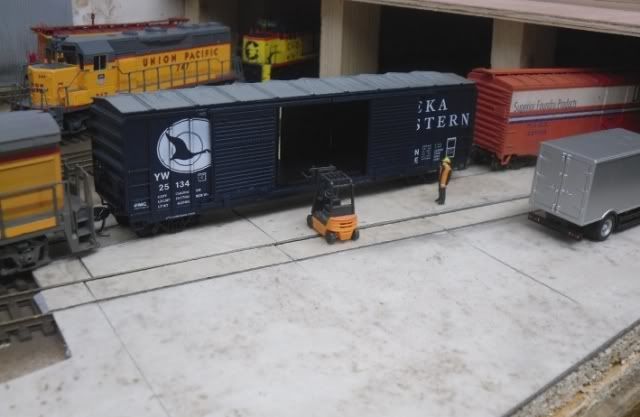
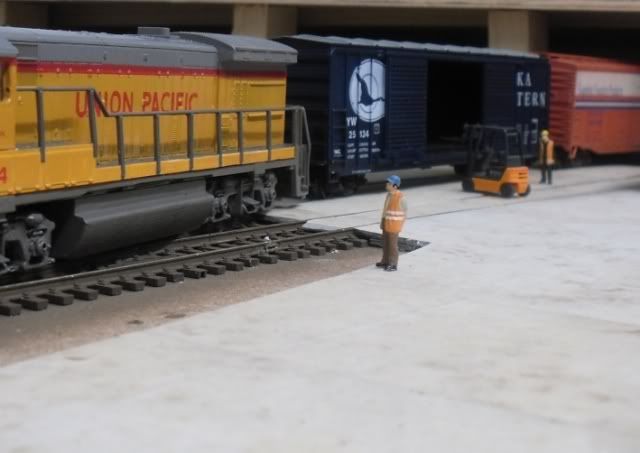
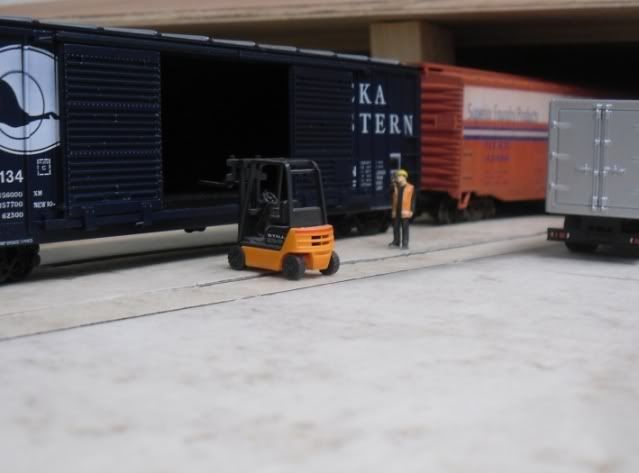
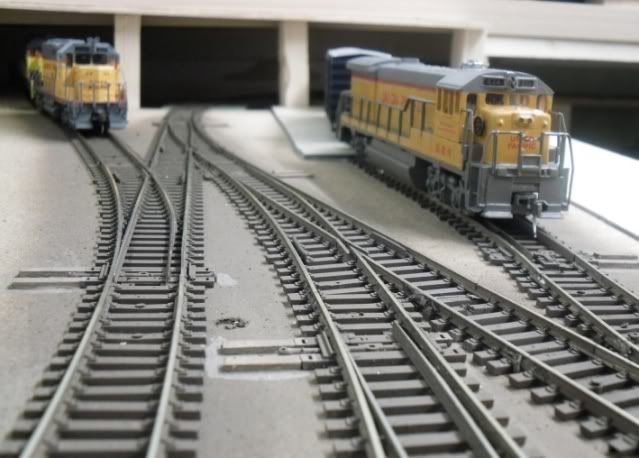
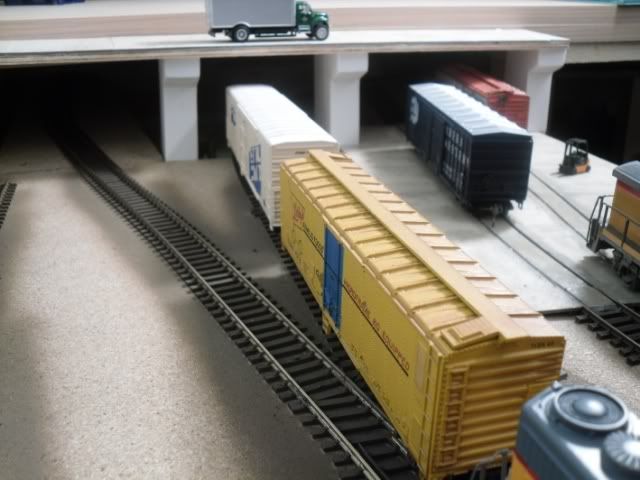
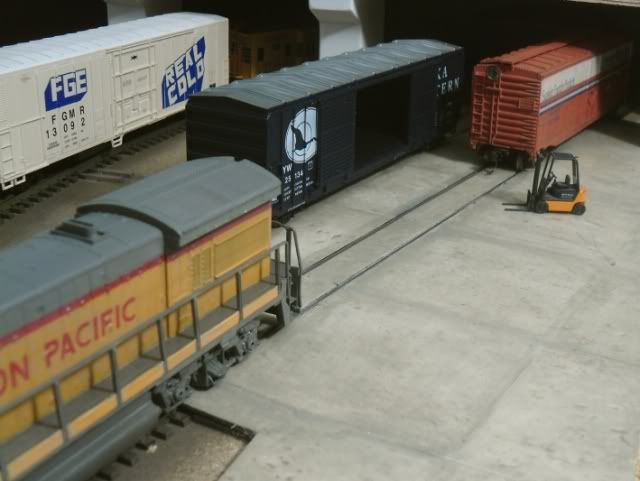
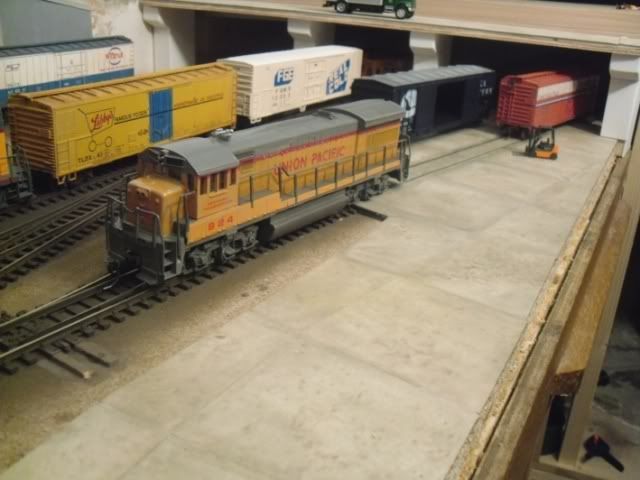
;D Team track
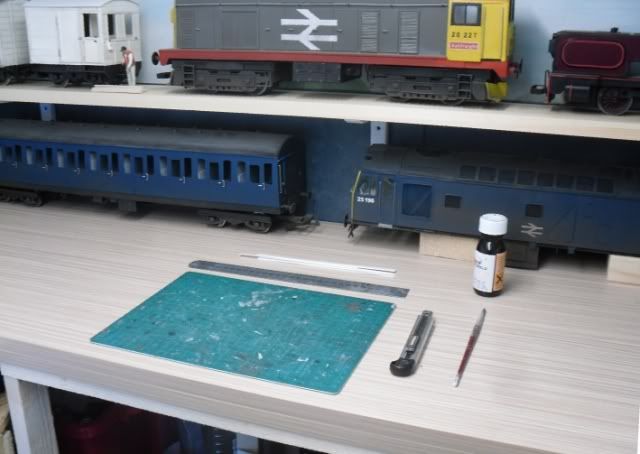
I believe in US parlance a team track is a shared spur allowing local industries to load and unload rail road boxcars, see I'm even learning new phrases
My front 2 lines are planned for just such a purpose, which requires some inlaid track, I've tried various methods, but decided I would go for low mess this time round. Out came the B&Q self adhesive vinyl tiles.
I also spent some more time loco improving
Remember this,
That became this
After todays work
John
Jordan or Plymouth Mad
Mid-Western Thunderer
Team track
Looks like you're in need of an HO Scale Pointing Man, John...
Re the B&Q tiles, do you use them "as is" with regard to sticking them down? Only when I tried them on my one layout, they warped (expanded, probably) and lifted during the summer in the heat. They look great, but were a bit of a failure in my hands I'm afraid...
rjr said:
Looks like you're in need of an HO Scale Pointing Man, John...
Re the B&Q tiles, do you use them "as is" with regard to sticking them down? Only when I tried them on my one layout, they warped (expanded, probably) and lifted during the summer in the heat. They look great, but were a bit of a failure in my hands I'm afraid...
Union Pacific in Oldham
Ive not had problems with them before. It may not be obvious but they are cut into scale 20' squares to try an simulate shuttered joints so that helps as there is a paper thin expansion gap all round. Also where they meet the track they are super glued down to the sleepers to stop them lifting.
John
Union Pacific in Oldham
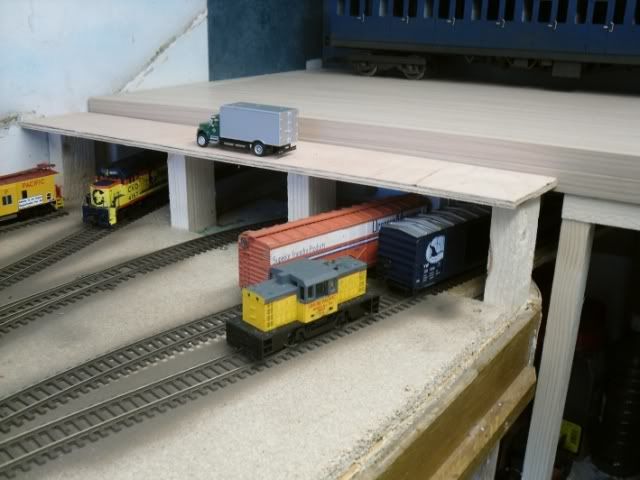
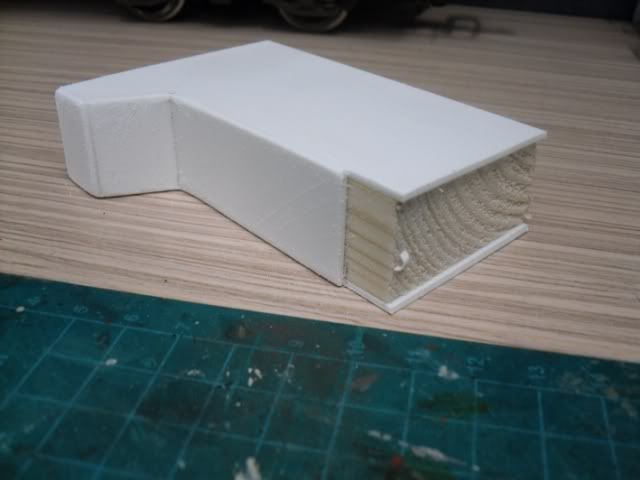
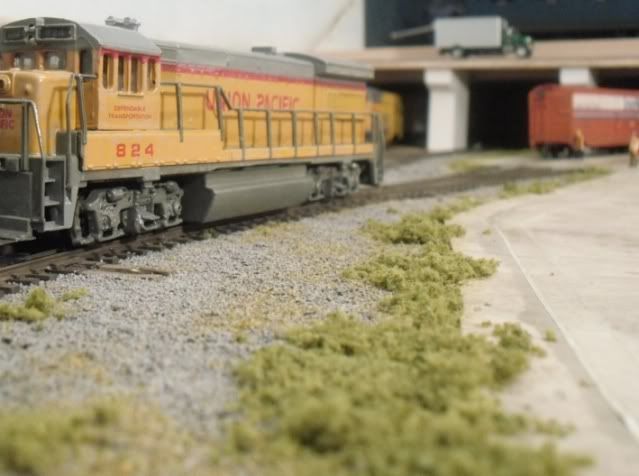
This evening I have been working on the overpass supports. The timber supports have now been clad with plasticard.
With the 4 of them in position.
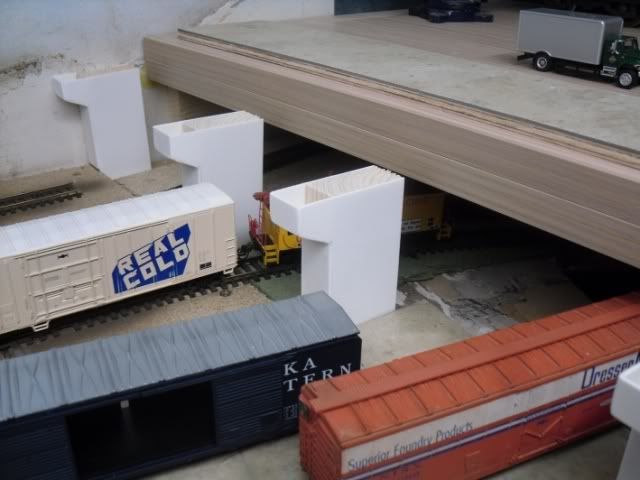
Then the top placed back on
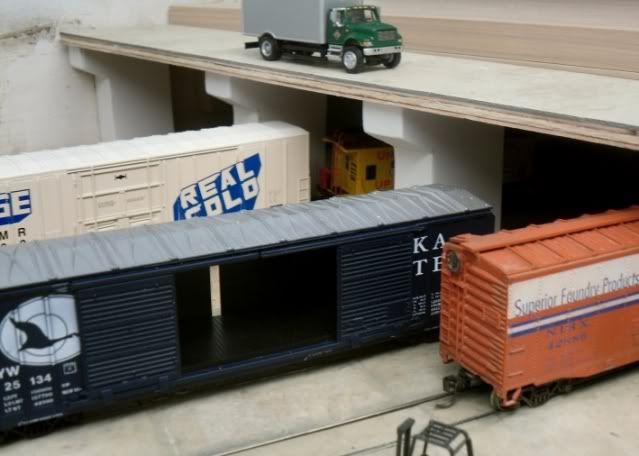
The next step was to do some minor filling of the concrete around the outsides of the rails and then a coat of paint so they didnt look quite as much like a kitchen floor !!
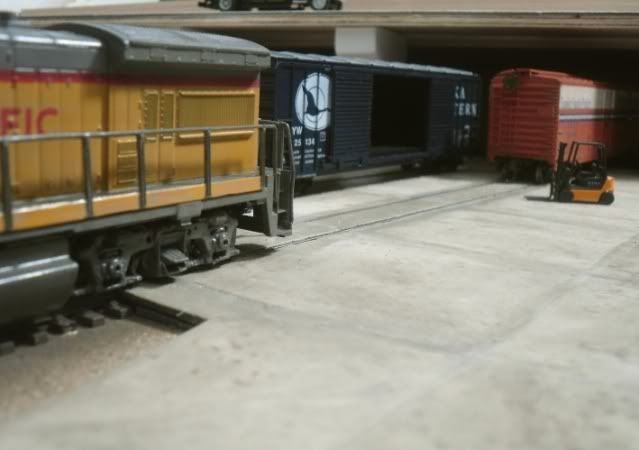
John
This evening I have been working on the overpass supports. The timber supports have now been clad with plasticard.
With the 4 of them in position.
Then the top placed back on
The next step was to do some minor filling of the concrete around the outsides of the rails and then a coat of paint so they didnt look quite as much like a kitchen floor !!
John
lancer1027
Western Thunderer
Union Pacific in Oldham
Hi John, exellent work. How did you paint the concrete to represent the concrete in sections

Rob :wave:
Hi John, exellent work. How did you paint the concrete to represent the concrete in sections
Rob :wave:
Jordan or Plymouth Mad
Mid-Western Thunderer
Union Pacific in Oldham
they do look good; I just couldn't get mine to stay stuck, that's all.
Another question, John; what do you use to glue plasticard to wood..?? :scratch:
He didn't; that's how those B&Q tiles look straight out the packet...lancer1027 said:Hi John, exellent work. How did you paint the concrete to represent the concrete in sections
Rob :wave:
they do look good; I just couldn't get mine to stay stuck, that's all.Another question, John; what do you use to glue plasticard to wood..?? :scratch:
Union Pacific in Oldham
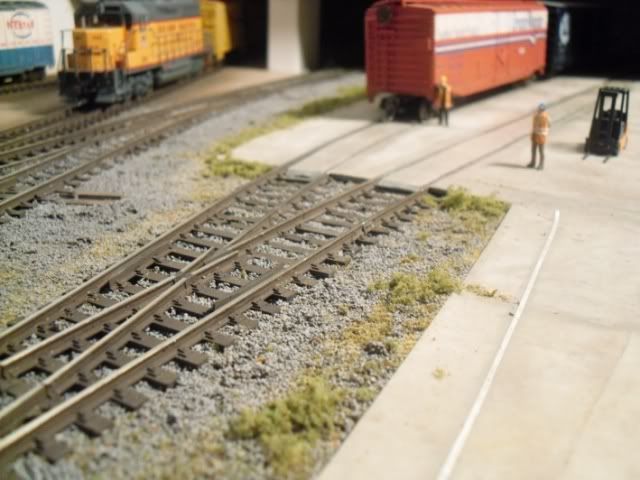
The tile sections are actual sections, I cut the vinyl tiles into 70mm squares (approx 20') but if you look at the first set of pictures compared to the last I have given them a light/thin coat of Humbrol matt grey 55 just to tone them down a bit and put it on thicker at the edges to highlight the individual sections.
I've never had a problem getting them to stick, although they are stickier when warm, and along the rail edges they are super glued to the sleepers.
The plasticard is super glued to the timber. I use cornice MITRE glue, again from B&Q. Its a large bottle of super glue that comes with an accelerator in the form of a marker pen. You draw on one side (the wood) with the pen that leaves a transparent wet looking film and put glue on the other side (the plastic) thinly spread the glue. When they come into contact they STICK and stay STUCK !!!
John

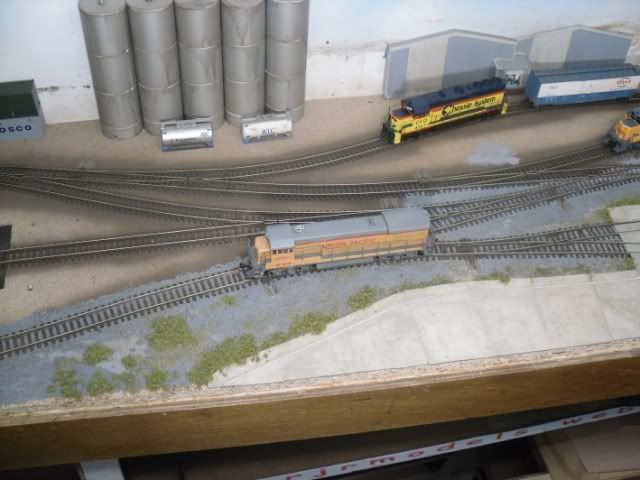
Ballast 2
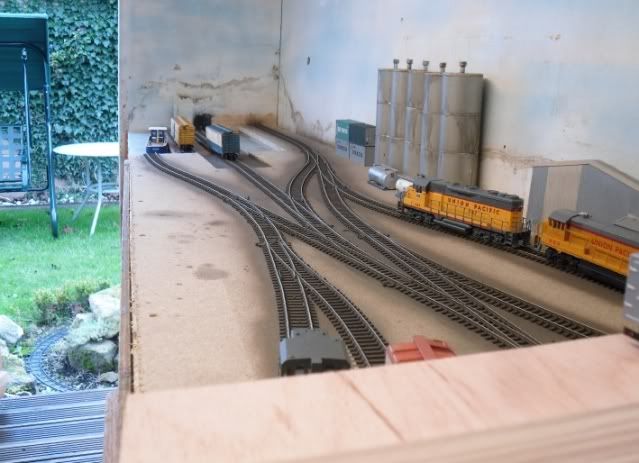
Im always open to suggestions, and it was suggested my first attempt at ballasting was to dark/grey/European looking so here is the revised look, not finished, but the basic colours are there?
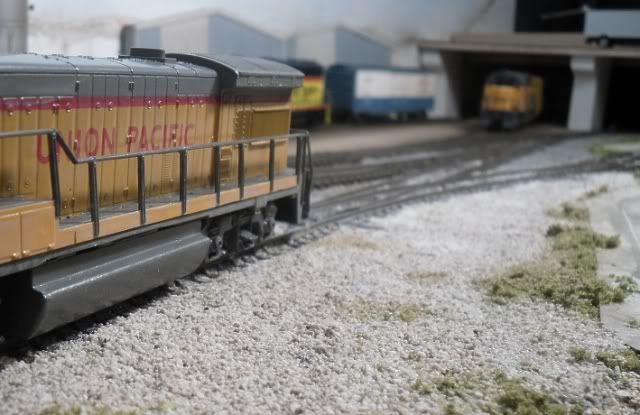
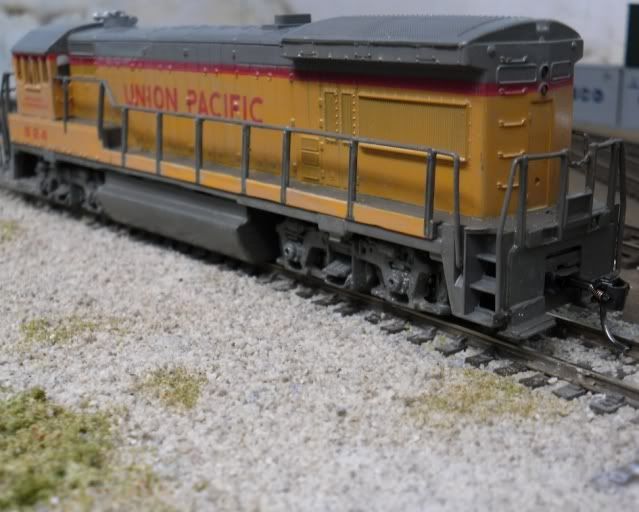
This is done with "calcium sand" from pets at home, ideal for your aquarium or pet geko apparently") If the colour looks right its ideal for me too at 3.99 for 2.5 KG !!
If the colour looks right its ideal for me too at 3.99 for 2.5 KG !!
Im always open to suggestions, and it was suggested my first attempt at ballasting was to dark/grey/European looking so here is the revised look, not finished, but the basic colours are there?
This is done with "calcium sand" from pets at home, ideal for your aquarium or pet geko apparently
If the colour looks right its ideal for me too at 3.99 for 2.5 KG !!Jordan or Plymouth Mad
Mid-Western Thunderer
Ballast 2
Here's a photo of one of my favourite US locations; the Depot at Dresser, Wisconsin...
http://www.rrpicturearchives.net/showPi ... id=1155446
Okay it's Ex-Soo territory, not U.P., but the ballast there looks more like your first version to me; a darker grey.
So, taking at random a picture of a U.P. machine, here's one in Nebraska;
http://www.rrpicturearchives.net/showPi ... d=1048974#
Again, darker grey ballast...? Unless there's a particular location in mind, I don't think anyone can be too pedantic about what your ballast 'should' look like... :
Surely that depends on the layout's "location" or where your Railroad got it's ballast from..??rjr said:Im always open to suggestions, and it was suggested my first attempt at ballasting was to dark/grey/European looking so here is the revised look, not finished, but the basic colours are there?
Here's a photo of one of my favourite US locations; the Depot at Dresser, Wisconsin...
http://www.rrpicturearchives.net/showPi ... id=1155446
Okay it's Ex-Soo territory, not U.P., but the ballast there looks more like your first version to me; a darker grey.
So, taking at random a picture of a U.P. machine, here's one in Nebraska;
http://www.rrpicturearchives.net/showPi ... d=1048974#
Again, darker grey ballast...? Unless there's a particular location in mind, I don't think anyone can be too pedantic about what your ballast 'should' look like... :